Step 1: GATHER THE TOOLS, PALLET AND SPARE WOOD

Here are some of the tools I used to build this potting bench. I also used wood glue, a building stapler and landscaping fabric.
I used an 8x 4 pallet with a good half and a not quite as good half.
I also needed spare wood that I had on hand: 2×4 lengths for legs, 1×4 boards for framing, 1×2 pieces for leg bracing and for slats to fit between the pallets.
Step 2: PREPARE THE GROUND
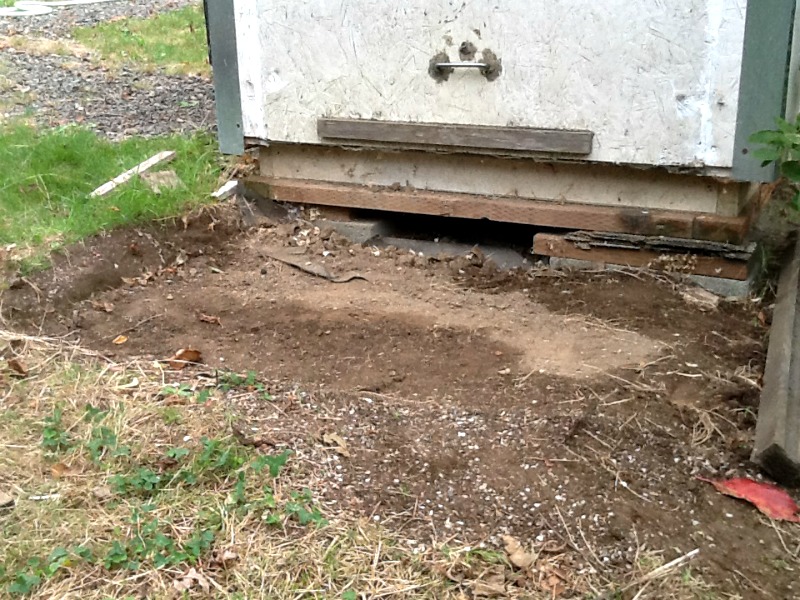
Level the ground where the bench will stand and put landscape fabric down to prevent weeds from coming up underneath.
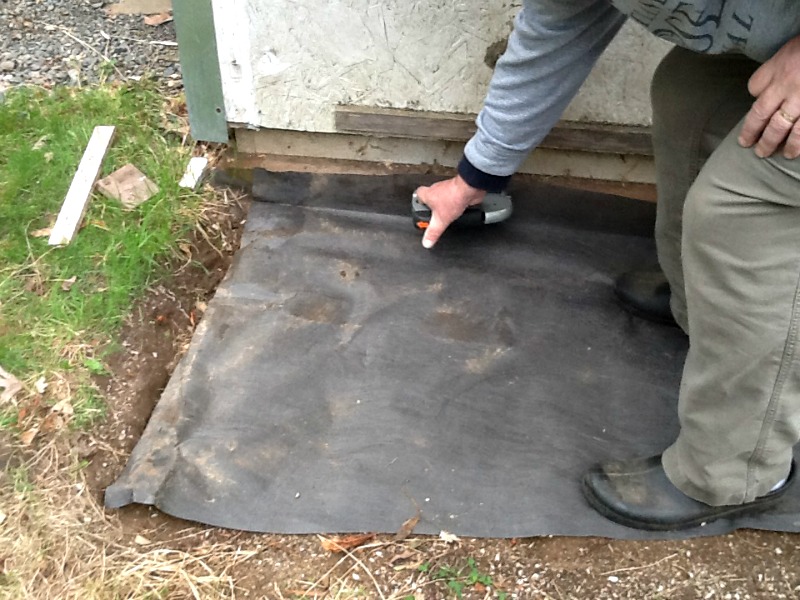
I even stapled the fabric to the wooden foundation of the shed directly behind to discourage weeds from growing up in the gap.
Step 3: PREPARE THE STORAGE AREA BELOW THE BENCH
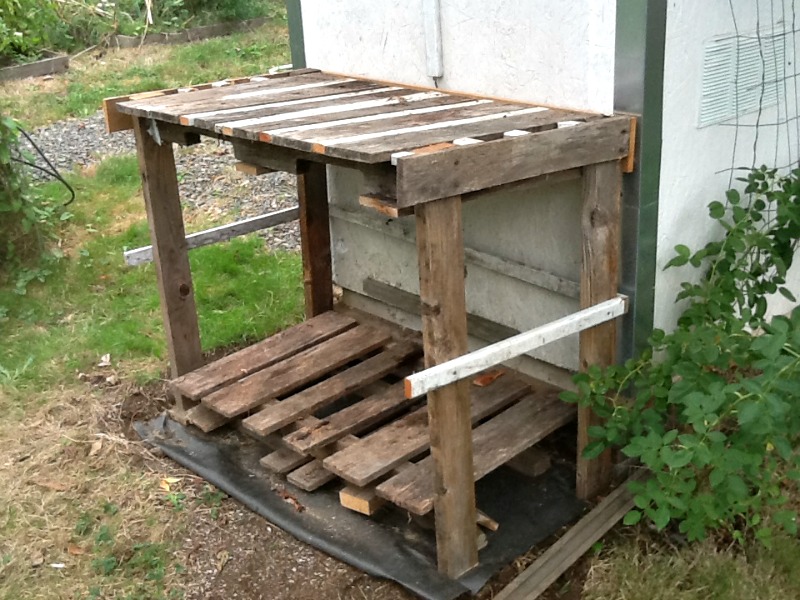
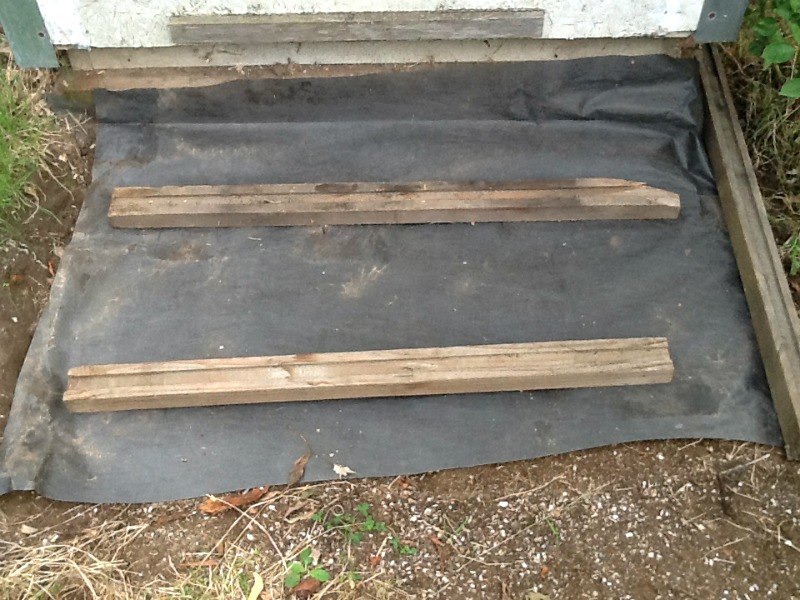 Set two weathered lengths of 2 × 2 set directly on the landscaping fabric and put the smaller part of the pallet on top of them to keep the pallet itself off the ground.
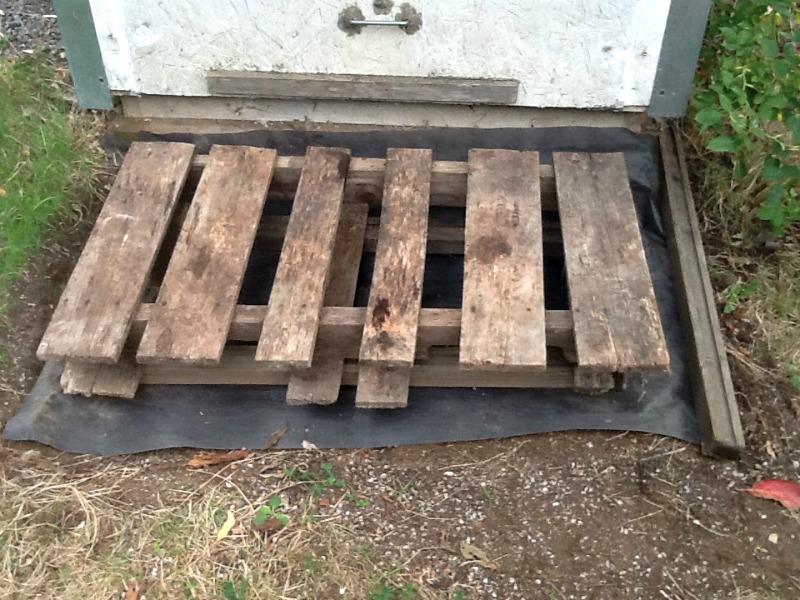
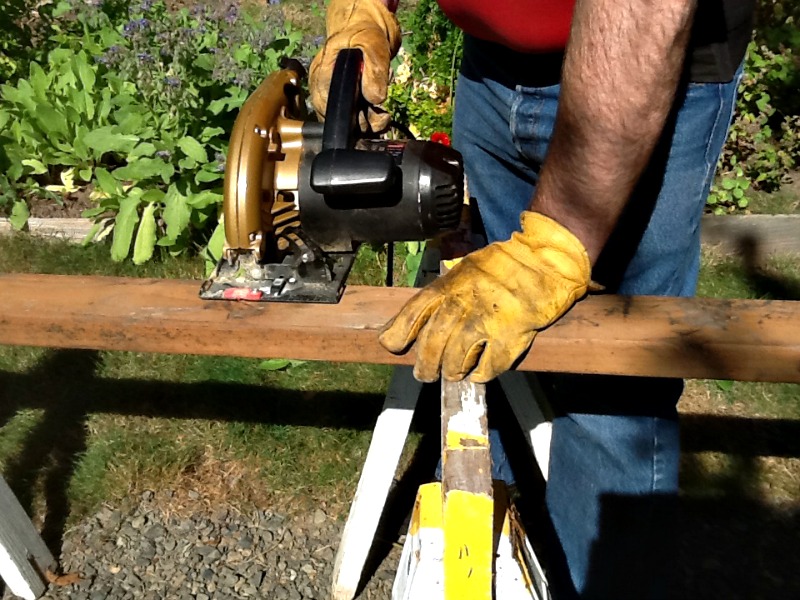
Cut pallet in half with one slightly larger half and one slightly smaller half. The slightly smaller half will provide a raised area under the potting table for storage for extra pots.
Because it isn’t attached to the bench, the bench is easier to build and easier to move if necessary.
Step 4: Cut and Assemble legs
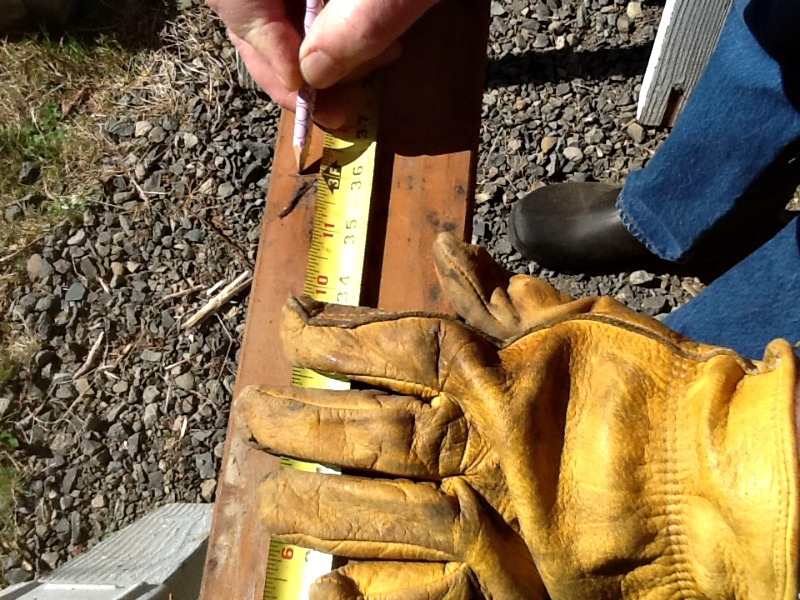 Cut the 2×4 pieces of wood for legs and cut four pieces to the same height. This is a critical step. These legs are cut 36 inches long each.
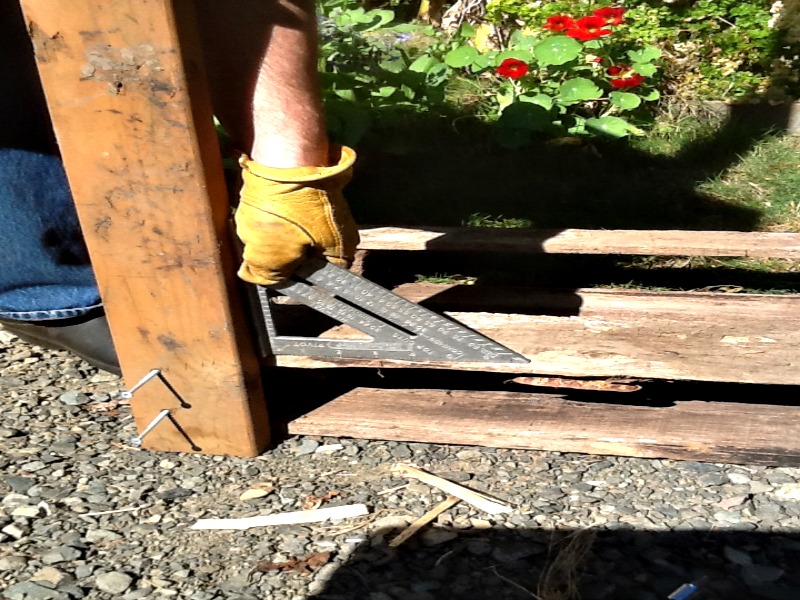
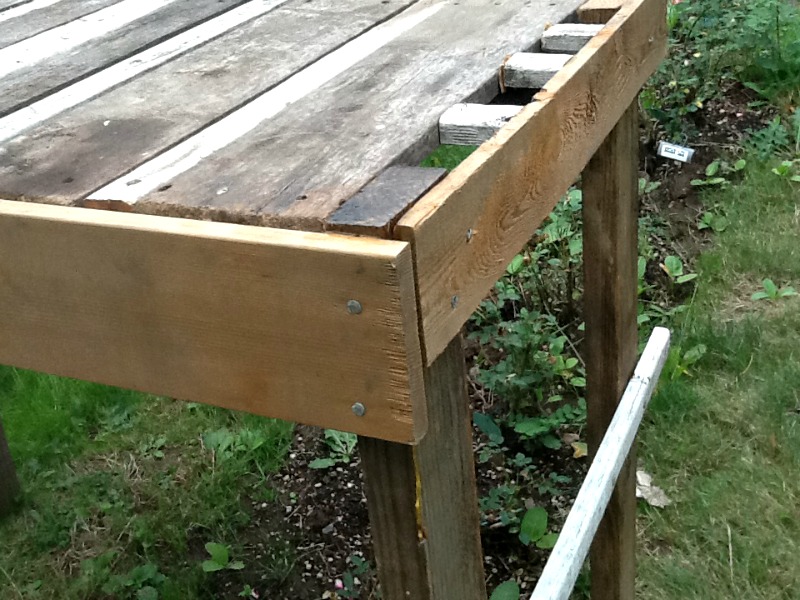
Once the leg piece has been squared up with the pallet, mark where the screws will be placed.
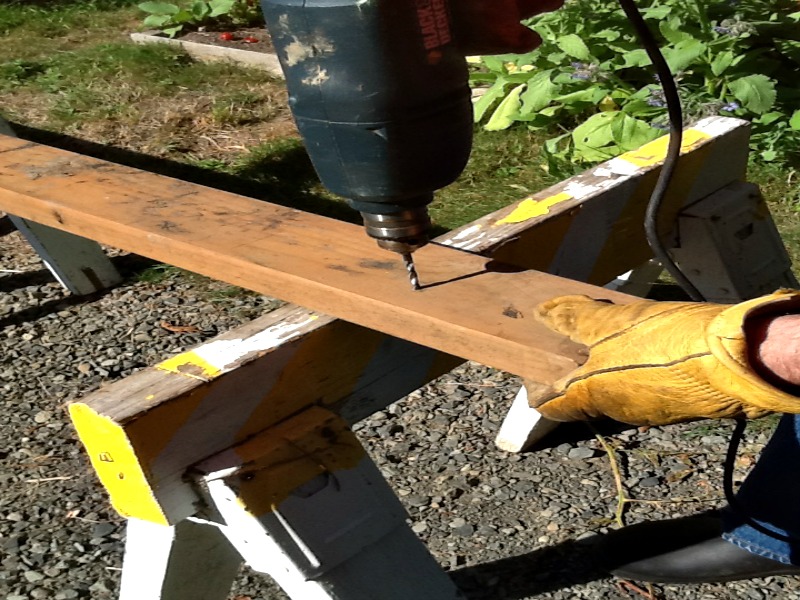 Pre-drill the holes in the leg pieces for the screws to make attaching them to the pallet easier. When attaching each leg, make sure that the leg and the pallet are squared up for levelness and strength.
Step 5: FRAMING THE TOP
Turn table right-side up. Frame in the pallet and legs with three 1 × 4 boards – one the length of the back and the other two the length of the sides – and attached them on the outside for additional strength.
As you attach the pieces with screws or nails, use wood glue at each of the joins. On the top of the bench nail 1 × 2s cut to length to close the gaps between the slats if you like.
REINFORCING THE LEGS
Attach two 2 × 2 pieces of wood the length of the sides and one 2 × 2 piece the size of the width to the legs about halfway down to add strength to the legs.
PREPARE FOR THE WEATHER
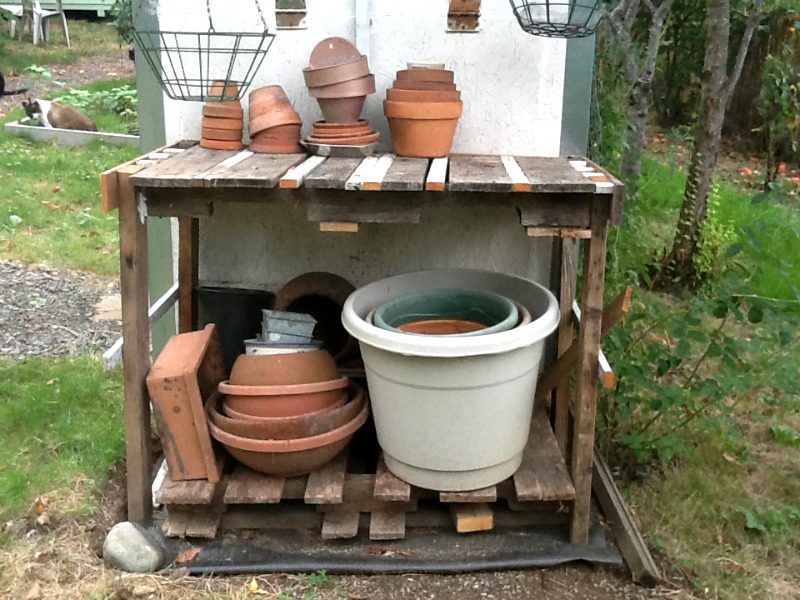
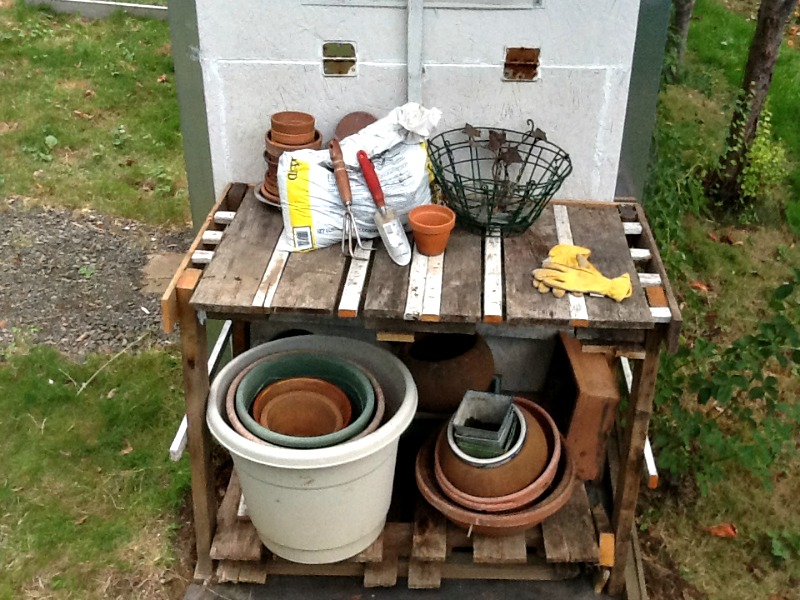
The final step was to put some wood preservative on the bench to help it survive and there you have it – a rustic, attractive place to plant seeds and seedlings without having to bend. I think I’ll spend a lot of time out here.
We made an entire potting shed out of old pallets… and it’s great!
Do I have to build it myself or can I delegate construction to my husband?
He loves anything involving tools.
Your name should be “Gail Wisewoman”! (Instead of Wiseman)
Mike, I made a potting bench using 3 old plastic bread trays
build a frame that all 3 will fit in snugly ..With the bottoms of the trays up
screw them to the inside of the frame and add legs and your finished Very easy project
3 bread trays and 2x4s
That sounds very easy Paul!
Hey Mike,
shouldn’t the pots be placed upside down so water, snow doesn’t collect.
Thanks
Anine,
Keep in mind, nursery containers have drainage holes in the bottom so the water cannot collect, it runs right out. The sun heats up the pots drying them very quickly even if they do get wet.
I made one of these similar and didn’t even bother to finish it. That was 5 years ago and I still use it with a new slat now and then. Works great to set the lawnmower up in the air when it needs attention and a myriad of other projects. It’s a real back saver!
Mike, thank you! Gave me the confidence to do this at the end of the court yard! Thank you!
Ask me about the “tree of life”! You would like it!
I want to know about the “tree of life”.