After a long season of watering your plants, garden and yard, it is time to take apart and winterize your irrigation system.
Step 1: Supplies
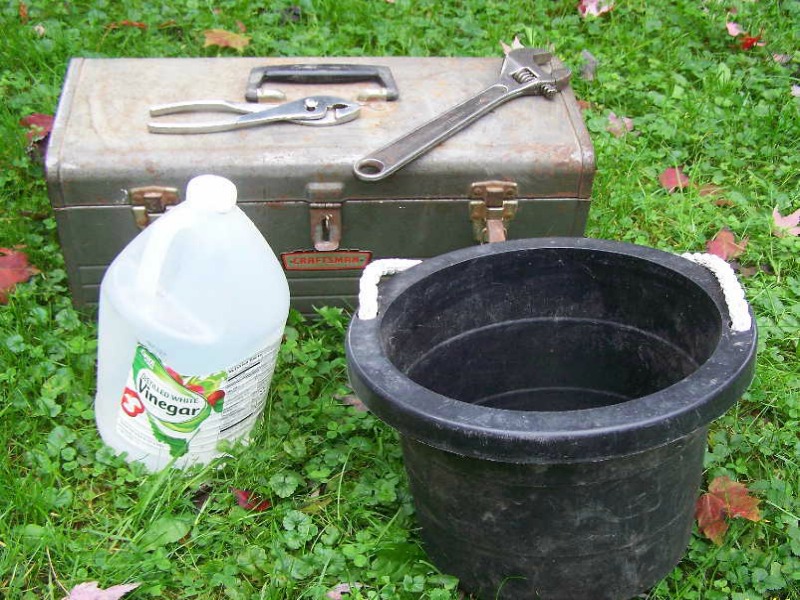 White vinegar, bucket, pliers,adjustable wrench
Step 2: Disconnect and empty rain barrel (if you use one)
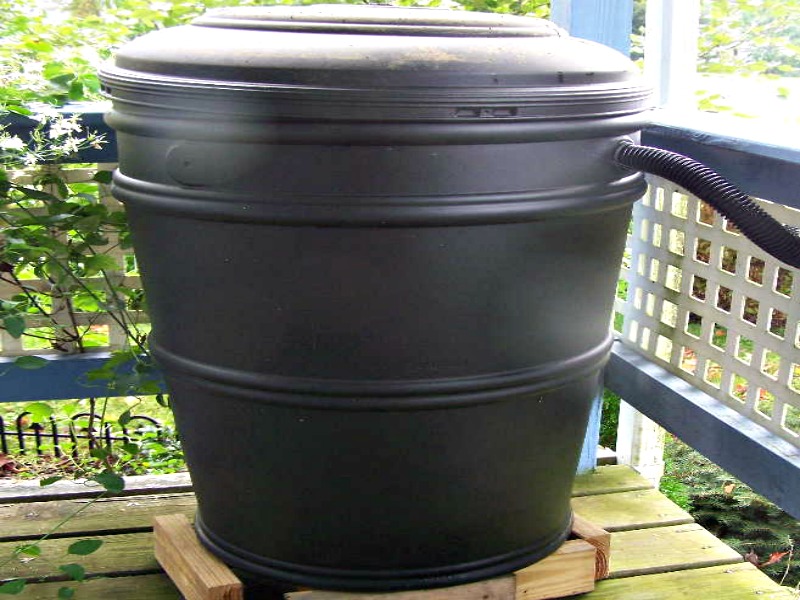 Rain barrels are excellent for catching and holding rain water. They have to be emptied at the end of the season so the water won’t freeze and crack the barrel. After disconnecting them, clean and dry them thoroughly.
Step 3: Disconnect and drain hoses
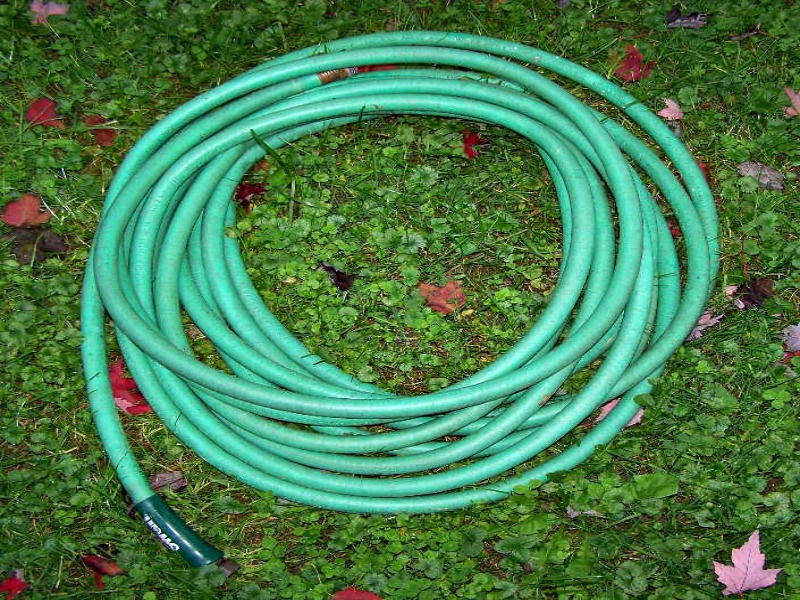 Be sure to empty any water from the hose. Roll it up and place it in storage.
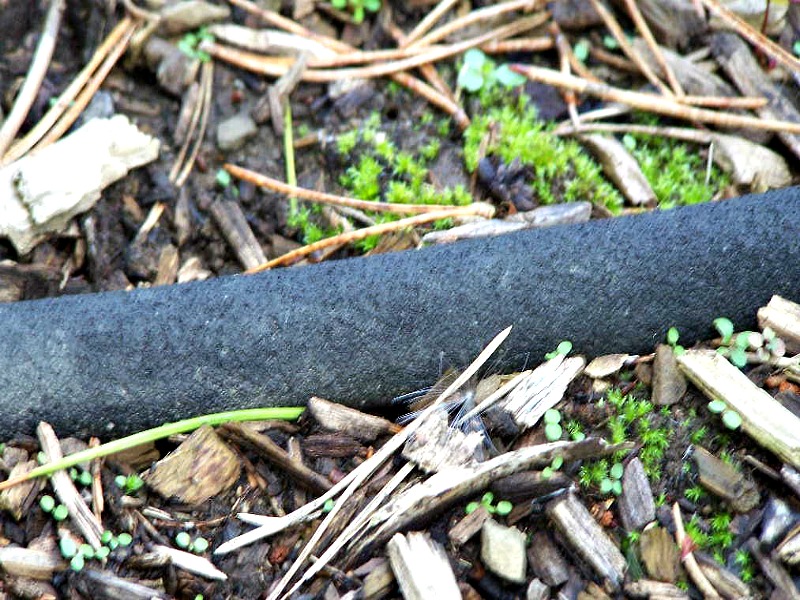 Soaker hoses do not need to be removed. The porous material will not crack or split.
Step 4: Drip lines and sprayers
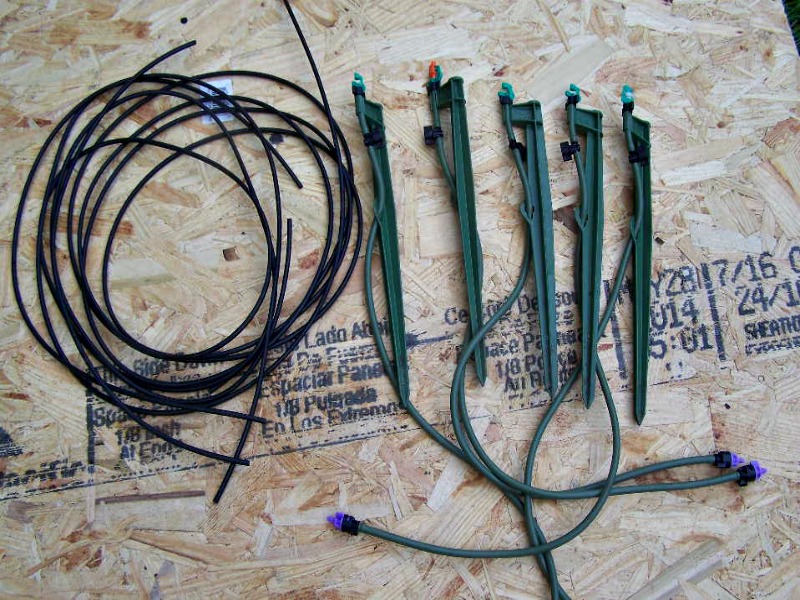 Black plastic tubing for drip irrigation can be left out. Drain any standing water.
Remove all of the smaller drip lines and put into storage.
 Remove all sprayers, nozzles and mist heads and soak overnight in vinegar to remove mineral deposits.
Use a small brush for larger items. Rinse off and dry.
Underground water lines should be drained by blowing compressed air down the line.
Timers need to be removed, drained and cleaned. Check the manufacturer’s instructions for your model.
Step 5: Spigot care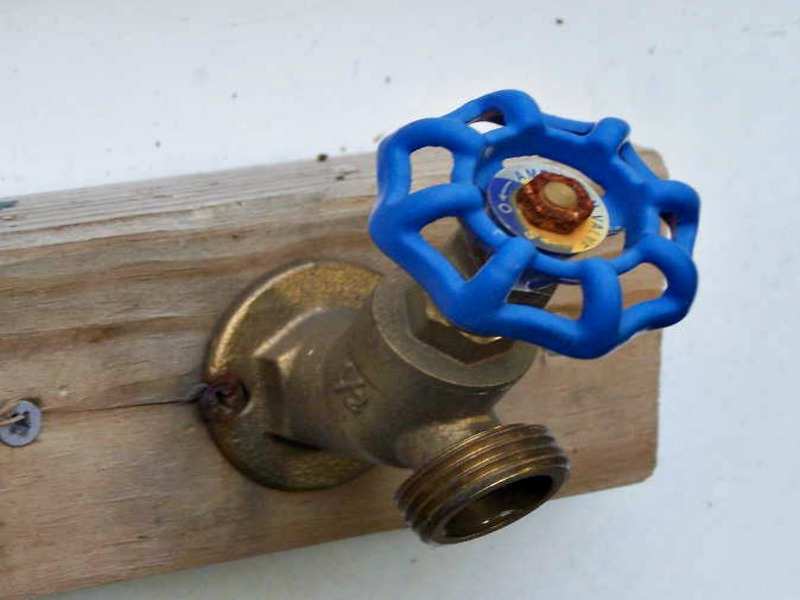
Remove any splitter valves and clean them. If you have an indoor shutoff valve, close this and open the spigot outside. This will prevent the pipe from freezing and rupturing inside your wall.
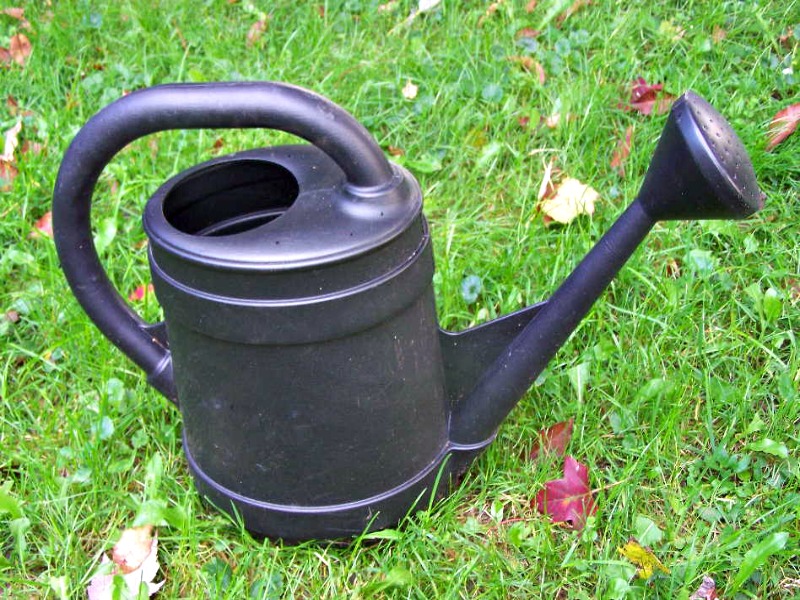 One more item that is often overlooked, but often used is your watering can. Plastic or metal, make sure it is drained and dried and stored indoors.
About the Author, Roger Higgins
I am a machinist by trade (engine lathe) and I work in the yard when at home. I only have a 1/2 acre in downtown Cranesville, PA but it is full of flower beds. My website says it all when it comes to my second career, RogersBackyardNursery.com Propagating plants and watching them grow is very thrilling for me. I enjoy doing family research online. I photograph plants all summer and also cemetery headstones for Findagrave.com. My daughter is married and my son is a senior in high school this year. My wife is my helpmate in all that I do.
Professional landscaper here… when I’m installing an irrigation system I always find the low point in my system or I design it so I have a low point… it’s really quite nice to simply add a little valve at the low point and then you simply open up that valve and the system will drain itself. We are in North Eastern PA and in this region people “Blow” the systems for their fall closing…. I’ve never liked having a built in maintenance cost for my friends so I created the little drain system that would self drain from the low spot in the yard many years ago. I usually put in some small gravel in an irrigation cover. You can simply cut a little tube out of 6” PVC and bury your valve with the stone around it with landscaping fabric above to keep your soil out of the stone and then you can make a little handle so reaching down 2’ or 1’ to twist the gate valve open for the winter is very easy…. you can actually do this with a above ground misting system too if you just stick a little gate valve in your lowest point in the lines. If you ever have an irrigation pipe break then that’s a great spot for a gate valve… a couple little valve’s in a system makes it very easy to take a walk around and open a couple of valve’s … and allow your irrigation system to drain itself….😂👍
We rely mainly on soaker hoses for our seasonal garden; we stake them down in the spring and pull them up the winter. Unfortunately since we live in a region with hard water, over time the minerals build up and the hoses put out less water. To resolve this, we purchased a small pump and run a mix of vinegar and water through the hoses to clean them out. The whole contraption fits into a large trash can and can run for several hours. It’s perfectly fine to do this as long as one removes the disc at the front of the hose and the plug at the end.
Lorian,
Interesting, thanks for sharing that technique with us.
I roll out my disconnected hoses from one end uphill to the other end down hill and let gravity drain them for me. It also helps eliminate the twists that might have developed in the hoses over the summer’s unwinding and winding them back up. That reduces kinking in the future.
Don’t forget that the 1/4 inch quick connects from harbor freight can be attached to PVC end caps then blowing out the lines are all the more easy. You can also add tee fittings where you need them in the system, and by attaching a ball valve on the tee you leave the air fitting behind it permanently. So, you open the valve…blow the line…close the valve. You can grease them and make a tape cap to keep them clean. When I used hoses to irrigate…I made an end cap to screw on and blow those also. When I design an irrigation system for a client now I always put a valve box at the lowest point in the system. In the box is a tee with a ball valve with a few shovels of stone under it. To winterize, you just open the valve.
David.. That was interesting advise but apparently I am an visual person and couldn’t quite understand your processes. A video would be well appreciated. Thanks Rob
I was interested in David’s comments. I like to remove the 1/4 inch drip lines among annual flowers each year but must cut the line and reattach the barb each spring. I would prefer a 1/4 inch quick connect.. Your mention of one at Harbor Freight was interesting but I can not find it in their catalog. Any further info would be helpful such as a part number or another source. I see medical or industrial types but very expensive.
He was referring to the universal system that attaches air tools to a compressor so that they are powered by the air pressure. Those are screw fittings like 3/8”-1/2” around…I believe that you are looking for more of a barb fitting and I find those at supply houses …. Growers Supply.com has about anything that you might want for growing plants pretty reasonable and you also might want to check out their closeout or clearance areas also…. they have great deals on shade fabric cutoff’s and I just attach my own grommets to them… instant shade tarp or canopy….😂👍. Old GrowersSupply.com has been my special place for quite a while! 😉
Thanks for the article, its very helpful! You might want to do a follow-up article showing how to use compressed air to clear out the system, which you mentioned here. Aside from this article, I would not know to do that if my father hadn’t told me. I wonder how many people think just turning the system off is enough, and then discover damage in the spring!
Rick,
Thanks for the reminder. I do use compressed air to winterize my system at the nursery. I need to capture that process on video.
Compressed air winterization is probably more better than a headache with vinegar 🙂
Think about adding a couple little gate valve’s to the lowest point’s in the system…it saves lots of time and money to just crack open the low point and then the system drains itself…
David,
You are right. Actually I didn’t write this article, somebody else wrote it for Duston. I have lots of ball valves in my system at the ends of runs and any low points. I have one spot where I actually line the line each winter because a valve would be a trip hazard.