This will be part one of a three part series on how to grow roses. We will cover all bases from planting, to pruning, to wintering.
Sometimes people are fearful about growing roses because of the rumor that they are difficult to care for and take a tremendous amount of time and chemicals to produce nice looking blooms and plants.
That may be true if the wrong variety and wrong location are chosen but after reading this series of articles about roses, these pitfalls may be avoided. To begin the process of growing roses well in the garden, the appropriate variety for your particular climate needs to be chosen.
Once a choice has been made for the appropriate variety of rose for your particular garden, several tools will be needed for planting and establishing your new rose.
Tools needed:
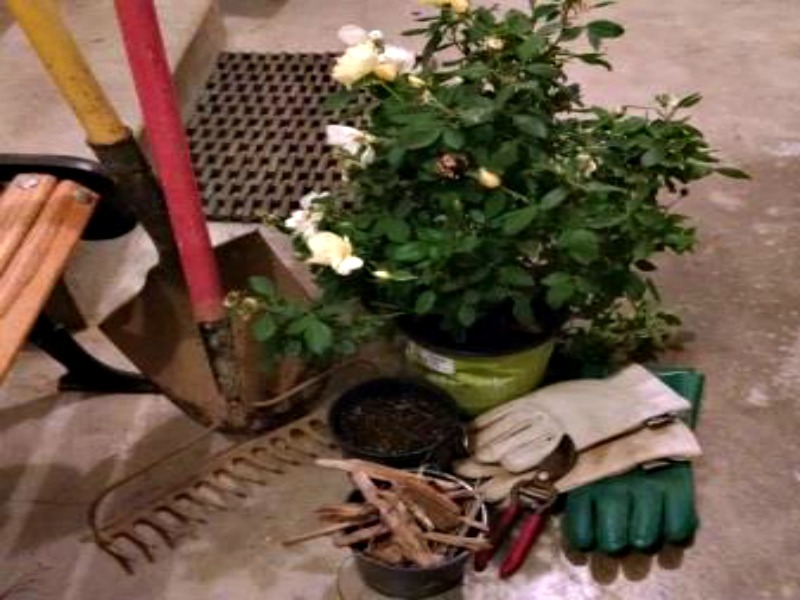
· Rose plant appropriate for your garden zone and climate – in the fall bargains on potted roses may be found at nurseries and big box retailers clearing out their stock before winter. Bare root roses, available in the late winter/early spring, are dormant plants with all the soil removed from the roots and wrapped in a protective material. On either potted or bare root roses, look for 3 to 5 strong, evenly spaced stems and a plump and fibrous root system that is not circling or overly pot bound. Avoid plants with blackened or diseased stems, or spotted and yellowing leaves.
· Bucket for soaking a bare root rose if that is the type of rose plant that is being used
· Shovel
· Rake
· Large piece of cardboard, old feed sack, tarp or something else to hold soil from soil removed from planting hole.
· Thick, leather gloves – gloves with long cuffs are a nice luxury to invest in if you plan on having a large number of roses in the garden.
· Compost or aged manure
· Mulch
· Pruners
· Hose or watering can
Once the tools are assembled, make sure to water the potted rose well. If planting a bare root rose, soak the roots in a bucket for about an hour.
Once you have watered or begin soaking the bare root plant, it is time to determine where to plant the rose.
Planting Site:
Typically, roses are long lived plants so preparation of the site is essential. Container grown roses may be planted anytime the soil is workable but it is best to avoid planting when it is too wet, too dry or the soil is frozen. Bare root roses are planted in the late winter or early spring as conditions permit. If there is a prolonged period of poor conditions, keep the roots moist until conditions improve.
Choose a site that has at least 6-8 hours of full sun. If the rose receives less than that it will gradually weaken over time, become sickly, be more susceptible to disease and insect attack, and eventually, it will die.
If you are located in a very hot climate, place your new rose in a location where it will receive some afternoon shade to prevent it from getting scorched by the sun.
If you garden in a very cold climate (zone 5 or below), planting a rose near a wall can protect it from drying winter winds and it can reflect some heat to the plant to help it thrive.
Choose a location to allow for plenty of air movement so plan on at least 2 feet between the rose and other plants. The greater the air movement, the less likely that mildew and other fungal diseases will develop.
Choose a spot with well-drained soil and that has a neutral to slightly acid soil (somewhere between 6 and 7 on the pH scale). If you don’t know the pH of your garden soil or its fertility level, you can take a soil sample and have it analyzed at most county extension offices.
Planting Method:
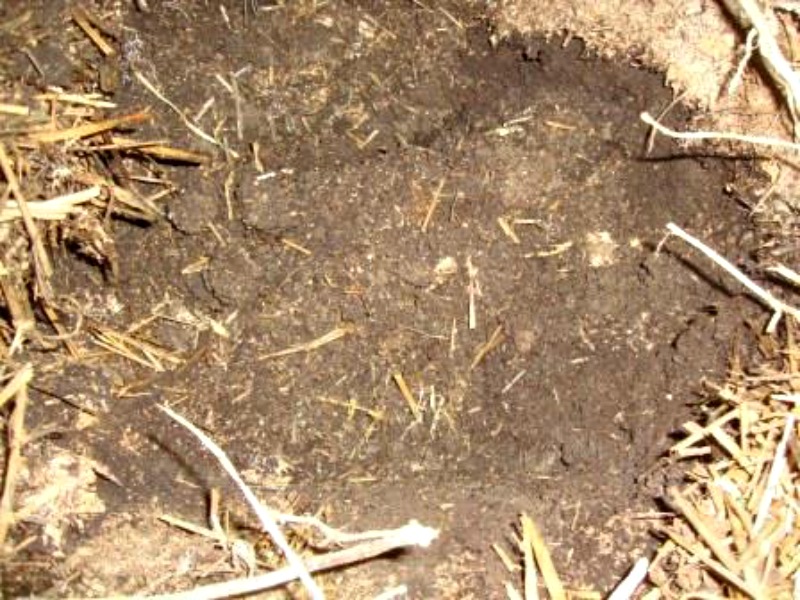 Dig the planting hole with the shovel. Follow the normal planting guidelines for potted plants –2 times the width of the pot and 1 ½ times the depth of the pot. Use a large piece of cardboard, old feed sack, tarp or some other material to hold the excavated soil to avoid disturbing the surrounding flower bed or lawn.
For bare root plants dig a hole that is wide enough to hold the roots without bending them and deep enough so the bud union is an inch or two below ground. (The bud union is where the desirable flowering plant is grafted or attached to a vigorous root and appears as a bulge on the stem.)
Use the shovel to loosen the sides and bottom of the planting hole in order to allow for good root penetration.
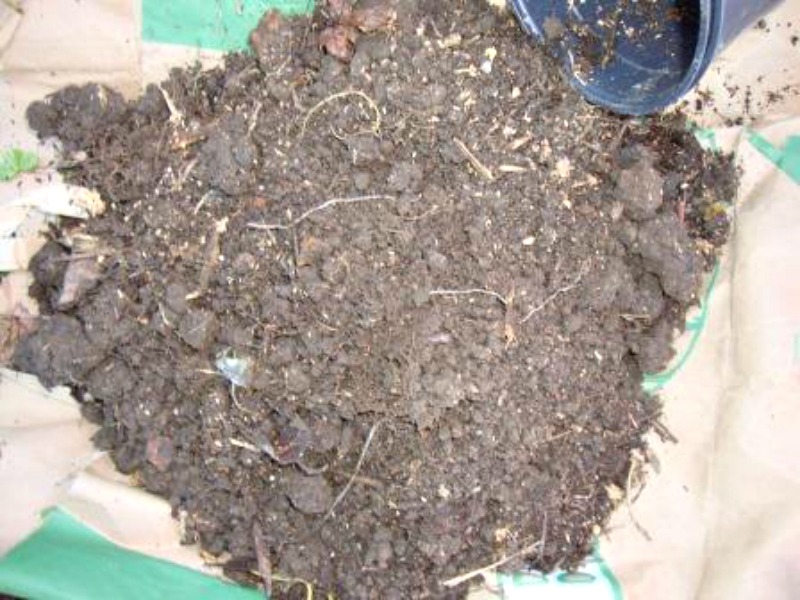
Mix in a little bit of compost or aged manure into the hole. Make sure that you are maintaining the 2 times the width and 1 ½ times the depth rule after incorporating the compost.
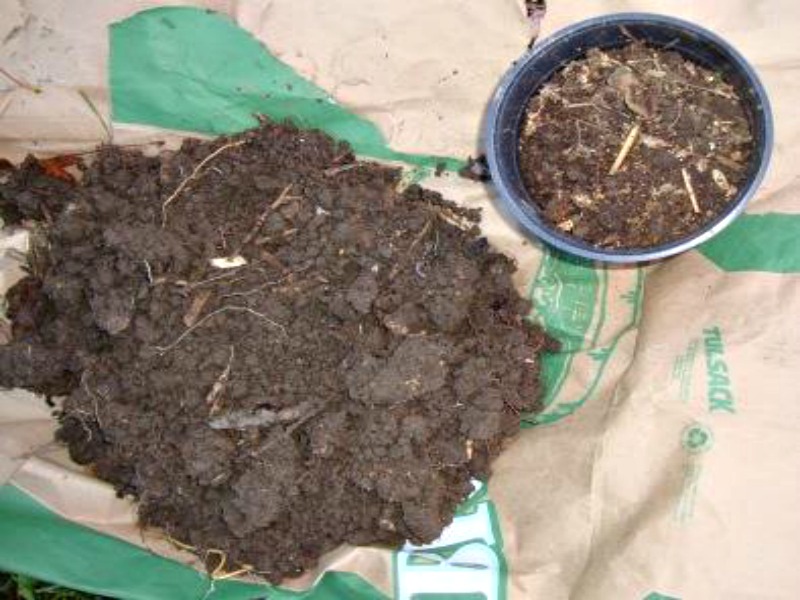 Mix compost or aged manure into the excavated material. This will be used to backfill the planting hole after the rose is settled in place.
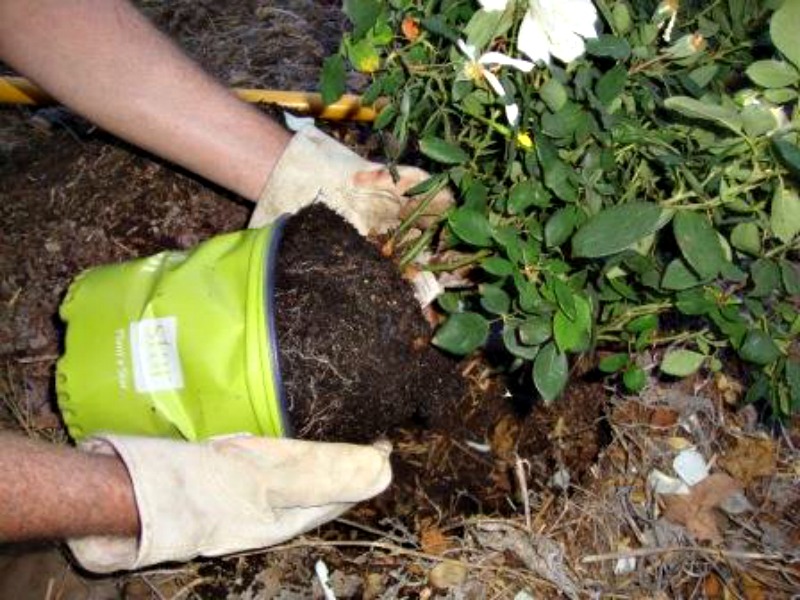 Carefully slide the plant out of the container.
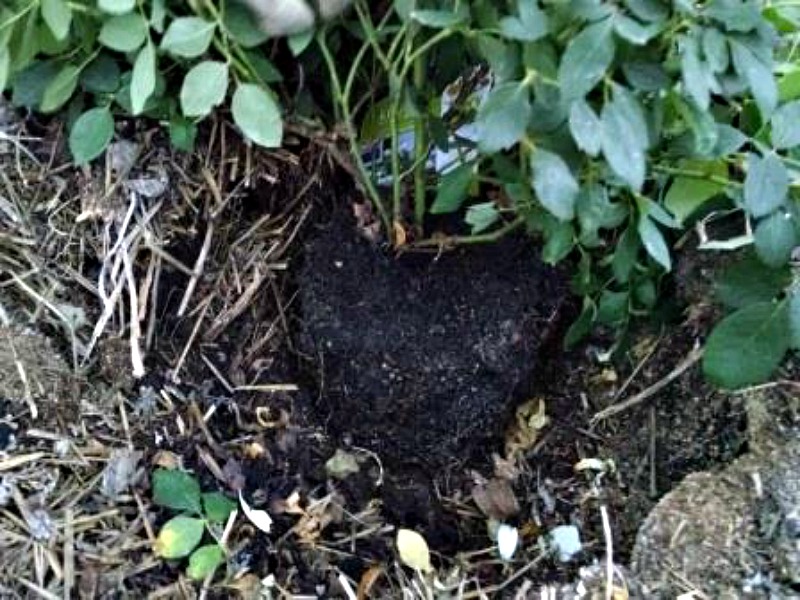 Place the rose in the hole making sure it is at the appropriate depth. The soil level of the potted rose should be at the same level in the planting hole. If planted too deeply, the rose may smother and die.
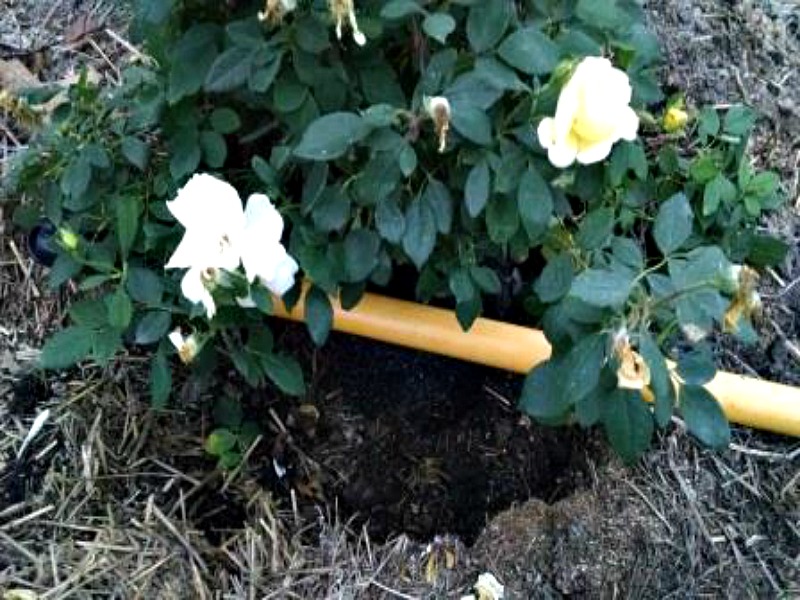 Placing the shovel or rake handle across the top of the hole to see if the soil of the new rose plant is at the same level will tell you if adjustments need to be made. If the new plant is sitting low, remove the plant and add soil to the bottom of the hole and check your level again.
If the plant is sitting above the surrounding soil level, remove the plant from the hole and dig more soil out of the bottom of the hole. Double check level again and then you may proceed to backfill the hole.
If planting a bare root rose, make a mound of soil for the roots to sit on and drape around. Remember to set it at the appropriate level so the bud union is an inch or two below ground level.
 Backfill the rose with the mixed soil. Firm the soil as you backfill to remove air pockets and to make sure there is good contact between the roots and the amended soil.
Use the rake to smooth the soil.
Water the plant in well.
 Apply a layer of mulch to conserve moisture, reduce weeds, stabilize soil temperatures, reduce overall stress, and encourage healthy roots. Over time the mulch will break down and it will increase organic matter in the soil. Replenish mulch as necessary to keep a depth of 2-3 inches.
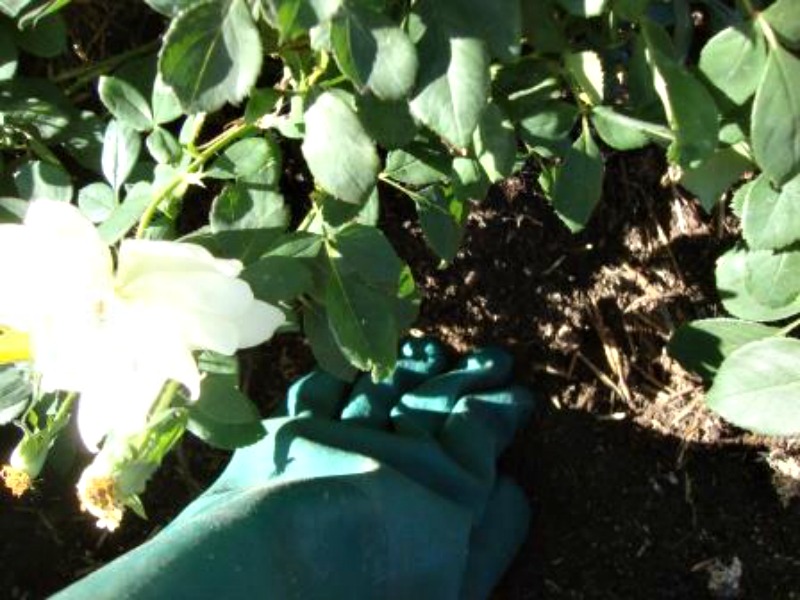
If any stems are damaged in the planting process trim those back with hand pruners. Remove any shoots that appear weak, dead, or too long in proportion to the rest of the plant. When trimming is completed, the rose should have a good, balanced framework of stems.
Look for the general care instructions, including deadheading, in part two of this series and in part three look for pruning tips, insect and disease control along with winterizing.
Mike, as usual you are spot on with your rose tutorial. I’ve found after following all the prep that you recommend, that the rose plant requires a lot of water.. Here in mid-Michigan, we had a wet fall, and my roses that had started to wane, grew 10″, with lots of new blossoms. Keep up the good work, my friend. You help so many of us out in the world.
Thanks Mary, I appreciate that.