How to Grow Roses: Part 3 – Pruning and Winterizing
In this last part of the Growing Roses Series, we will be discussing good techniques for keeping your new rose in the best of health.
Tools needed:
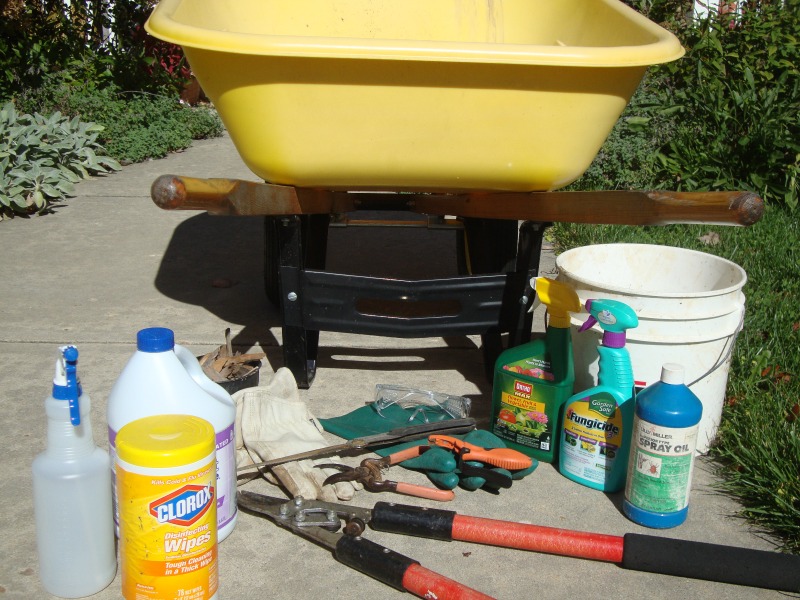
tools needed for rose care
Pruners, loppers and/or saw
Sharpener for tools to make sure cuts are clean to promote quick healing
Disinfectant to clean blades between cuts so any disease may not be spread – Clorox type wipes or dilute bleach solution placed in a spray bottle (1 oz. bleach with 10 oz. water to make a 1:10 solution)
Safety goggles
Thick leather gloves and/or special rose pruning gloves that have longer cuffs to protect forearms from scratches
Wheelbarrow or bucket to remove trimmings
Insecticide, Fungicide and/or Horticultural Oil
In very cold climates (typically below zone 5) a rose cone, wire mesh, tomato cage, burlap, twine or something to wrap around the rose bush to hold in mulch to protect from drying winter winds and very cold temperatures.
Mulch
Straw or pine needles
Pruning Roses:
The best time to prune roses is in late winter or early spring. If at all possible, prune in clear, dry weather with sharp tools to allow for quick healing of the rose bush. In damp, rainy weather transmission of fungal spores in the rain drops, allows infection to start in the tissue exposed during pruning.
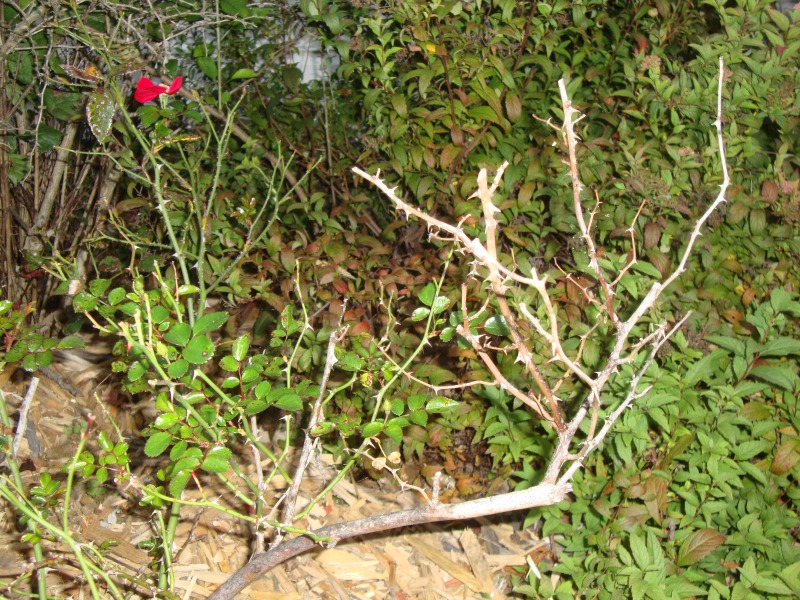
Remove dead branches
Put on leather gloves or rose gloves and safety goggles to protect hands and eyes from thorny branches. Use pruners for small growth, loppers for thicker stems and a pruning saw for very thick stems.
Stem with diseased tissue that is brownish near the top and dark, almost black, towards the base of the stem
Cut back the diseased or dead tissue by cutting at least one inch below the damaged area with a slanted cut at about a 45° angle even with or about a ¼” above an outward facing bud, sloping away from the bud.
Use Clorox type disinfecting wipes or a diluted bleach spray to disinfect pruning tools between cuts so disease isn’t spread throughout the bush or transmitted to other roses.
Many empty spray bottles have ounce markings to make it easy to make your own disinfecting spray by placing 1 ounce bleach and then 10 ounces water, shake gently to combine and then spray to cover both sides of your pruning tools.
When pruning is completed, disinfect your tools one last time and thoroughly dry them so they won’t rust.
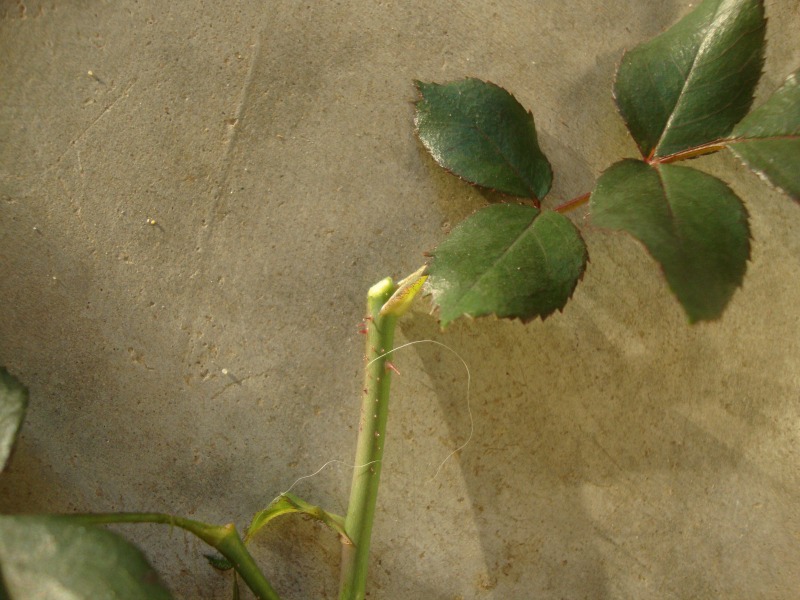 Look at the center or pith of the stem when trimming back dead or diseased material. If it is white that means all the diseased or dead tissue has been cut away.
Trim branches to an outward facing bud or leaf. The buds will develop new growth in an outward direction. Angle the cut so water will flow away from the new bud.
The bottom of the angled cut should be in line with the base of the bud or just slightly above it. The angle of the cut should not be too steep but around a 45° angle.
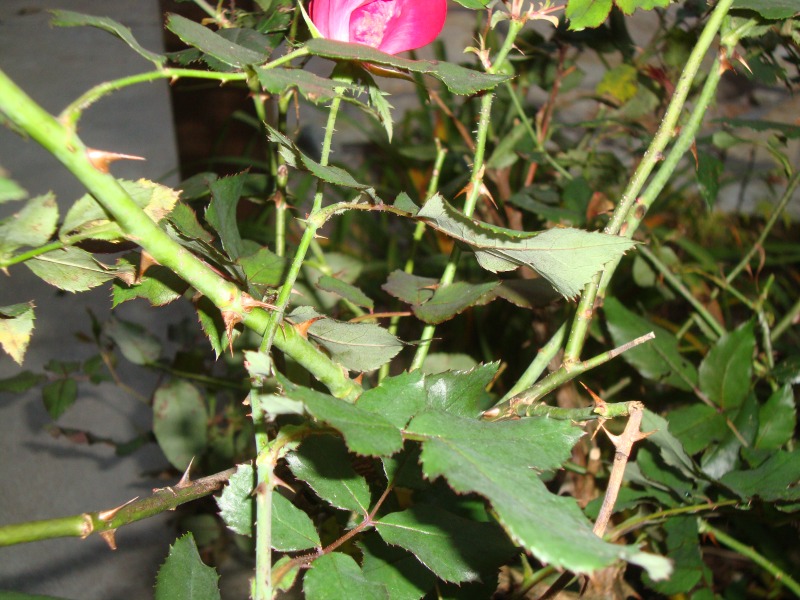
Remove any growth, called suckers, emerging from the base of the plant below the graft union. You can tell if the growth is coming from the root stock because the leaves look different than the foliage at the top of the plant. Remove suckers as soon as they are noticed.
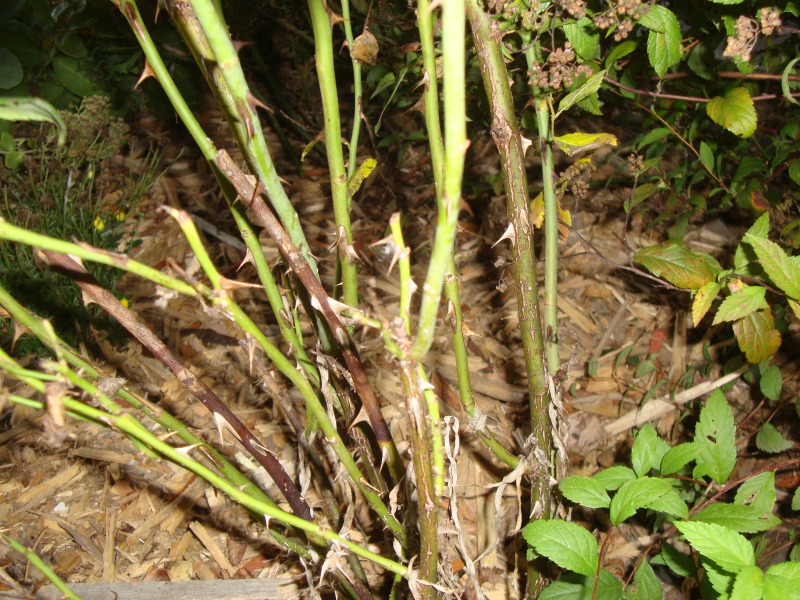
Branches overlapping each other growing towards the interior of the bush
Remove any crossing branches. This will open up the interior of the bush by promoting good air circulation to reduce conditions favorable for fungal diseases.
 These crowded branches need to be removed to open up the center to promote good air circulation reducing the chance of fungal disease development.
Winterizing Roses:
The general rule for preparing roses for winter is to not do major pruning in the fall except for the removal of dead or diseased canes and to stop fertilizing six weeks before the average first frost date.
A rose will “harden off” or prepare to go dormant for the winter by slowing its growth rate with the gradual shortening and cooling days of fall.
The plant cell walls thicken in response to these environmental cues in order to survive the winter.
The better care your rose has received during the growing season, the better it will survive winter with the least damage. If disease or fertility issues have not been addressed, the compromised state of the rose makes it more difficult for it to survive a difficult winter.
Make sure your rose is well watered going into winter.
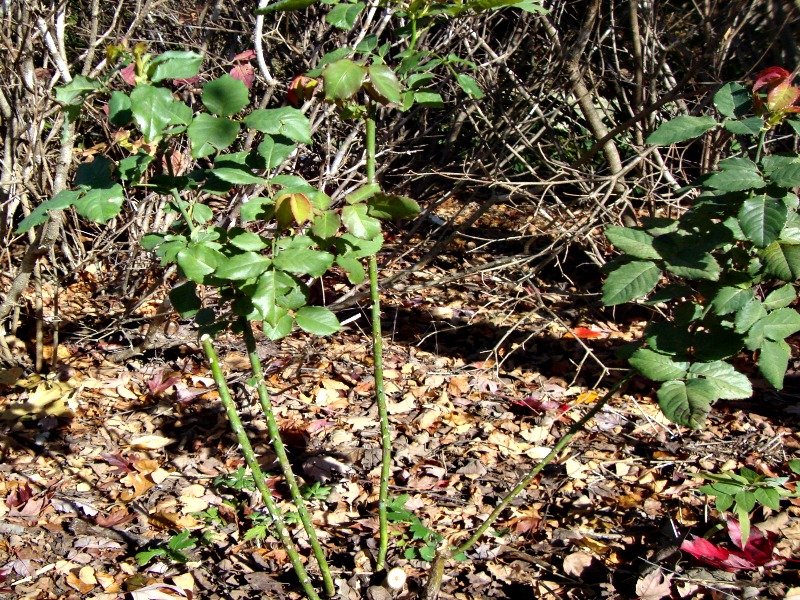
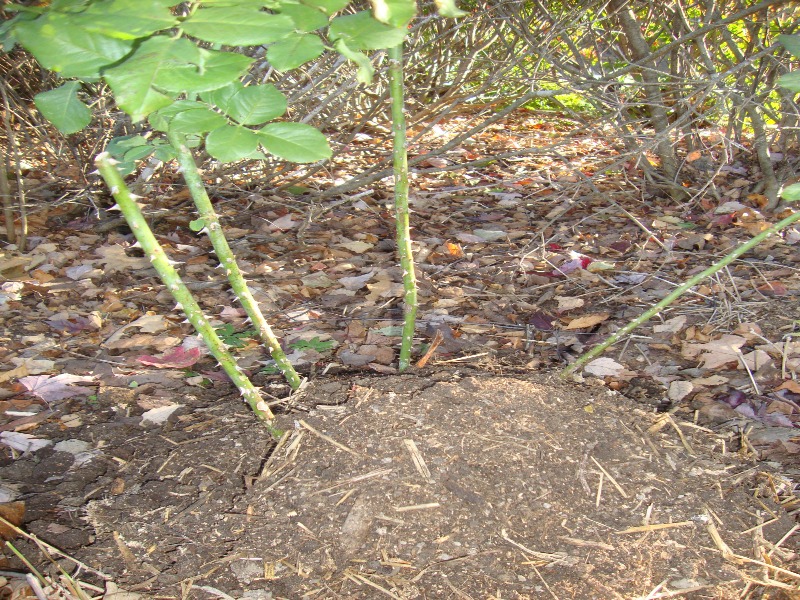 After a few hard frosts but before the ground freezes in cold climates (where temperatures regularly fall to 10° F or below), mound soil or compost a foot deep, around the base of the plant.
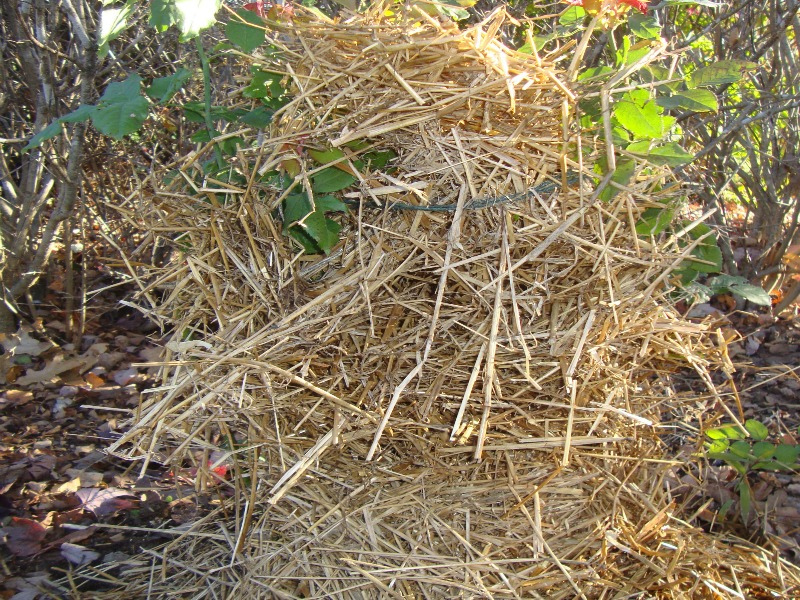
Once the ground has frozen, a rose cone, sturdy mesh cylinder, tomato cage, burlap or twine to tie the canes together, may be used to hold lightweight mulch placed on top of the soil or compost.Remove any remaining leaves before winterizing your rose. Use a lightweight mulch like pine needles or straw rather than heavy mulching materials so it doesn’t smother or hold in too much moisture causing rot to set in.
In the photo below, the twine is around the rose canes with the straw placed between and around the canes.
 Wrap the canes in something like straw and then wrap the straw covered bundle in burlap and tie the bundle back to the support.
Cover the base of the climber with a foot tall mound of soil or compost.
Once the weather turns in the spring, remove the covering from the canes, the mound from the base, and tie the canes to the support structure.
In summary, remember the key principles!
- Start with disease resistant varieties appropriate for your garden zone and climate.
- Plant the rose in full sun and maintain good air circulation by not letting other plants crowd your rose. If necessary, prune back the other plants to allow for sufficient sun and air.
- Maintain rose health by providing sufficient water at the root zone, keeping the foliage dry.
- Apply regular fertilizer being careful not to over fertilize and stop fertilizing six weeks before the average first frost date.
- Remove faded and spent flowers as well as any diseased or dead foliage on a regular basis through the growing season.
- Prune annually and remove the debris from the garden by throwing into the trash or burning the waste.
- If there are disease or pest problems and you don’t know what it is, consult with a knowledgeable extension agent or nursery worker for diagnosis and control suggestions.
- Winterize, if necessary for your climate, to protect your rose from winter damage.
By following the recommendations here and in the first two articles in this series, you can have great success in growing roses and you will be able to “stop and smell the roses” in your very own garden!
Mike made you a nice video on how to trim rose bushes! Click here!
Mike,
You are a true giver. World needs more you’s.
Thank you for the knowledge.. Come on Spring
Thank you Bruce, your kind words are appreciated.