Step 1- Buy a Stevia plant
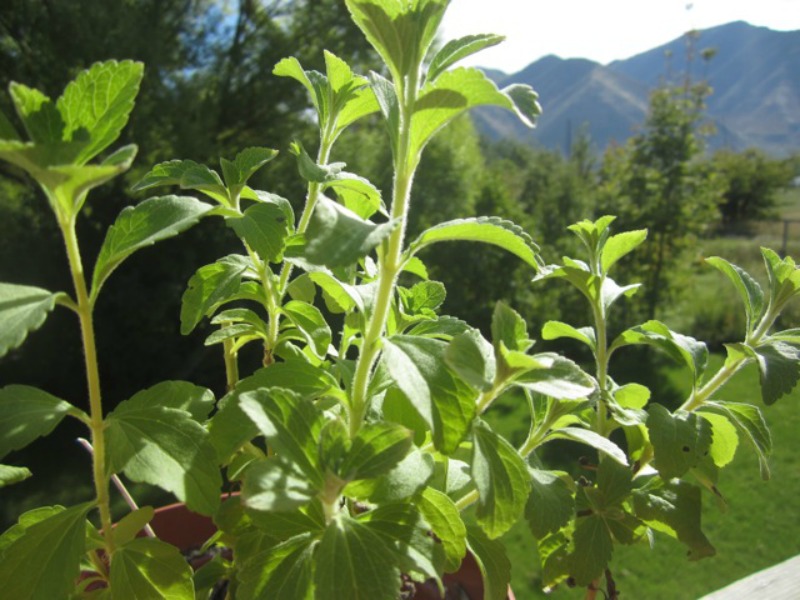 Nursery grown stevia plants are sold for their especially sweet leaves. I bought mine from a nursery online and it was only 4″ tall when it arrived. You can take cuttings to create more stevia plants.
Choose a 6″ deep (or larger) pot with good drainage.
Stevia grows well in a pot. If you live in an area that freezes, this pot will come indoors in fall before the first frost and live in a sunny window until spring temperatures allow it to be taken outdoors again.
Stevia survives the winter just fine and will perk right up when moved back outdoors. If you live in a sunny climate without freezing temperatures, plant it directly in your garden and stevia will grow to about 2 feet tall (and wide).
Step 2- Grow in full sun and water frequently.
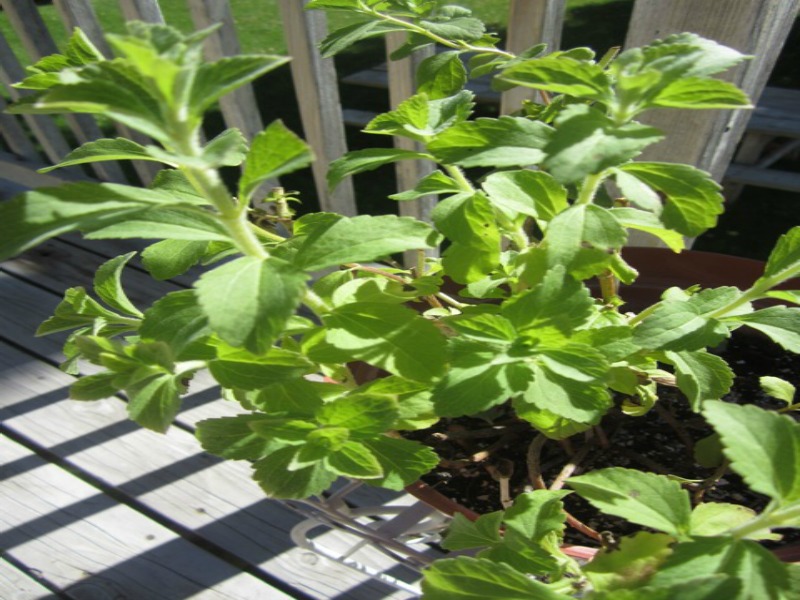 Stevia likes full sun, but it can wilt under a hot summer sun. In very hot summer climates, stevia likes some afternoon shade. If you keep your stevia in a pot, it is easy to slide it under the patio table if it gets too hot.
Step 3- Prune
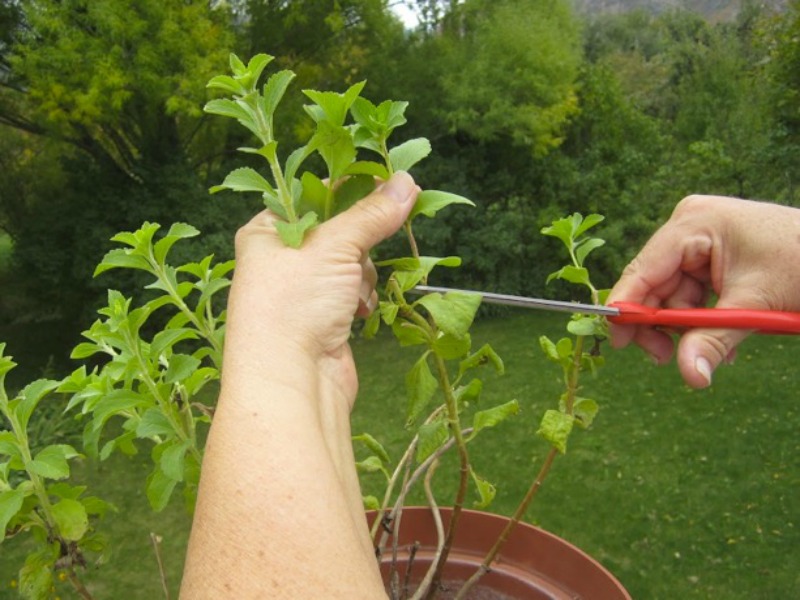 When your Stevia plant is about 6-8″ tall, pinch off the tip to encourage side branching.If you don’t do this, you’ll end up with a straggly plant with lots of stem and less sweet leaves.
Stevia will set a white flower on the end of each stem in late summer if allowed. I don’t allow it. Just keep trimming and harvesting every 4-6 weeks through the growing season, and you’ll have your supply of “sugar” for the winter months.
Step 4 – Dry
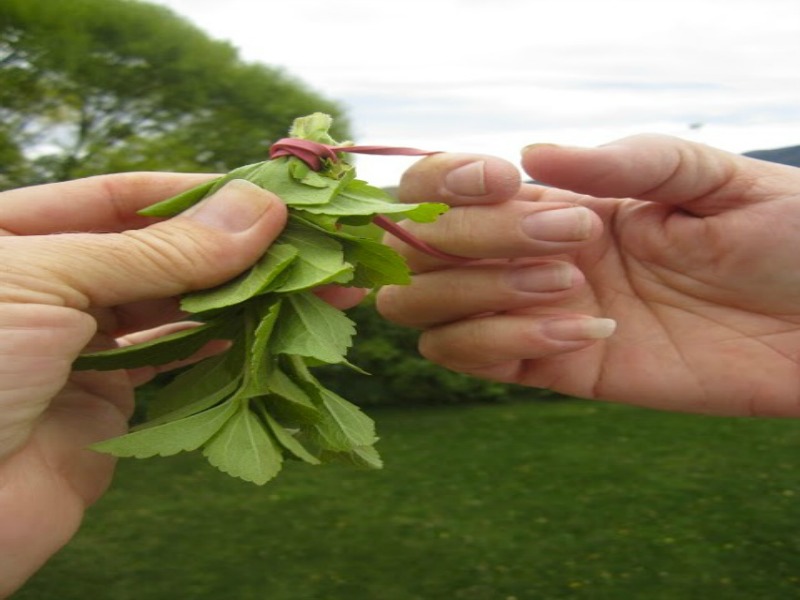 To preserve your harvest, simply rubber band together small bunches of stem cuttings you have made while pruning. Your “ponytail” should not be bigger than about 3/4″ in diameter to allow thorough drying to the interior.
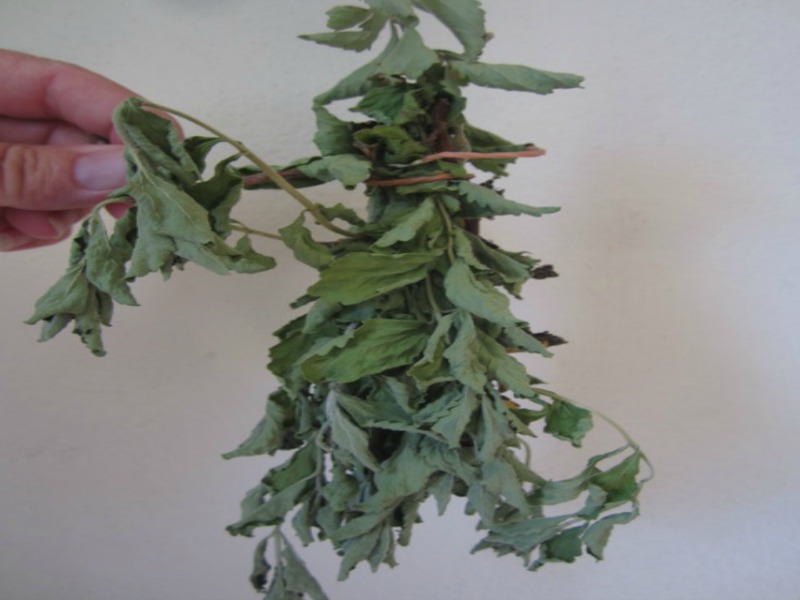 Hang upside down, as you would any herb, in a shaded place with good ventilation.
I hang stevia indoors to prevent insects from landing on it. After approximately a week, depending on the humidity where you live, your stevia leaves will be crackly dry.
Step 5- Process for storage
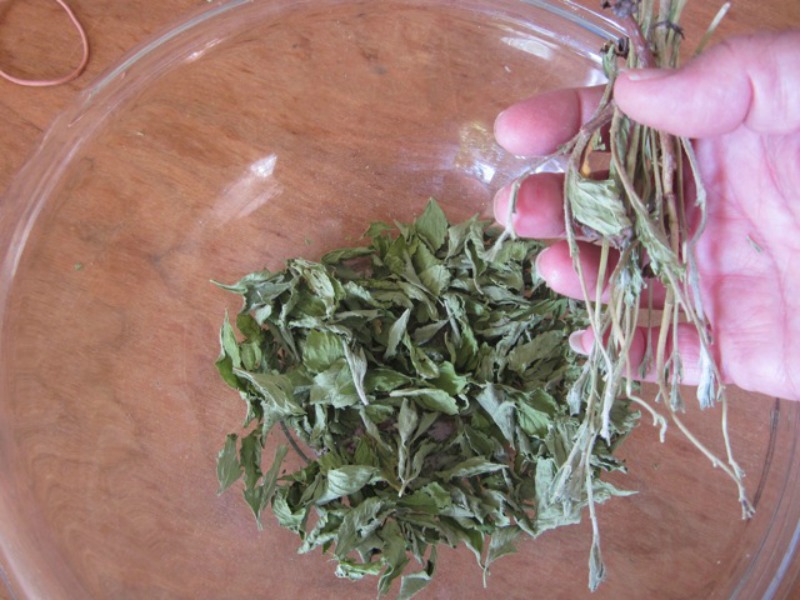 Remove the rubber band from your dried bunch and strip the leaves off the stems.
Discard stems and any discolored leaves.
Store stevia in whole leaf form for teas or water extraction as it stays fresher longer in the leaf form than powdered. If you intend to use your stevia in cooking, the powdered form is more convenient. Just put your stevia leaves into the blender and process into a smooth powder.
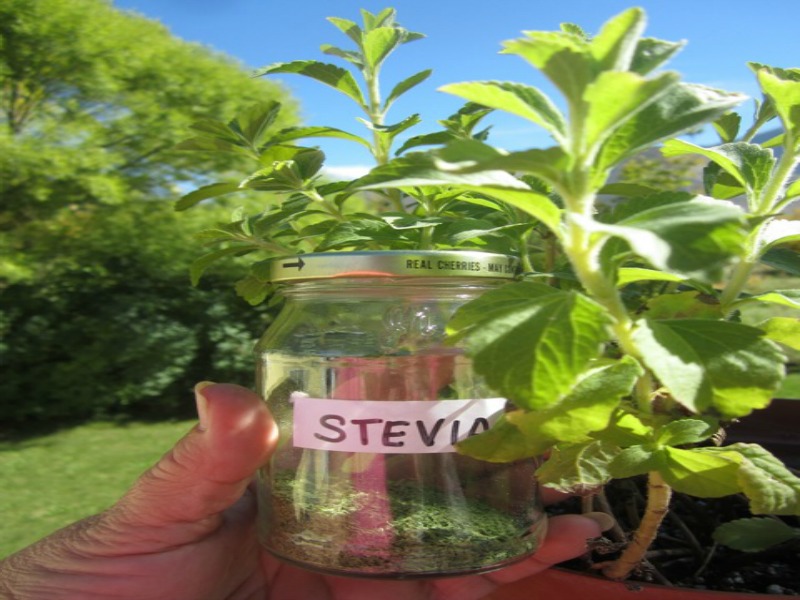 Store in a labeled glass jar with a tight fitting lid.
Step 6- Use it!
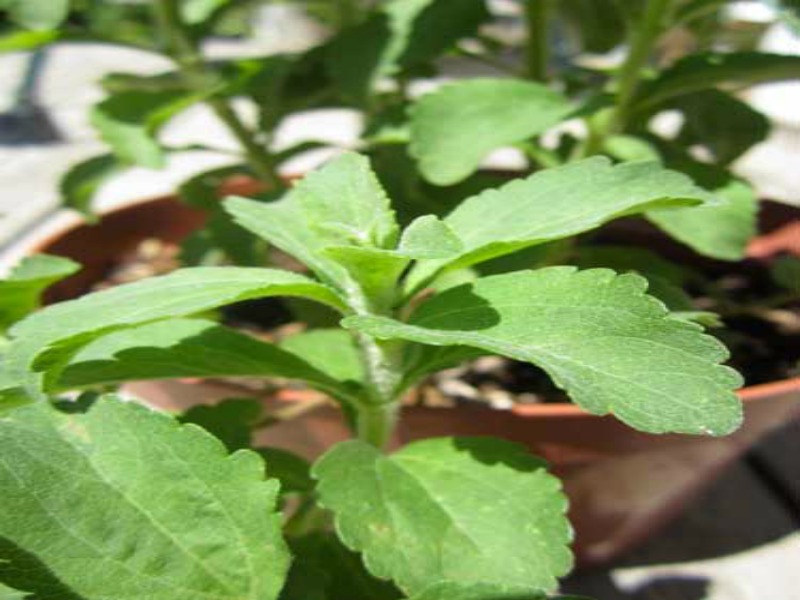 You can pluck fresh leaves off your stevia plant any time and add to your blender to sweeten milkshakes, smoothies, and other liquids. Just 2-3 fresh leaves will sweeten one cup of liquid. Fresh stevia will impart a green color, and sometimes that is very nice.
Fresh stevia leaves and fresh mint leaves together make a delicious sweet mint taste and light green color in lemonade, milk, ice cream, yogurt and kefir. Yum!
About the Author-Diane H.
I love to garden! For me, it is miraculous to see plants grow, nourishing and therapeutic to work in the garden, and health-building to eat your own homegrown foods. Fresh raspberries from the garden can’t be beat! I am not a fan of backbreaking work, though, so the easy way in gardening always has appeal to me. My husband and I are the parents of 7 children whom I home schooled. We live on 7 acres in the Rocky Mountains, with a short growing season.
Thank You for sharing this!
how do i access the videos ,etc now that i am in the university?
Ricky,
Check your Email, you should have received detailed instructions. I sent Duston an Email, he’ll contact you tomorrow morning. If you still need help contact him at [email protected] -Mike
Good Article – Have you tried to make stevia extract?. Stevia was super easy to grow and propagate for us. We grew some this year- here are my experiences of growing and propagating. http://earthlychow.com/growing-and-propagating-stevia-stevia-rebaudiana
I have indoor clotheslines strung across the back room in our house, and last fall I harvested a lot of goldenrod (Solidago species) for tea, just as the flowers were starting to open, then hung the 8-12″ clippings on the clotheslines to dry, using the same clothespins I use for laundry. It worked great: they were in the shade so they didn’t bleach-out as they would have in sunshine, there weren’t any bugs or birds to ‘decorate’ the clippings, and in just a few days the leaves and flowers were plenty dry enough to strip off for storage in gallon jars.. I did the same with catnip (Nepeta) and will likewise dry other wildcrafted herbs this year.
Becky, I would love to chat with you sometime about herbs, …how to grow and use them.
Laura