This fun winter project is on how to keep bees by building Mason bee nesting boxes. You can use a block of untreated wood, a piece of firewood, hollow sticks of bamboo, or paper straws you make or buy.
You can use plastic straws, but they may allow mold to develop which might harm your bees, it is still worth a try.
STEP ONE: GATHER YOUR SUPPLIES
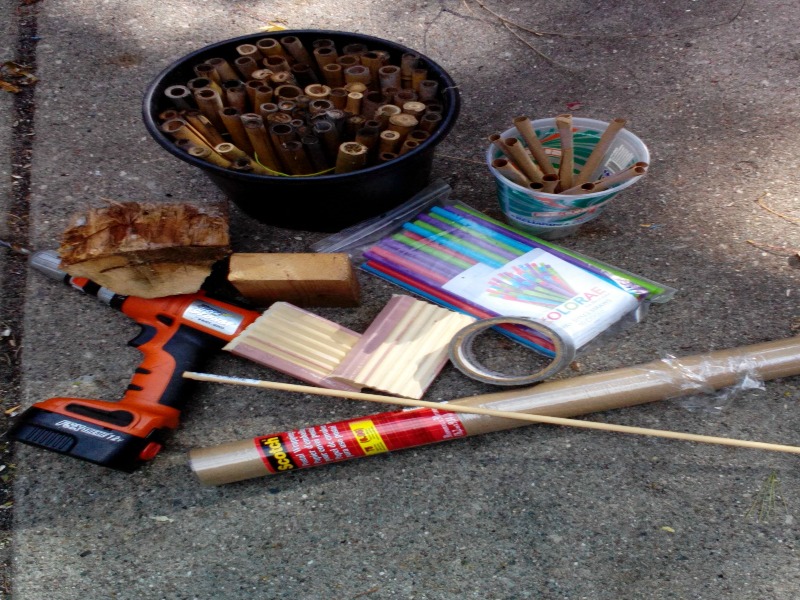 You will need a drill, wood – pieces of 2×4, molding, or firewood, a roll of brown postal paper ($4.00 at Michael’s), a dowel 5/16 in diameter (50 cents), a roll of tape and something to house your finished straws. I am using an empty milk carton, but you could use anything. It should be water proof.
Your house should have a roof to protect it from rain, one that projects a couple of inches farther out than the tube openings.
When hanging it, it is recommended that you hang it at a slight downward angle to prevent rain from entering the tubes.
STEP TWO: DRILL HOLES WITH A 5/16 DRILL BIT INTO YOUR WOOD
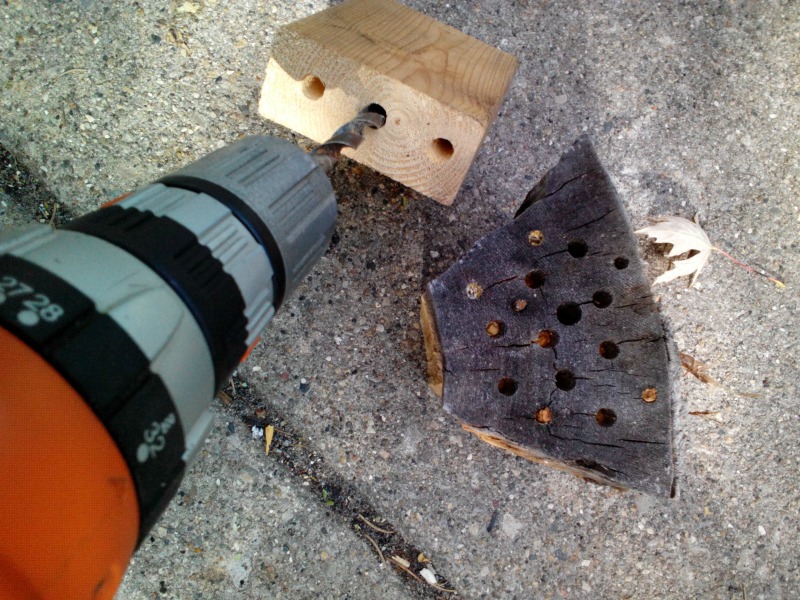 There is no “right” number of holes or pattern necessary except that the tubes/holes should be 5/16 diameter and 4-9 inches deep or long.
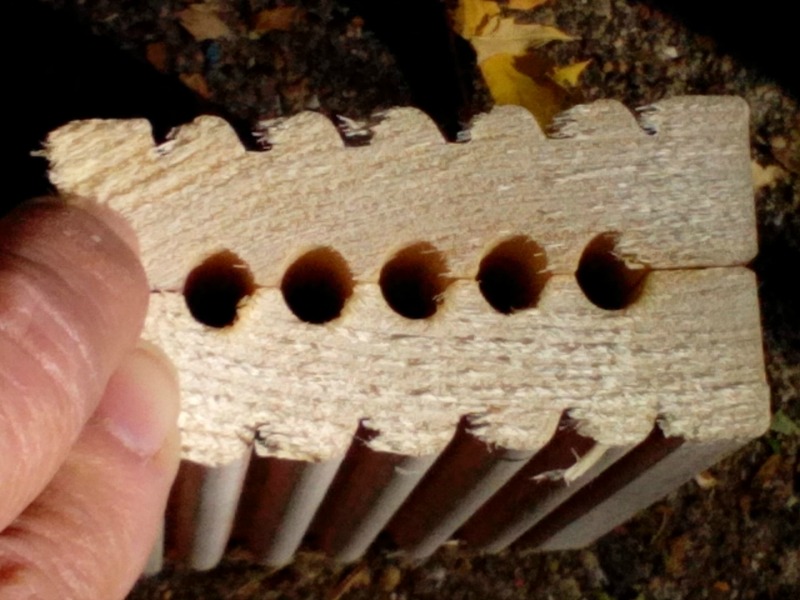 If you don’t have any wood lying around you can use door molding, like this one that has grooves already in it. When you put two pieces together they form a perfect tube for the bees. Tape or rubber band the two blocks together. These have been cut 6” long.
STEP THREE: MAKING PAPER STRAWS
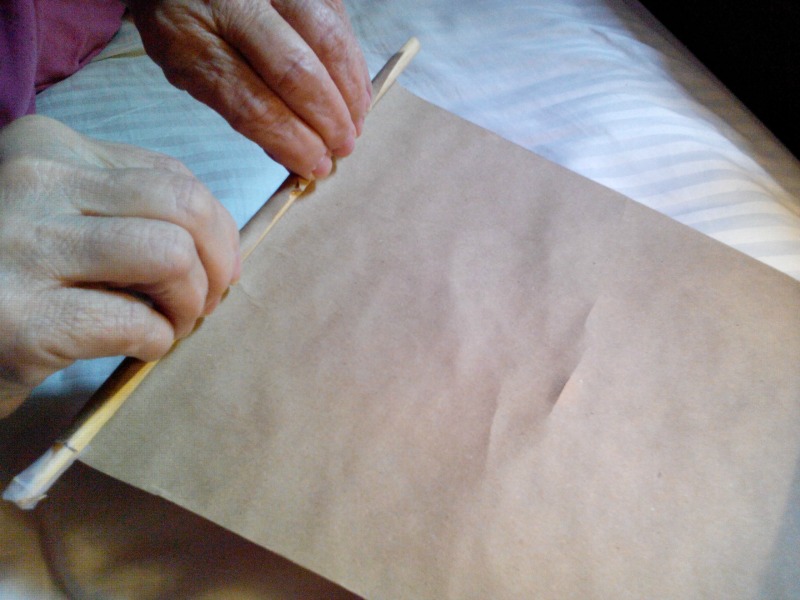 Measure the height of the container you will be placing your paper straws into, cut your dowel an inch or two shorter. Cut a length of paper the same width as your dowel.
I find it easiest to roll the whole length of paper a few times before cutting as the paper is stiff. Roll a straw and cut the paper, tape it while still on the dowel. Slide it off.
For the health of the bees, paper straws are now recommended.
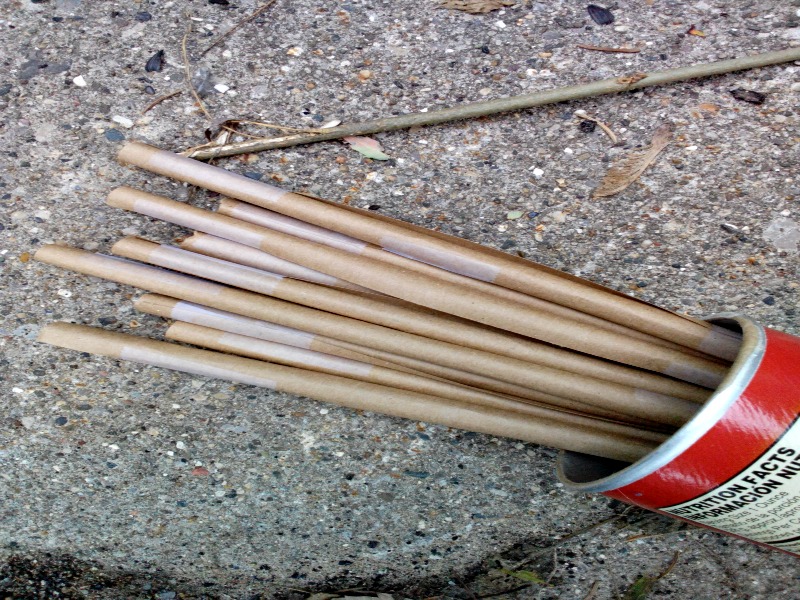
Here is a photo of both my paper straws and a package of store bought straws in my water proof milk carton.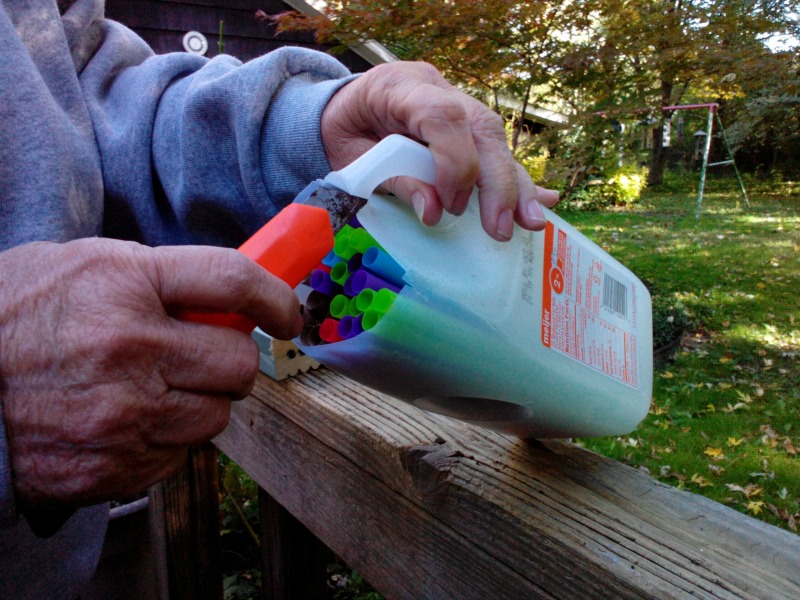 I have cut the top off but kept the handle, you could hang it by the handle, but I wrapped a bungee cord around the whole carton so it doesn’t blow in the wind.
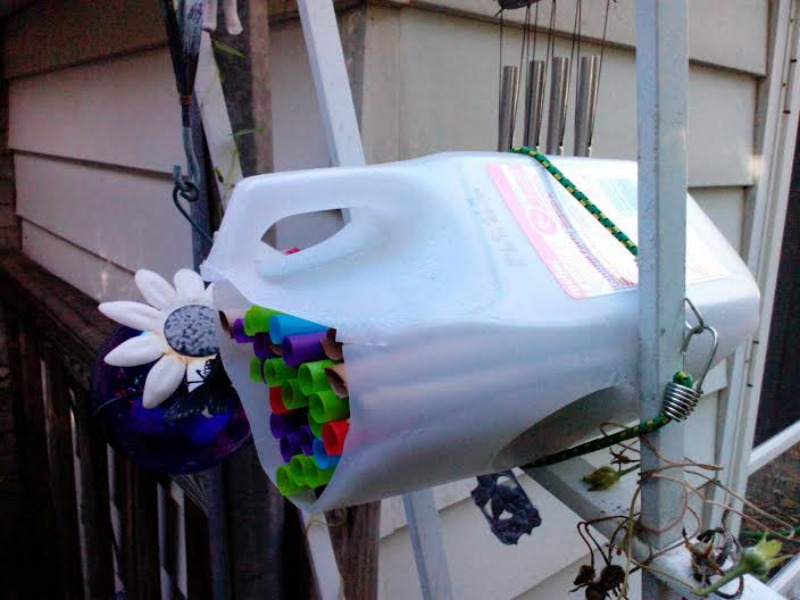 You can see the handle portion provides an extended roof over the straws.
STEP FOUR: NO EFFORT BEE HOME
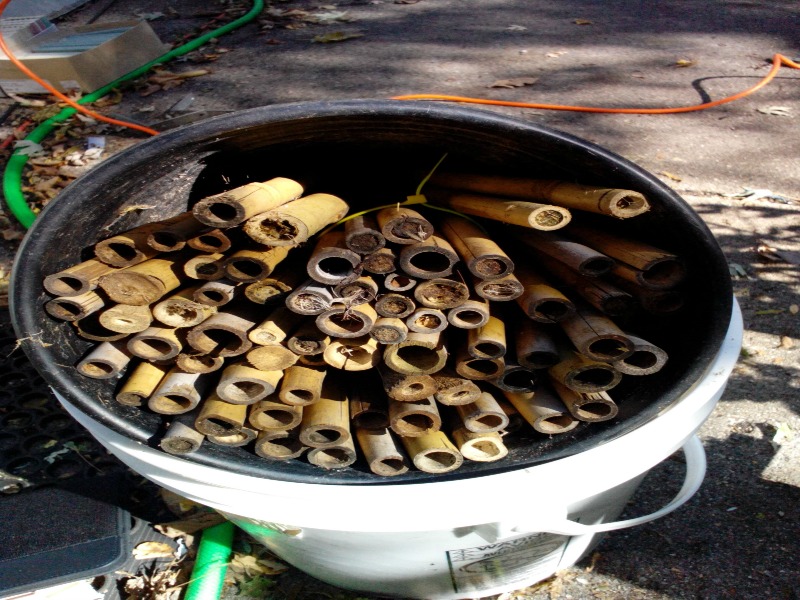 If all of the above seems like more work than you want to tackle, then this bee house is for you.
It only requires that you obtain some bamboo sticks, cut them to the desired length and, as you can see in the photo, stuff them into an unused plastic pot.
Hang your bee home facing south east so your bees have the morning sun to warm them.
 In this photo you can see the line of cut leaves these bees used to make their nests inside a piece of the door molding I used.
This final photo is of my old bee house, it incorporates 2×4’s with holes, firewood with holes, several molding blocks, and dozens of bamboo sticks.
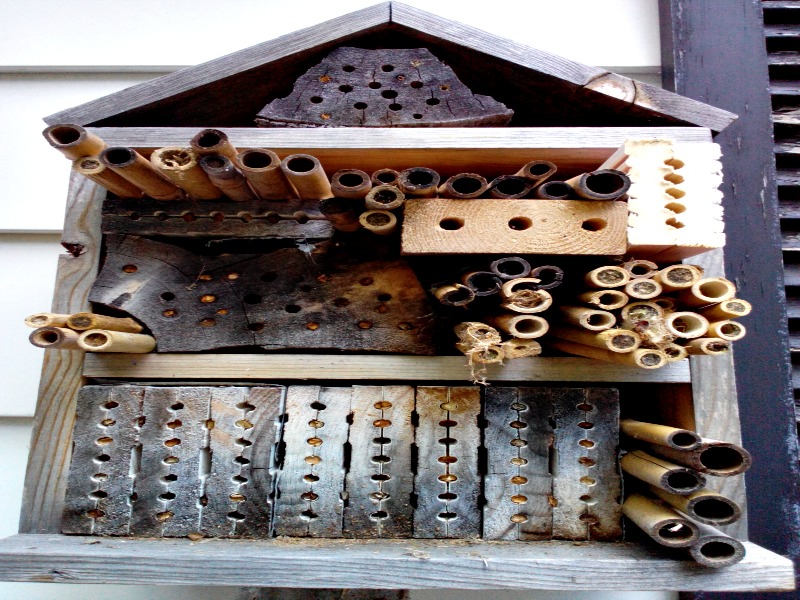 It hangs on the south east corner of my home near a window so I can watch the activity.
It does have some problems….
It should have had a roof with an over hang to keep the rain out, and I should have cut the bamboo sticks shorter so they didn’t stick out. But as you can see by the filled holes, the bees found it acceptable.
Entomologists here in Michigan are working with the owners of apple orchards to invite native bees onto their property, it might prove essential to the health and long term productivity of our food supply. Which is also why every farmer and plant grower should be trying to do the same.
Author
Karyn Flynn
Leave a Reply