Daylilies come in a variety of colors and multiply quickly. When they are overcrowded they compete for water.
Divide and transplant Daylilies to give them room to grow.

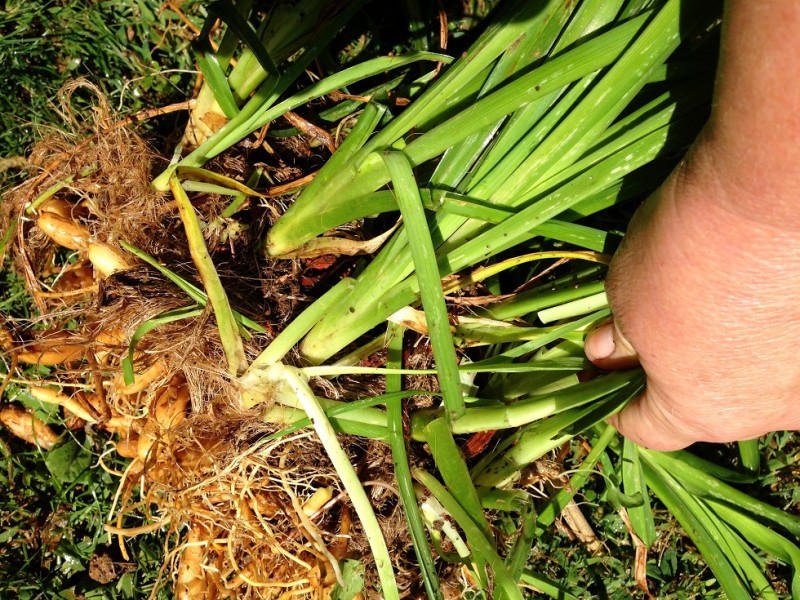
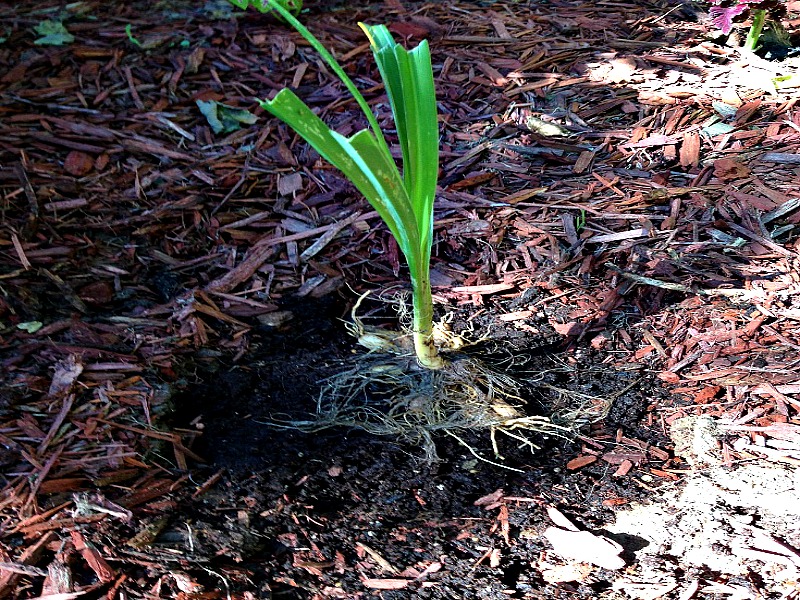
The three parts of the daylily are the foliage which are the green tops, the crown which is white, and the roots.
 The best time to divide daylilies is after the last one blooms in the summer, but they can be divided until the end of Autumn. The roots will have lots of time to grow in the ground and make beautiful flowers for next year.
You can also divide daylilies in the Spring.
Step 1: Gather Supplies Needed
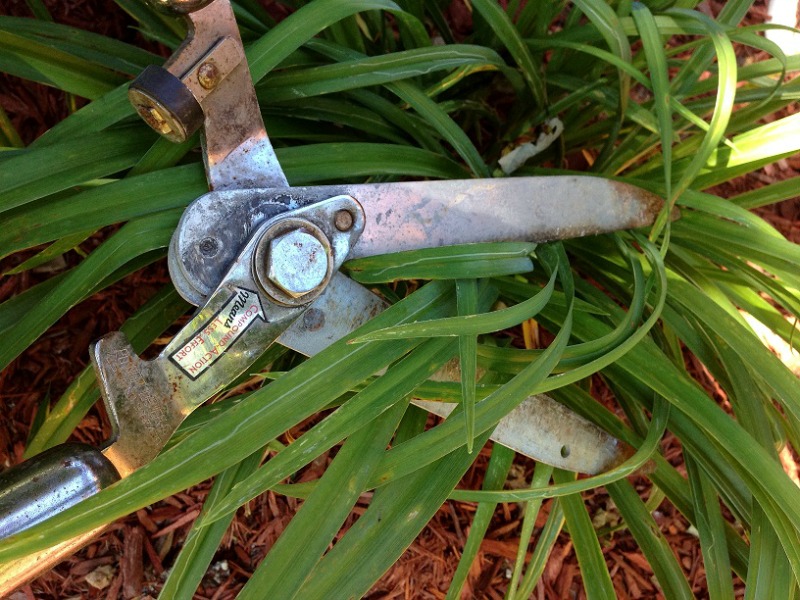
You will need: a spade or shovel, knife, scissors, pruners or lopping shears, garden hose

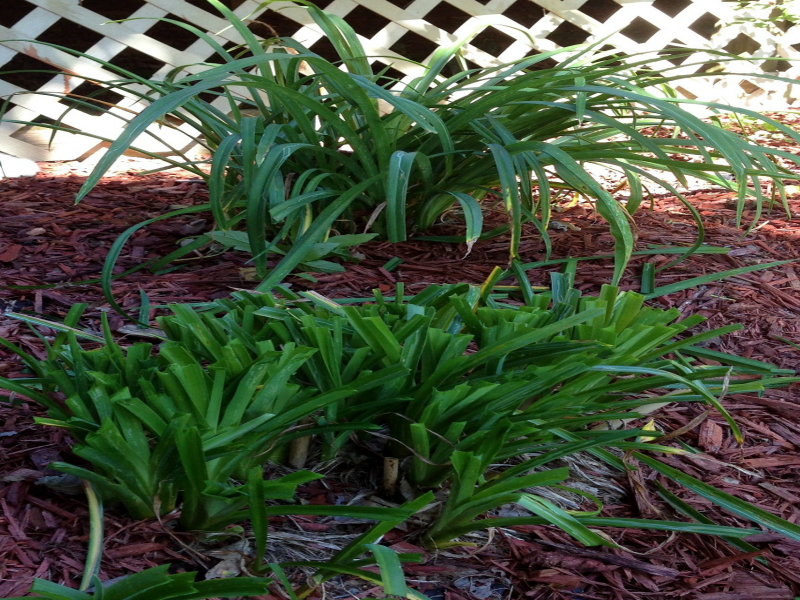
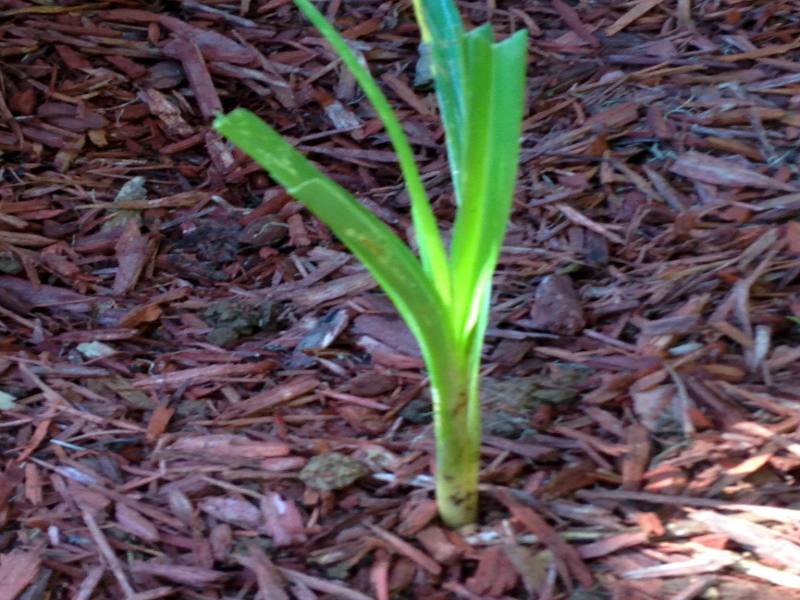
Step 2: Cut off half of the green foliage
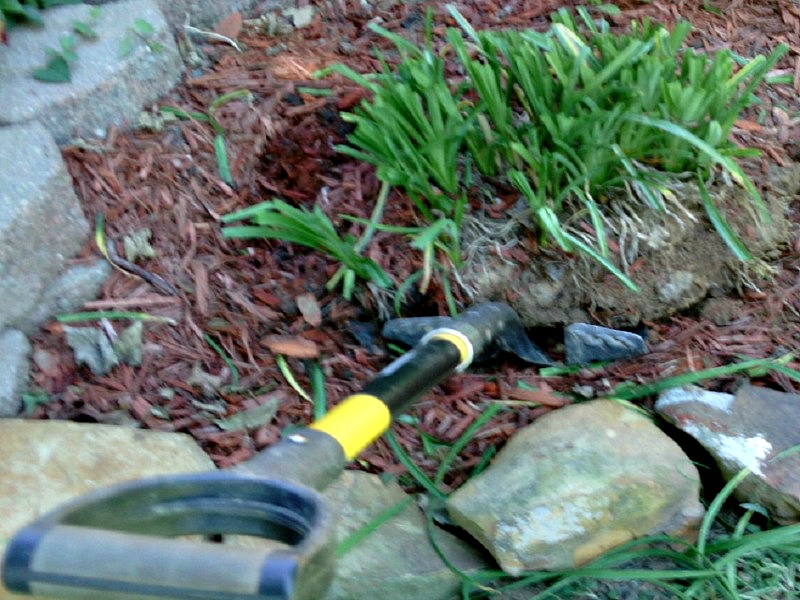
Step 3: Dig a hole all the way around the plant
Step 4: Lift the plant out of the ground and gently shake off any loose dirt
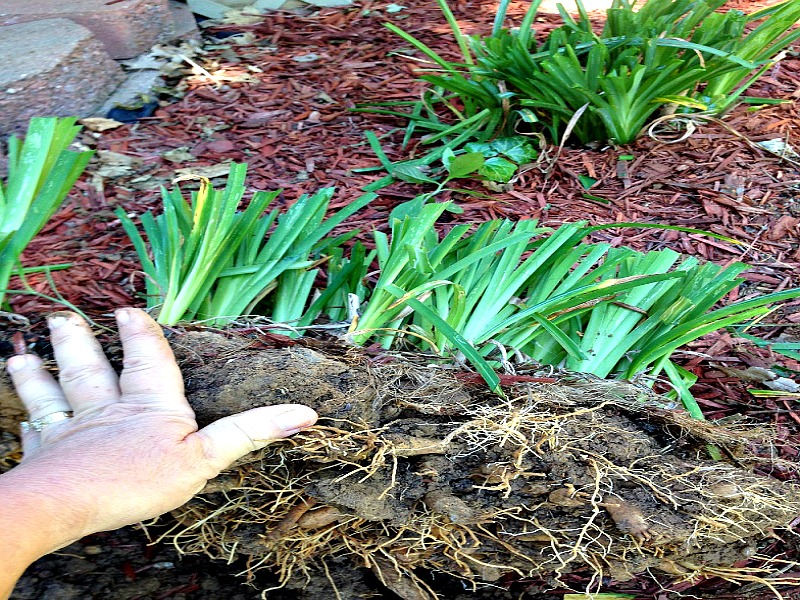
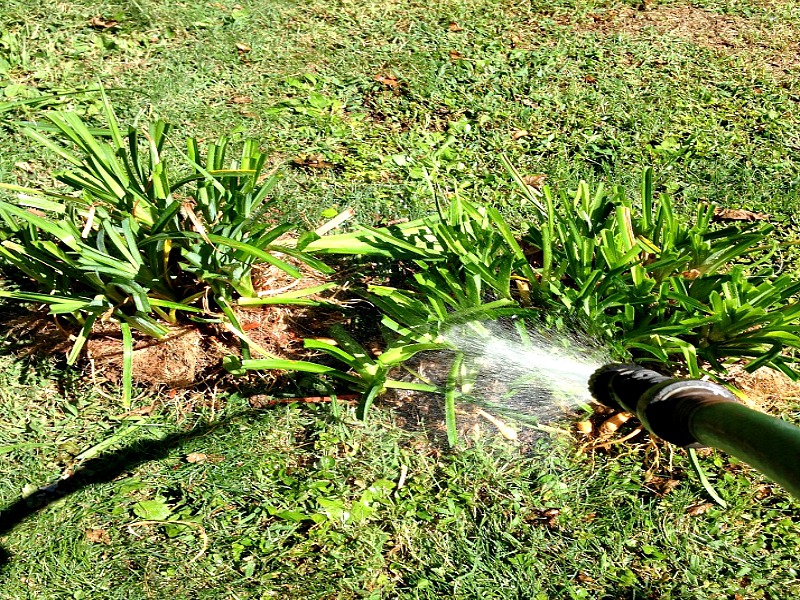
Step 5: Spray the plant with hose to remove any extra dirt from the roots

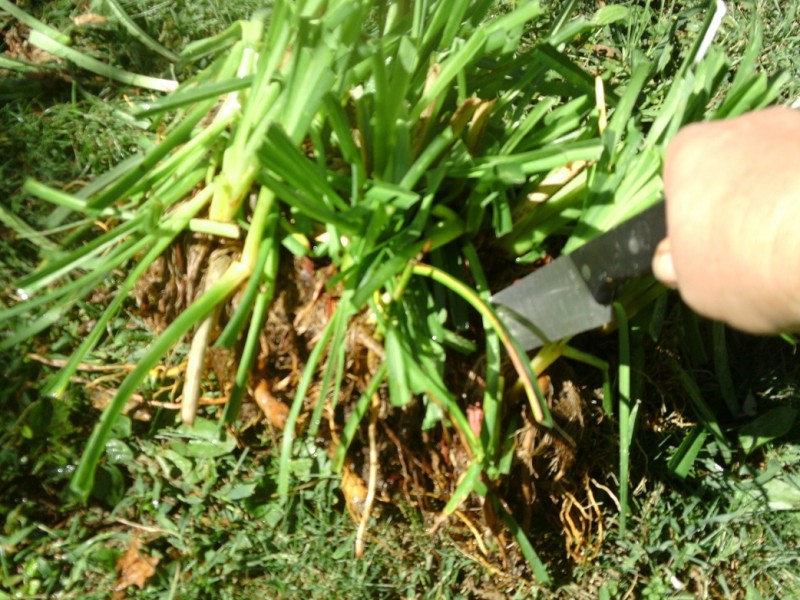
Step 6: Separate the Fans
Wiggle the daylilies back and forth to separate the fans. A fan is one plant that has a green top or foliage, a crown, and roots.
If the fans do not come apart easily you may need to cut into the crown with a knife just enough until you can pull apart the fan.
Once separated, spray again with hose to remove excess soil.
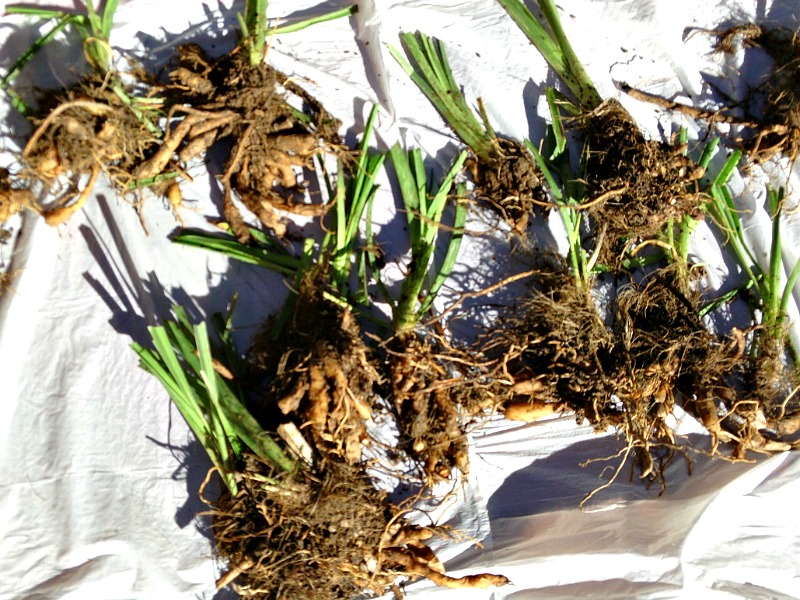
Step 7: Dry the Fans
You may either set the fans into full sun for up to three days to allow the plants to dry or immediately plant them. If you choose to let them dry, this may prevent crown rot, keep insects away, or prevent disease to the plant.
Step 8: Transplanting the Daylily
Dig a hole that is two times as wide as the roots and about a foot deep. Make a mound in the center of the hole. Put the plant on top of the mound (with the green side up) and spread the roots all the way around to the bottom of the mound. Cover the plant with dirt and make sure that the crown is at the very top of the hole.
Step 9: Add Mulch or Fertilizer
If you choose to add fertilizers, use 2 teaspoons of plant food for each square foot of dirt. You may choose to add mulch instead of fertilizers.
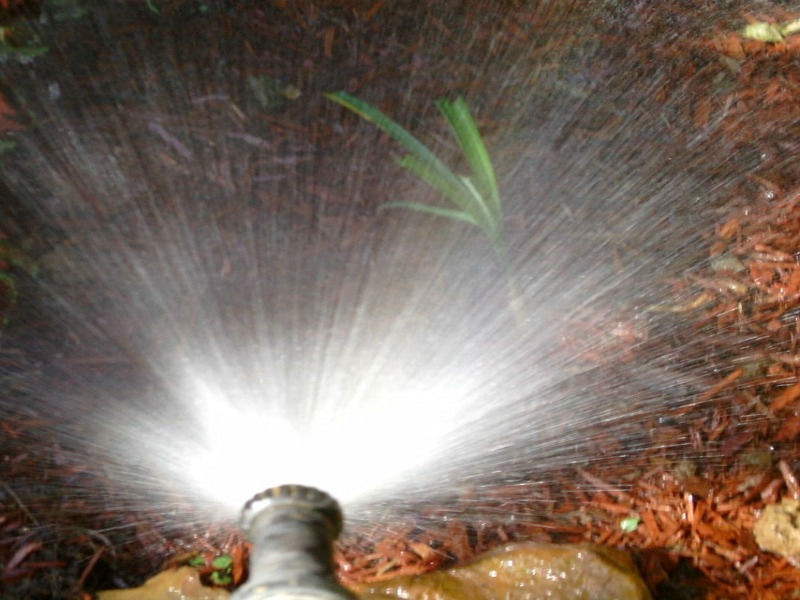
Step 10: Water
Water each plant well. Daylilies should be divided every 3 to 5 years or when overcrowding happens.
Cynthia G.
I am a person of varied interests. I am a Master Scuba Diver and have dove the Florida Keys wrecks, Bimini, Bahamas, Turks and Caicos, Cozumel, and Bonaire. I love photography, handcrafts, gardening, writing, and painting. I have been married 37 years and have 2 grown married children. My husband and I have lived in 7 states.
I have many different varieties of daylilies – dug up, and I’ve been looking for homes for them. I’m wondering if I can cut off the greens, let them dry out, and just save the bulbs.
Karen,
You can do that but for how long this time of the year I don’t know. If they were dormant it would be different story.
I have daylilies to transplant and the flowers are still on. How far down do I cut the lily prior to planting?
Thank you.
Marianne,
At least in half.
How do I know when it’s time to divide my day lillies?
Shawn,
When they are too big or start dying out in the middle.
I’m getting some free daylilies and maybe a few other things like Iris, but right now it is super hot here in Iowa. Is it possible to keep the daylilies sort of stored until maybe Fall to plant them when it isn’t so warm out? I have a basement that stays cooler if need be. Thanks!
Tanya,
The daylilies don’t care about the heat, they’ll be just fine if you plant them now. Or just heel them in outside until fall and keep them watered. But plant permanently would be far better. They really need the sunlight as well.
Hi I bought some day lilys.It is summer and I planted them and they are laying down flat. Should I cut them back? I also did not leave the crown on the top of soil. I did not know I had to do that. Shpould I dig them up and wash the roots and replant them/ Thanks
Jean,
I’d just cut them back and see how they do.
My 5 year old daughter & I took seeds from every citrus fruit – oranges, lemons, limes, grapefruit, tangerines. Not sorting them (very stupid!), we planted them in cups, one seed per cup.. Two sprouted & we kept them going. Fast forward 40 years. She has the original plants in huge pots at her house. They are now 8’tall & about 6′ wide – beautiful!!! She summers them by the pool, then moves them to her semi warm cellar for New England winters. In the past 5 years she had flower buds followed by tiny fruit. Overnight the fruits disappeared. We were sad. Maybe this summer will be the one to find out exactly what kind of trees she has. Any ideas how to keep the fruits from disappearing? Bugs or critters getting them? help!!! Thank you for ALL your awesome help w/everything gardening.
Probably racoons stealing the fruit, they steal my strawberries. I will see berries that are almost ripe and think I am going to pick next day and then they are gone .
How to overwinter cactus that I dug up to move. Most have roots.
I’ve got a pile of sand. Could I put them there root down until Spring. I live in lower Michigan. Gets 0 to -10 usually. Thanks Tom
Ps. I’ve had great success propagating forsythia thanks
I BROKE UP AND REPLANTED SHASTA DAISIES LAST FALL. THEY TOOK OFF LIKE CRAZY THIS SPRING AND BLOOMED BEAUTIFULLY THIS FALL. CAN THEY BE CUT BACK OR SHOULD I JUST LEAVE THEM? THEY GREW QUITE TALL.
I have many daylilies from my mother’s garden and put most in 2 long beds. Physically it is almost impossible to do what you outlined, as much as I would like to. Do you recommend just cutting them back? Also, both beds compete with an invasive weed I’ve been unable to eradicate. In cool weather before spring I dress the beds to remove the visible evidence of weed to allow the daylilies to bloom but by fall the weed is back. Help!
You can do like I am going to do dig them up then separate the plants from the grass and weeds then replant them in the now weed free area be sure you dig a much larger place to re-plant them the grass will encroach them soon enough this way you can chop the weeds and grass
My plants are choking themselves even without the grass mixed in they wont bloom this way
Thanks for these great tips 🙂 I didn’t realise I could separate daylilies individually like that – seems so obvious now though lol. I separated some a couple of years ago but they took forever to recover and I can see why now. This has made the process seem so much simpler though and I never even thought about the handy tip to wash the roots down – guess what I’ll be doing this week 😉
Thanks again for the tips, I may live in the Scottish Highlands but it’s all relevant 🙂 Hope you don’t mind me adding a link to you on my blog?
Hakuro Nishi Dappled Willow, when is best to transplant them, fall or spring? should I prune them first, I know it is recommended to prune back to about two feet in the late winter. I like your pruning suggested best, when it needs it. Thanks Mike.
Do you need to cut the tops off every year or leave them?
Teresa,
The tops die back so cutting them off at the end of the season won’t harm them at all. You can leave them, but it makes for a messy flower garden with the dead leaves laying on top of the ground.
Hi Kristin!
Your daylily bulbs should be fine in an unheated garage as long as the temperature stays from 35° to 50° and your bulbs are in a warm dry place. You can store them in a cardboard box with layers of newspapers in between the bulbs and the bulbs surrounded with or on top of pete moss for protection. Store your bulbs after doing step 7 in the article and make sure the bulbs are dry when you store them.
Enjoy your Winter and happy Spring planting!
I have to admit that I am a very lazy gardener. A few years ago I dug out daylilies and simply threw them to side and forgot about them. Those ended up growing right where I threw them without the fuss and muss.
Hi Phoebe!
I want your “green thumb”! 🙂
Could you store the daylilies in an unheated garage for the winter before planting in the spring if you don’t have a place to plant them yet?
Thank you!
Hi Kristen! An unheated garage should be fine as long as the temperature ranges from freezing which is around 35° to not warmer than 50°. Store the bulbs after doing step seven in the above article, making sure the bulbs are dry. Do not let the bulbs touch each other to prevent rotting. Check on the bulbs occasionally and throw out any rotten ones you might find. To store the bulbs, you can put them in a cardboard box with newspaper between each layer and the bulbs on top of pete moss. Also make sure the bulbs are stored in a dark dry spot.
Thanks for the daylilie transplant instructions. Also the stump removal video. The stump removal video had a pop up for a free clam shell propagator and when I clicked on it, it disappeared and I can’t find it now. Would like more info on getting it free!! Thank you so much for this site–love it.
Hi Monica, the clam shell propagators are on back order right now. We should be getting them in soon!
Thank you very much Monica!