Straw bale gardening gives you advantages over growing a garden in the conventional way.
Straw, as it decomposes, often provides better nutrients, and a better growing medium than your soil.
If you don’t have enough space, straw bales are an ideal way to grow in small spaces like on a patio, deck or balcony.
Straw bales are higher off the ground than traditional planters, so you won’t have to bend over as far to care for your plants.
SUPPLY LIST:
1 Bale of wheat straw
1 Bag of potting soil (Note: if planting seeds use a planting mix for seeds)
Fertilizer with a good nitrogen content
Landscape fabric, cardboard or newspaper
4 Plants or seeds of your choice
Tools Needed:
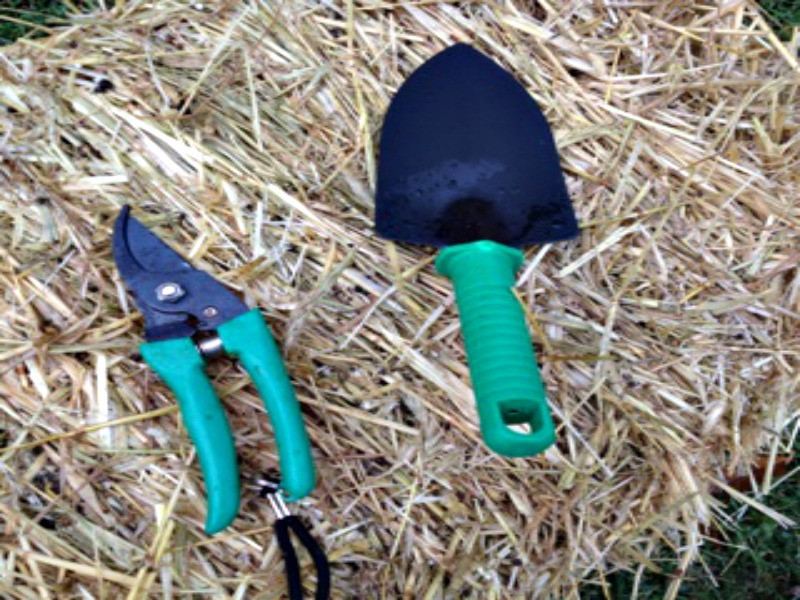 Pruners, Trowel
Step 1: Position the bales
Decide where to place your straw bale garden making sure it is a sunny location. Once wet, these bales become heavy and are more difficult to move.
If placing on grass put landscape fabric, newspaper or cardboard underneath the bale to prevent the grass from growing up through it.
Turn the straw bale so the cut side is facing up, and strings facing out. This will allow for the hollow straws to let the water be absorbed better, and you won’t cut through the strings holding the bale together.
Step 2: Condition the bales:
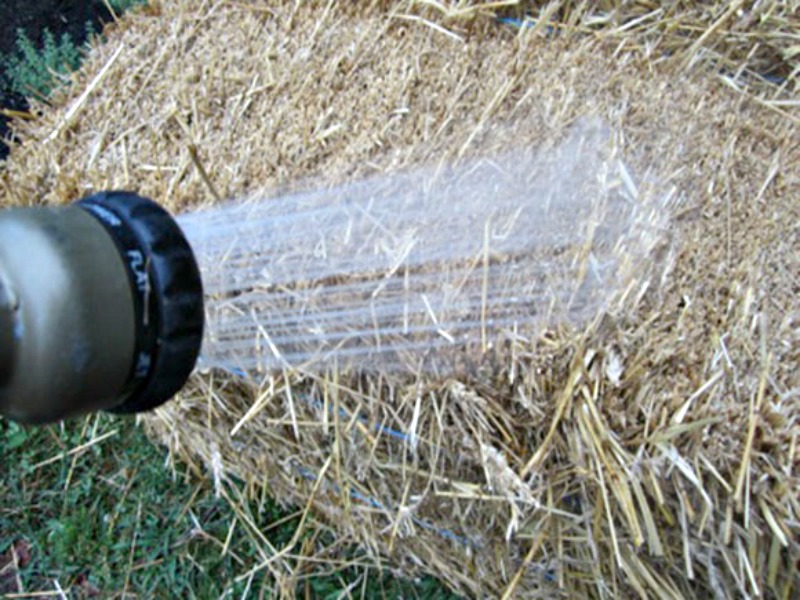
Two weeks before planting you must condition the straw bales. This involves wetting the bales and adding fertilizer.
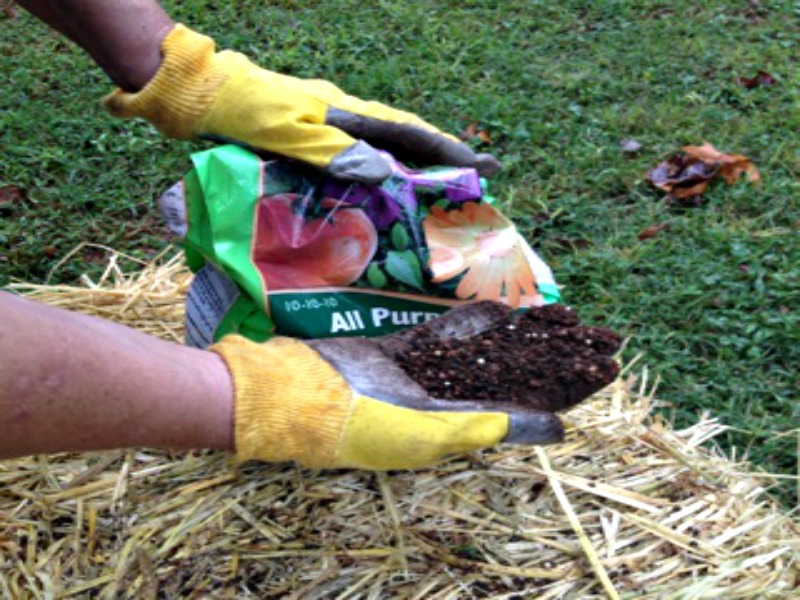 The nitrogen in fertilizer speeds up the composition process of the inner straw.
Once the bales get wet they start heating up inside and decomposition begins.
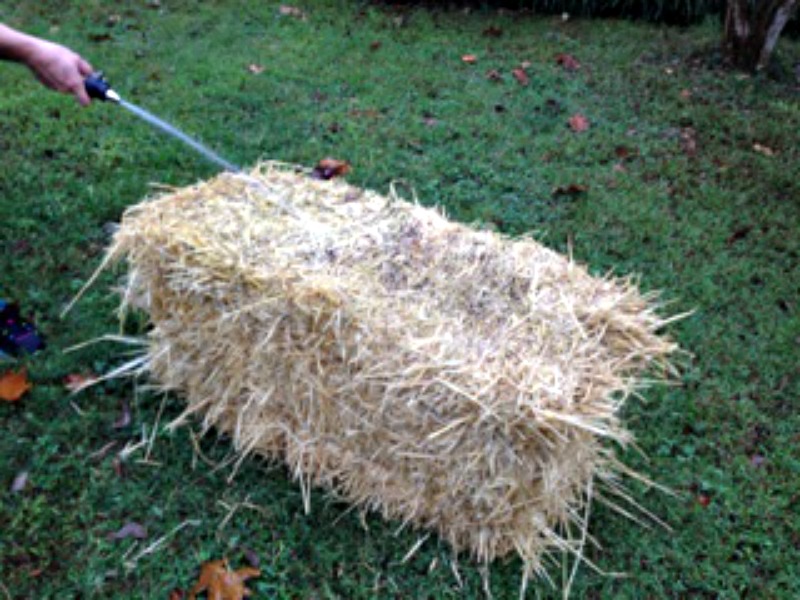
For the first 3 days water the bales keeping them moist all 3 days.
On days 4 through 6 sprinkle the bales with 1/2 cup of fertilizer each day, then water thoroughly to force the fertilizer into the straw.
On day 7 through 9 reduce the fertilizer to ¼ cup per day, and continue to water each time after applying the fertilizer.
On day 10 stop adding fertilizer but continue to water.
On day 11 stick your hand in the bale if it has cooled down lower than your body temperature, than it is safe to plant.
If not, continue watering each day until the inner temperature cools to below body temperature (98.6 degrees). Hint: To know the exact inner temperature of the straw bale you can use a compost or meat thermometer.
Step 3: Preparing the holes
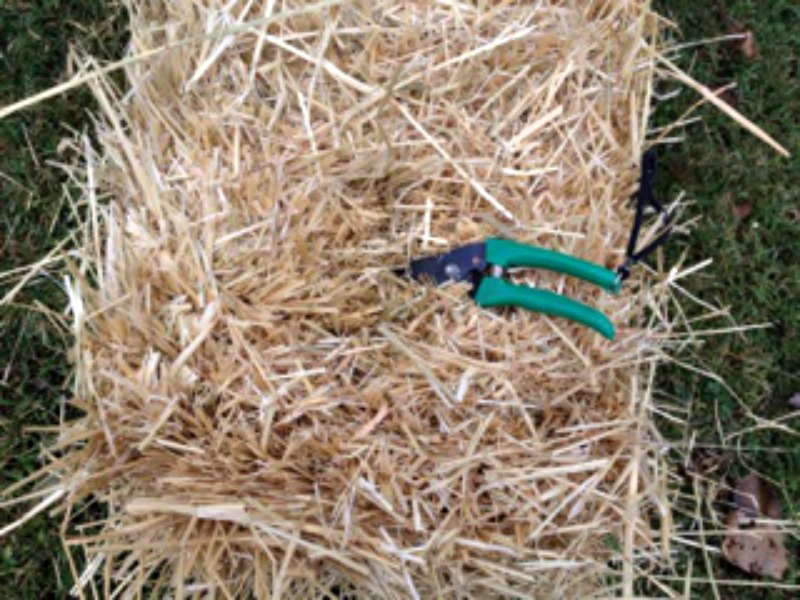
Use pruners to cut through the straw, pulling away the cut straw to make small holes for each plant as deep as the root ball of your plants. You will need four holes per bale for four plants.
Step 5: Planting
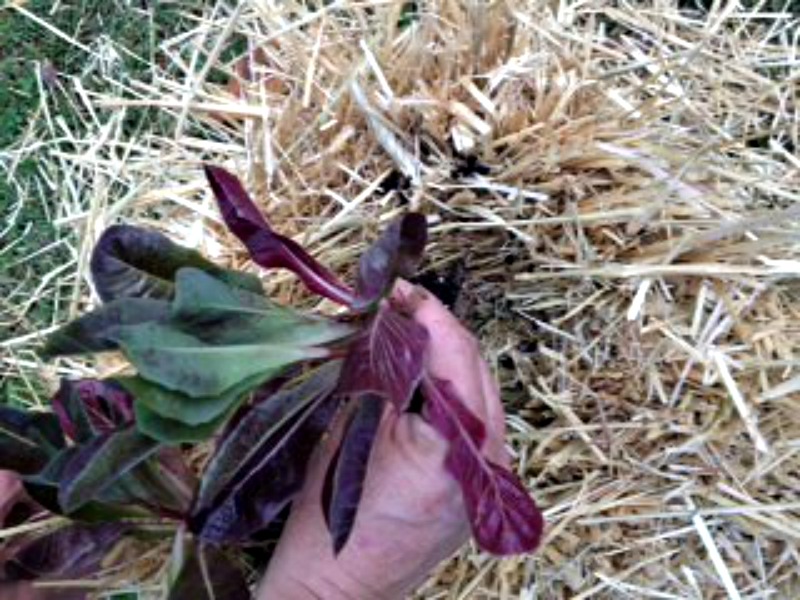
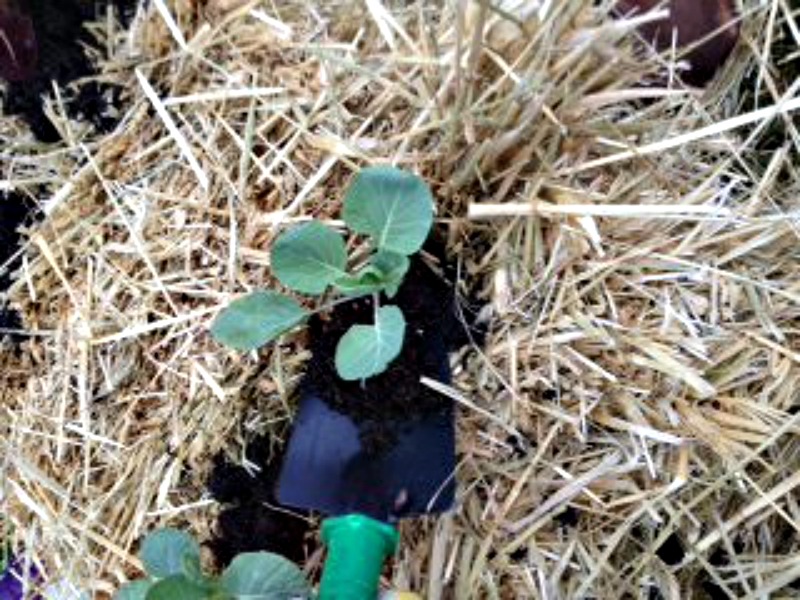
Place one plant per hole and place some potting soil around the root ball to protect the roots, and for stability (Note: If planting a plant that will grow tall, you may want to make the hole a little deeper).
If you choose to plant seeds instead, just sprinkle a few seeds directly into the holes and lightly cover with a one to two inch layer of planting mix. Do not let your bales dry out, water as necessary.
Step 6: Maintenance
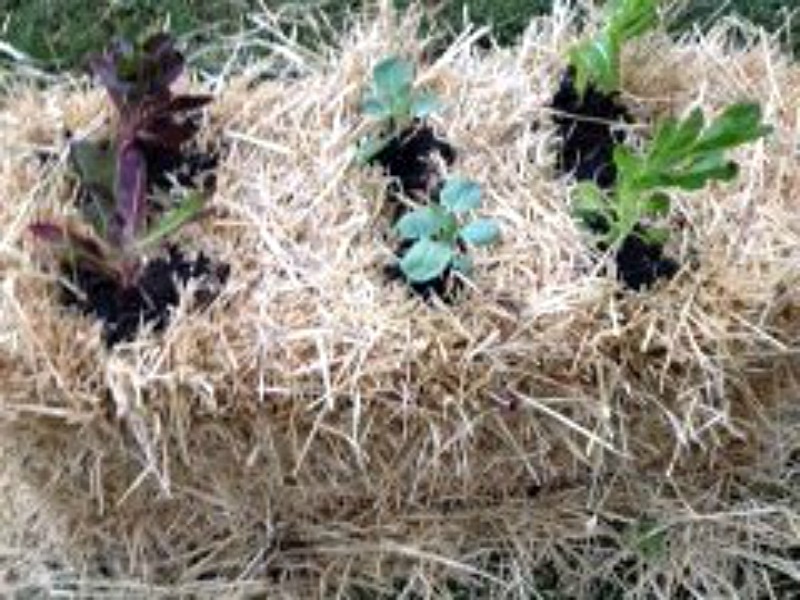
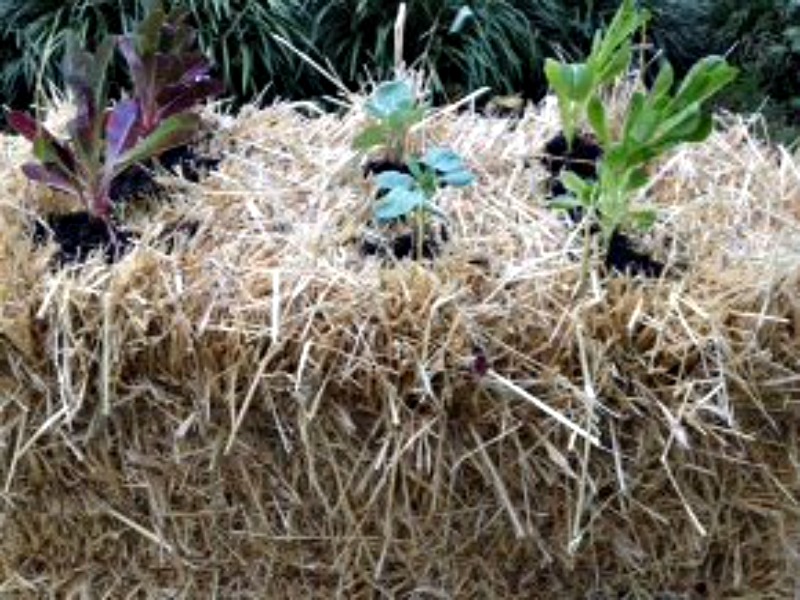
In the beginning you may need to water more that once a day, but as the straw starts to decompose it will hold more water and less watering may be required.
A soaker hose spread out over the top of the bales is a good way to water your straw garden.
About The Author:
Debbie Russell works as a special event coordinator for a parks and recreation department in Tennessee, but also utilizes her life long experience in gardening and landscaping creating beautiful beds and gardens for the parks. When not atwork, she is at home landscaping and gardening her seven acres. She raises chickens, and enjoys crafting and quilting.
I couldn’t find the bio wade deer repellant and does it really work I need something to work I’ve tried everything but electric fence thinking on that . I also would like to win the tiller thank you angelaQ
I love all of the information, that Mikes shares with us. He is very interesting to listen to on his video’s Thank you, Mike!
You’re welcome, I appreciate your kind words. -Mike
Harry, If you use shredded paper, you will have the ink used in the printing in your garden, hence in your food. Important to know if you are growing organically.
WHAT ABOUT USING SHREDDED PAPER BALES.EVERYBODY STILL GET LOT OF JUNK MAIL THAT CAN BE CONVERTED TO PAPER BALES BY A PAPER SHREDDER. IN THE 60s PAPER COMPANIES TRIED TO USE SHREDDED PAPER FOR GARDENING.
I don’t know about using pine bales. Seems to me they would be bound too loosely. But I have read repeatedly NOT to use hay as it contains too many seeds resulting in too many weeds. I agree with Kathy about setting your straw bales in the fall. Of the three bales I used to try this method one sat in my backyard all winter and the other two were bought in the spring. The one left out was already conditioned for me and actually held together better than the new ones.
in the past I have used straw bales for my gardening. Another way of prepping your bales , is to place bales in the Fall where you plan on gardening. Let Mother Nature prep your bales. I live in the Midwest , freezing weather does the job.
Hi,
Thanks for the very innovative idea for gardening. I am wondering if this straw bales can also be made of rice straws which are much longer in size than wheat straw.Also wondering if this can be kept on the roof top as roof gardening is quite popular in my country.It is safe from animals.
I used straw bales this year & was able to grow pumpkin, which I have never been able to do in North Idaho! I would highly recommend it for growing zucchini in Washington state…Also had potatoes, tomatoes, chard, beets, lettuce, some flowers.
Had 5 bales this year just to experiment, first year at this and all, Will try 8 next year, and already have my plan up. Also, will use timer/soaker hoses next year. We had to pay someone when we went away on vacation just to water. Put a timer on those hoses, and the whole setup is practically maintenance free. I am a straw bale convert, for sure!
just curious, has anyone tried pine straw bales and if so what was the results. Also any comments you may have would be appreciated.
Don’t use pine straw. It won’t hold water. it has a wax coat on it and also it is verry acid.
It does not decompose like straw does it is slow to brake down.
Sorry Elvin D.
Elvin,
Exactly. Which is why pine straw makes a pretty good mulch when applied thick enough.
We tried straw bale gardening this past year…the bales provided a home for what became a huge population of voles, which eventually devoured most of my vegetable garden! Where did I go wrong?
Plant a 1 quart mason jar in the ground where you have voles. Leave the open top at the top of the soil level. Voles will go into the jar and cannot get out. Voles are cannibals, so pretty soon ;you have one big vole in the jar.
It works ..I have pictures I would share if you could tell me where to post them.
Thank you for the great article on how to condition and plant a straw bale. Poor soil and an even worse back prompted me to try this method last spring. I love it! No weeding, no tilling, fewer bugs and more yield per foot than conventional gardening. I learned a great deal from the three bales I planted this year and I’m looking forward to planting seven bales next year. I did use wheat straw bales from a local farmer (and got a rash, just as Edward pointed out!) so I will try to find barley bales for next year. This method is easy, fun and very productive. I recommend it to anyone with poor soil, limited space or limited health. As a plus, now that the harvest is done I have some wonderful mulch!
I have seen bales of straw placed around the plants to provide protection from the elements but not this way. Seems like a good way to try.
Would this hay bale gardening work for zuchinni? I am the only person in Washington State who has not been able to grow zuchinni!! Tried 2 seasons in a row with success, healthy plants, beautiful blossoms but no squash.
You may be the second person that can’t grow zuchinni in Washington. They look nice and but nothing over an inch before the squash bugs attach the vines and the fruit withers. Found it is easier to trade other vegetables with those that have too many zuchinni,
try pollinating the flowers your self with na Q-tip or tiny paint brush. I had to do this with okra. It would grow & flower, but no fruit. Self pollinating okra myself worked. May be the pollinators in my area, Traverse City, MI did mnot like okra ? Try it, it may work well, if you have the time.
The “squash bugs” you are referring to are actually moths that lay eggs at the base of the plant (usually squash, zucchini, cucumber etc.) and within approximately one week the eggs hatch and the larvae begin to bore into the center of the plants stem. They will feed on the center of the stem for approximately five (5) weeks. I have lost entire crops of squash and zucchini form these moths. The only way I have been able to prevent this is by covering the plants with clear plastic or screen so that the moth can not get to the plant to lay their eggs and it has worked well. Hope this helps, good luck and happy gardening!!!
I don’t know all your particulars, but it seems to me if you got beautiful plants with flowers, then you simply planted too late. They probably needed more time. Try starting your plants earlier. If it’s too cold to put them outside, keep them indoors with lights for about a month, if you can.
Guess I don’t have to tell you they like warm and the more sun the better.
Good luck.
Do you have raccoons that are eating the flowers off(the critters love to eat my pumpkin blossoms and small pumpkins). For the past few years I have grown the vines on a trellis with great success and higher yields.
I have not done this myself but a neighbor down the road did this last year for her garden. I was totally amazed at what little room it took up and that it was far enough off the ground that she didn’t have to bend over to do her gardening. Some times that is what stops people more than anything is the hours of bending to maintain a garden. She stacked two bales of regular hay on top of each other, two wide and man did she have a garden. She said to that it takes less water in the long run because the water soakes into the bale and holds longer than the dirt we have around here which is mostly sand. Thanks now that I know it really does work and it wasn’t just by luck hers did I am going to try this.
Thank for the good tip.
frankie
She used HAY? Or STRAW?
A friend of mine used HAY to plant potatoes and it worked great. I am going to try hay for 3-4 tomato plants next spring and see how it goes.
hi there, probably in the wrong spot for asking this question. but will go a head anyway. interested and excited to try some Japanese maple trees in the spring. have been doing a lot of reading on this site and all the info is great and a little overwhelming for me, seeings how this is all new to me. all of these seedlings that are talked about, the ones that are cheap, 1.50 and such, are these plugs , or whips. are whips used more for grafting? or are they what I would need to start some trees, or would large plugs be better. where would I inquire about theses seedlings. any info would be great . I apologize if I am posting in the wrong area.
thanks, kris.
I found this article very interesting and something I have not tried. I would however like to reflect on my experience in a similar field many years ago.
I was brought up on a strawberry farm in the West Of England where we put straw under the blossom in spring to stop the rain splashing soil up onto the fruit in the late spring and summer.
We used BARLEY straw maybe at a push Oats but avoided wheat straw for the following reasons.
1. Wheat straw does not absorb water or decompose as well ( its rather like comparing plastic drinking straws (Wheat) to paper drinking straws (Barley).
2. This (1) resulted in problems with rot ( botrytis) with wheat that was not there with barley.
3. Wheat straw is prickly and harder to work with ( roll your shirt sleeves down or you could get a rash).
4. We had to use straw stored from the previous fall – some how wheat seemed to be more prone to fleas.
Please bare in mind – this article was written by a professional in Tennessee in 2014 – where as I am and ameture reflecting upon experiences in another country decades ago.
I am certainly going to try this methodology but with Barley Straw.
Down here in south louisiana it will be either a good field grass or alpha ha. Hope I spelled that right but it is novel idea. And I will try it I do understand why it can work