How To Make: Orange and Lemon Marmalade.
In my humble opinion, there is nothing better than food you make and preserve yourself for two reasons.
1. It’s always on hand. 2. It’s better for you.
This recipe ~ super easy.
Here is my recipe for Orange and Lemon Marmalade. This is a 2-Day project which isn’t as bad as it sounds.
Step 1: Get your “stuff” together.
 Ingredients:
4 Large Naval Oranges
2 Lemons
8 Cups of Sugar
8 Cups of Water
Equipment:
Large boiling Pot. Stainless Steel is recommended, but I use my non stick 10 qt. (Day 2 and Day 2)
Mandolin (slicing fruit thin) (Day 1)
Measuring Cup (Day 1)
Wooden Spoon (Day 1 and 2)
6-9 Jelly Jars with seals and rings. Make sure your jars have no cracks in the glass or chips along the top of the jars where the seals attach. (Day 2)
Candy Thermometer (Day 2)
Damp Towel (Day 2)
Tongs (Day 2)
AND:
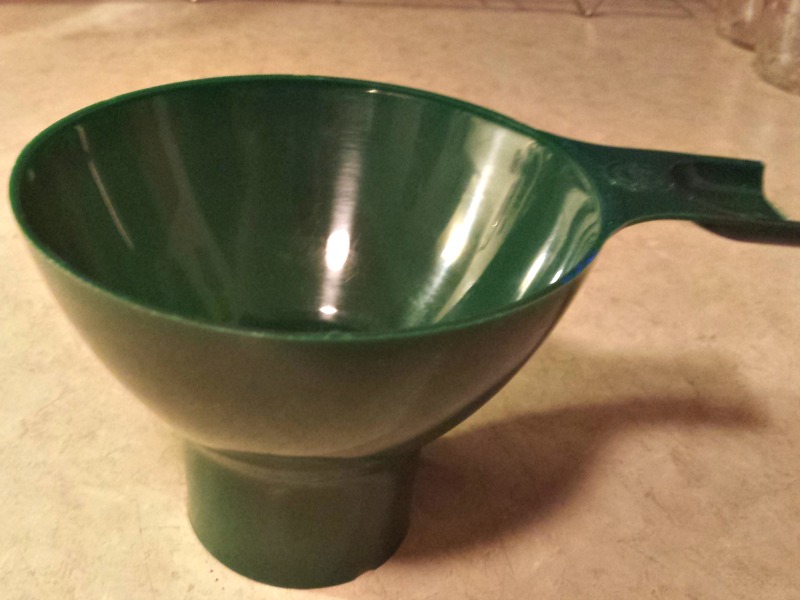 Why am I making a big deal about this particular piece of equipment? It’s called a, canning funnel, and it will make your life so much easier when it comes time to put this wonderful marmalade into your jelly jars.
If you don’t have one, that’s okay, you can still spoon the jelly into the jars but consider buying one for future canning projects.
Step 2: Fruit Preparation.
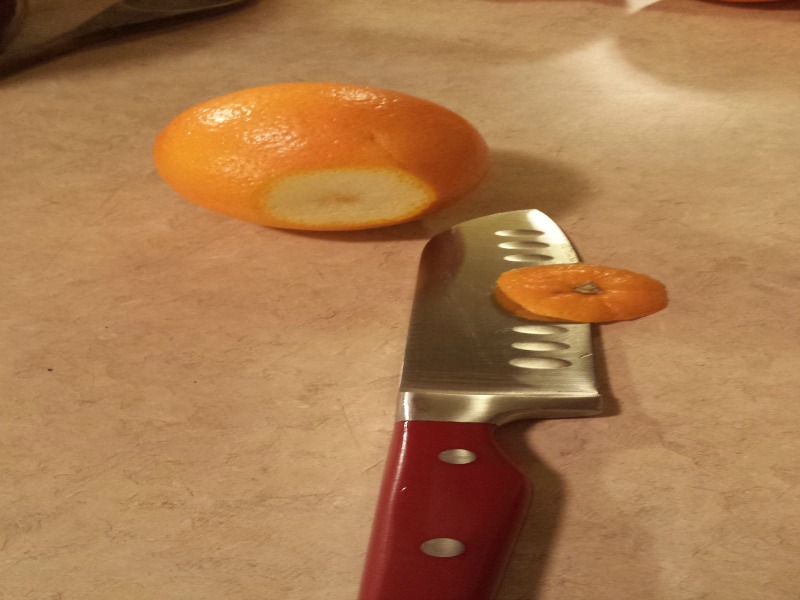
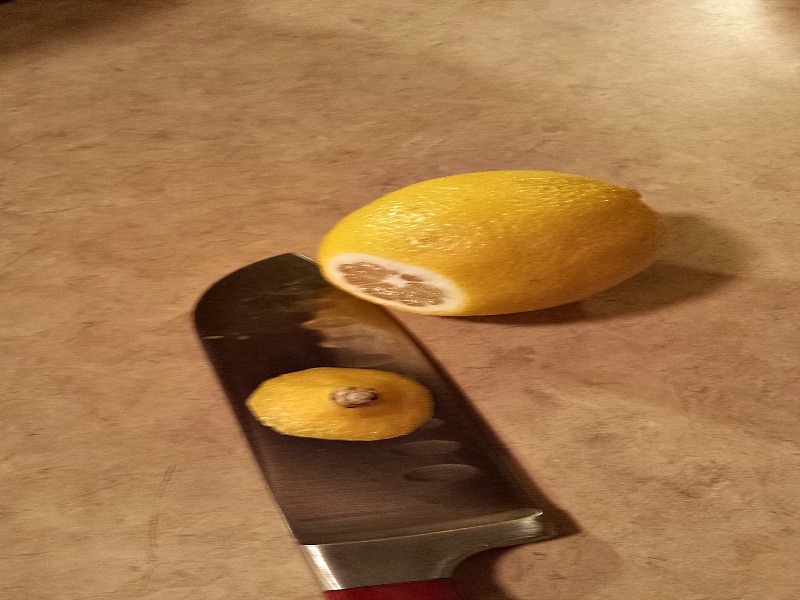 Wash and remove labels (if you buy your fruit from the store) and slice off the end where the fruit attaches to the tree or branch.
Do this with both the Oranges and the Lemons. Prepare all fruit before you begin slicing.
Step 3: Slice it up!
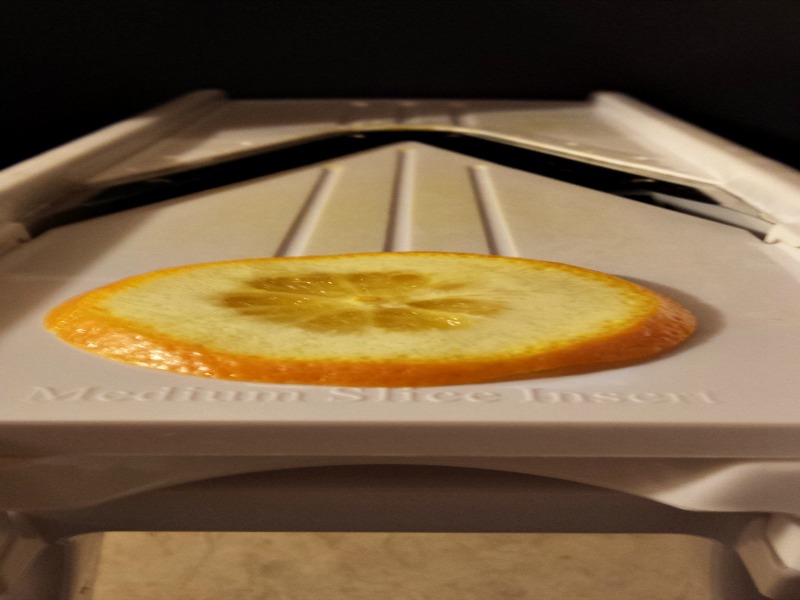
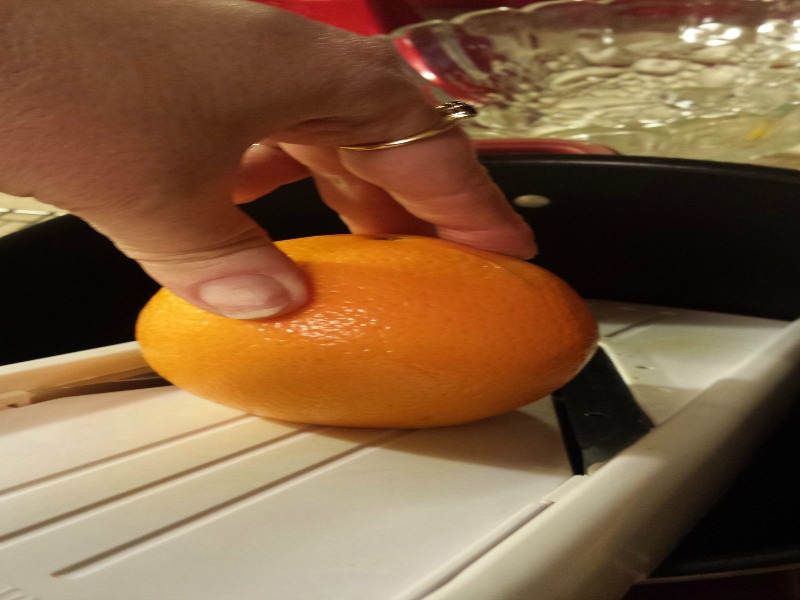 I put my mandolin directly in the 10 qt boiling pot and start slicing on the end that was already sliced (to remove a very unwanted part of the fruit) so I have a flat surface to begin slicing.
(Watch for any seeds from your lemons and remove them. Naval oranges are seedless so no worries there but keep your eyes open for lemon seeds especially if you use a mandolin.)
 If you don’t have a Mandolin it’s okay.
Use a cutting board and slice very thin slices – as thin as you can. Just make sure you dump all the juice (that will come out of your fruit as you cut) into your pot. I use the, “Medium Slice Insert”.
Slice up all your fruit and get it into the boiling pot.
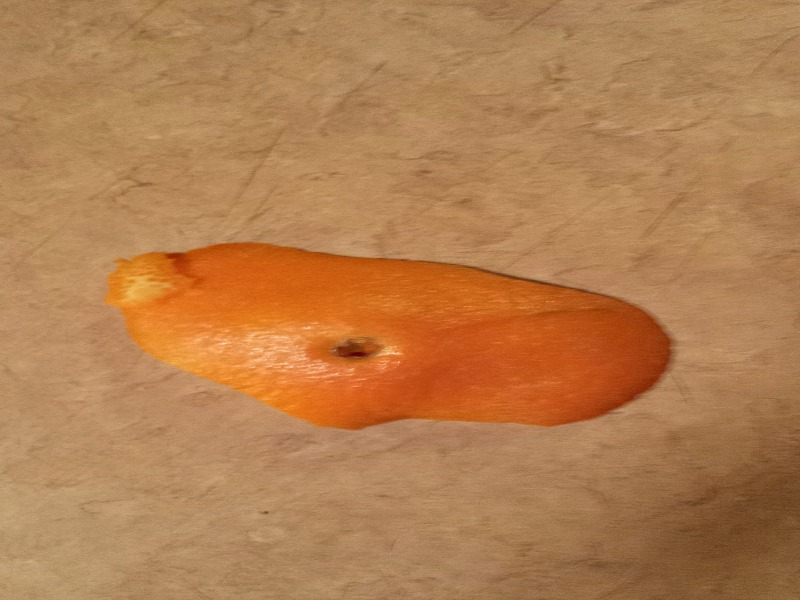
Except for this part (photo below). Throw this end away (that you will come to after slicing your fruit) on both the Oranges and Lemons.
Step 4: Putting everything together.
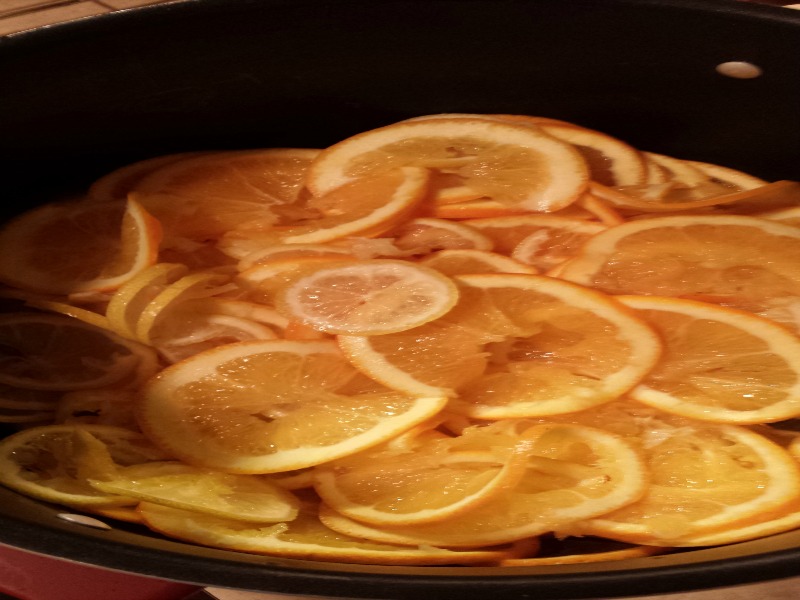 Here you have all 4 oranges and 2 lemons in the boiling pot.
Add to that: 8 cups of water.
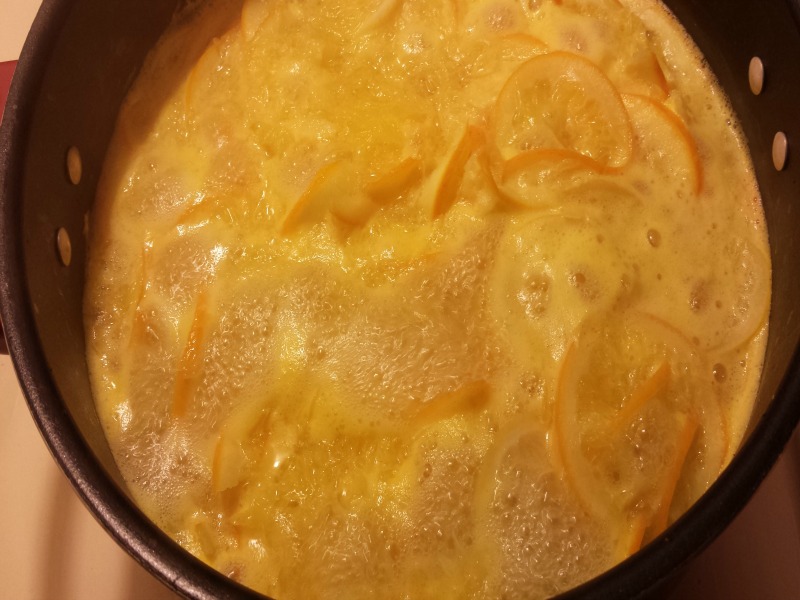
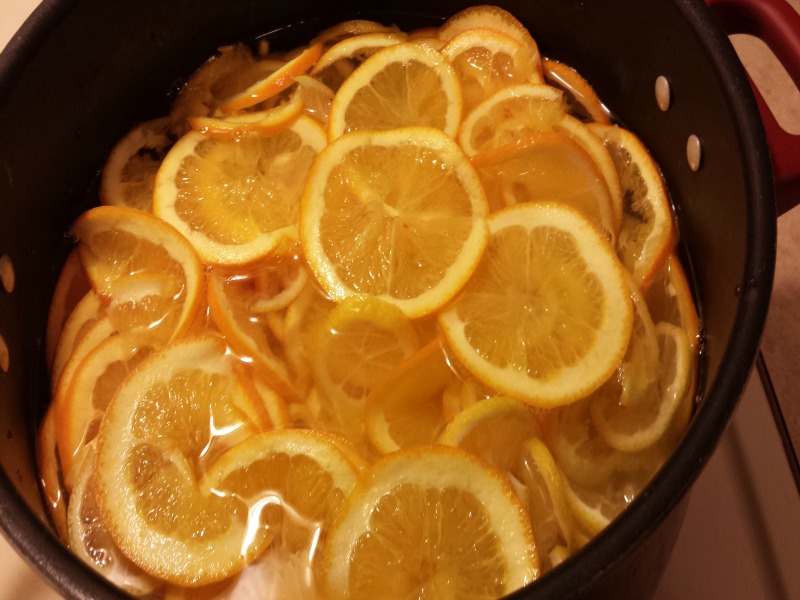 Bring the Oranges, Lemons, and water to a boil uncovered stirring often. You will notice as time goes on in this process the water will look less like water and more like a thin orange juice.
You’re doing it right.
Step 5: Once you have reached a full boil – remove from the stove – and add 8 Cups of Sugar.
 Just a piece of advice. Don’t add all the sugar at once. You will end up with a difficult to move blob of, what feels like concrete, at the bottom of your pan.
Add sugar – quickly – and stir until it’s dissolved completely.
Step 6. Put a lid on it.
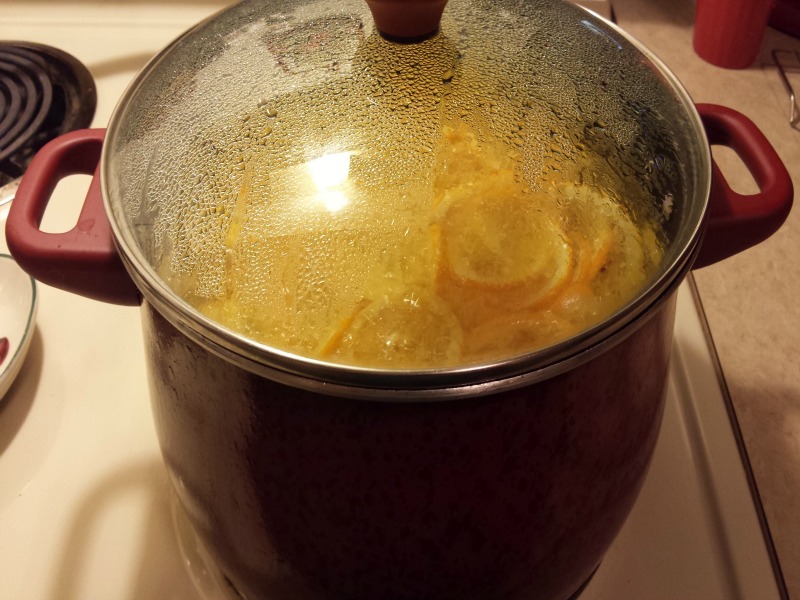 Seriously. Put a lid on the pan of dissolved sugar, Oranges and Lemons and walk away. Just walk away.
Don’t open the lid and stir. Leave it on the countertop or the stove (turned off of course). But let stand covered overnight. Do not refrigerate.
Day 1 is over.
DAY 2: Let the Marmalade Begin!!
Step 1:
You can start this anytime you want. I started Day 2 at 12:00 noon. I need coffee before doing anything with fire and heat.
Bring your pot of Oranges, Lemons, Water and Sugar back to a full boil.
Step 2: Once you have reached a full boil, turn the heat down to a low simmer.
Set your timer for 2 hours and allow the mixture to simmer uncovered for 2 hours – stirring is not necessary.
Step 3: Your 2 hours are up – turn the heat back up to a medium heat with a gentle boil.
Now is a good time to clip your candy thermometer to the side of the pan. Make sure the thermometer doesn’t touch the bottom of the pan.
Continue to gently boil on medium heat until your candy thermometer reaches 220 degrees F.
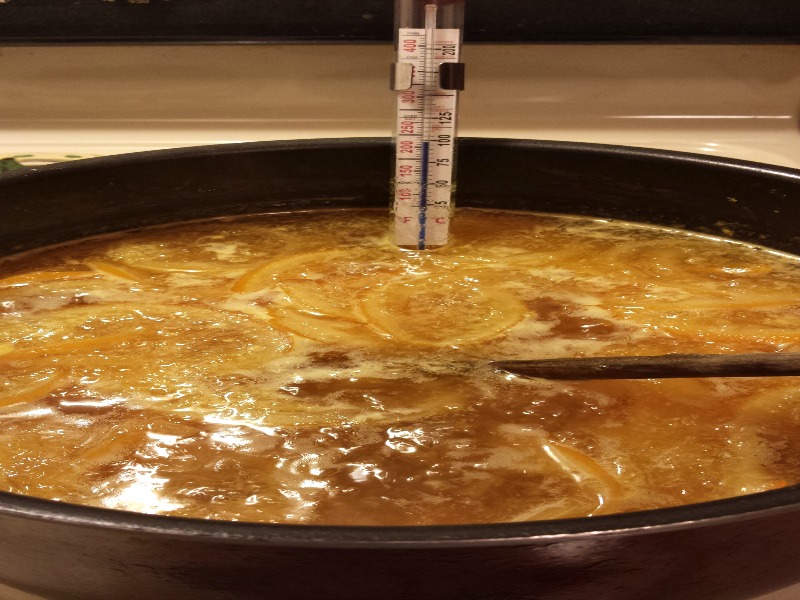
 During this step you need to skim off the foam that develops in the pan.
 This is why I like wooden spoons for canning. It helps get the foam and not as much of the fluid you want to keep in the pan.
Step 4: Get your seals and rings into a pot of water and start heating them up.
If you have a dishwasher, put your jars in the dishwasher, to heat them up and clean them (leave them in the dishwasher until you’re ready to use them to keep them hot).
If you don’t have a dishwasher, wash in warm soapy water. Rinse well – I don’t have a dishwasher so I leave my jars in HOT water until I am ready to use them.
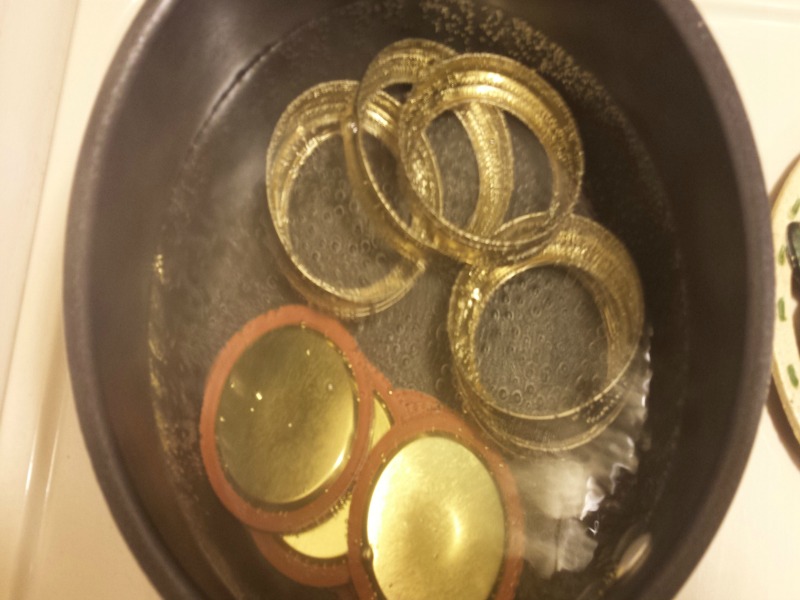 When you see bubbles start like this in the pan – turn the heat down low enough to keep the water hot.
Grab your tongs from your drawer, you’re gonna need them to fish the rings and seals from the hot water when the time comes.
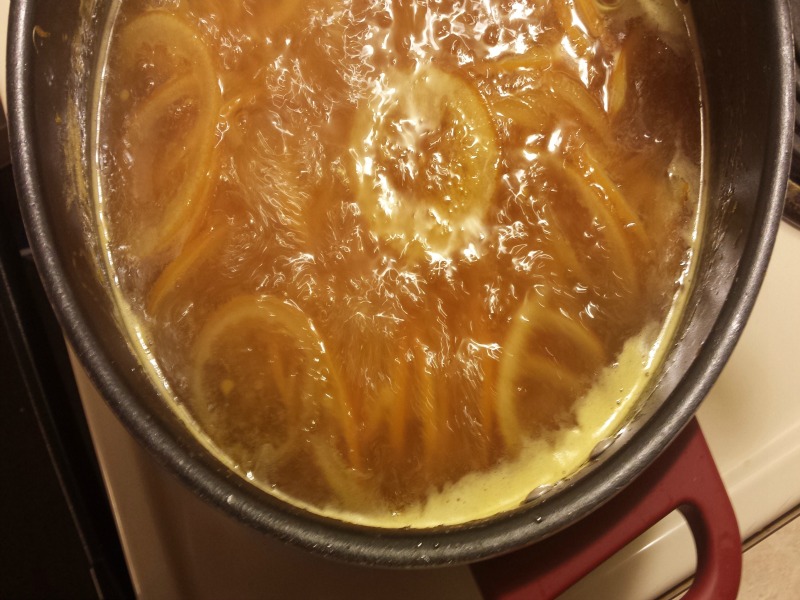
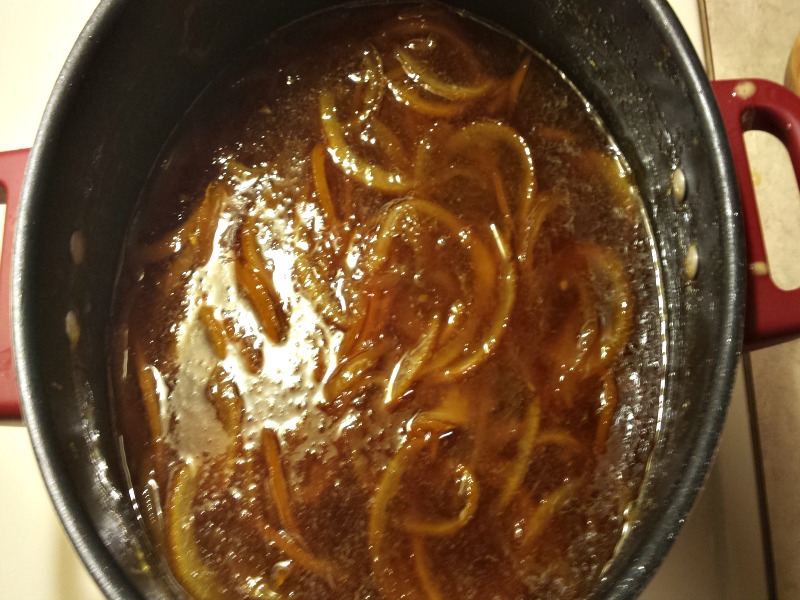 Once you reach 220 Degrees F your Orange, Lemon, sugar and water mixture will look like this.
Step 5: Now, it’s time to grab your jelly jars.
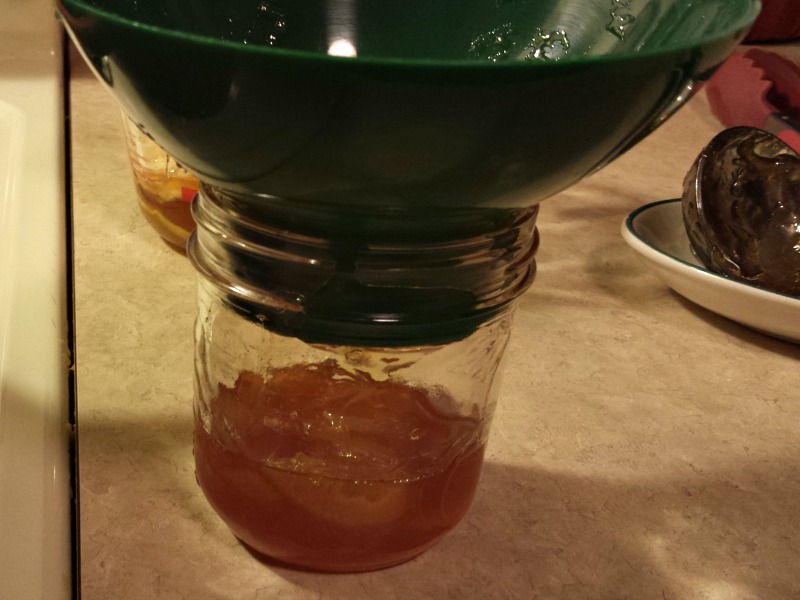 Fill to 1/2 inch from the top of jar.
Warning: These final few steps will require you to touch the jars, which will be HOT. So, grab a towel or pot holders and your tongs.
Step 6: Wipe the top of your jars, and edges where rings attach, with a wet cloth.
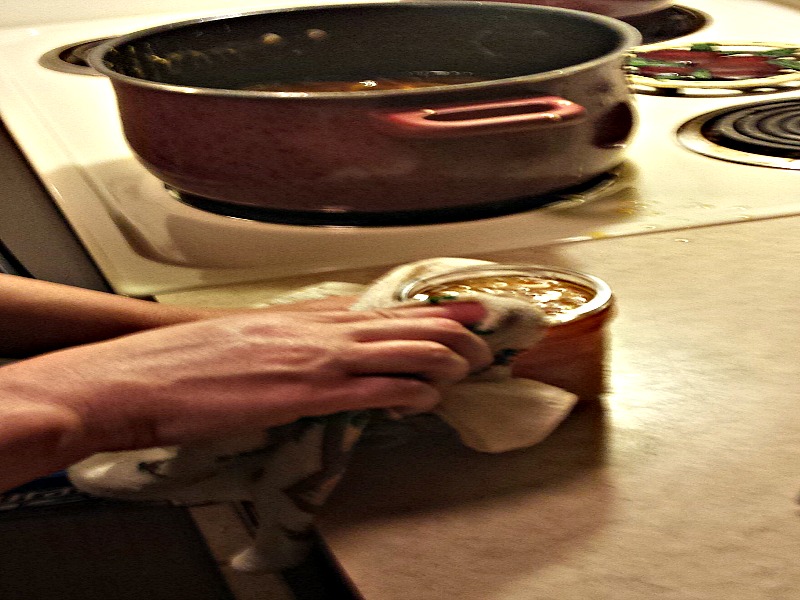 Make sure you get the top of your jar clean. Any sticky substance will keep the jars from sealing.
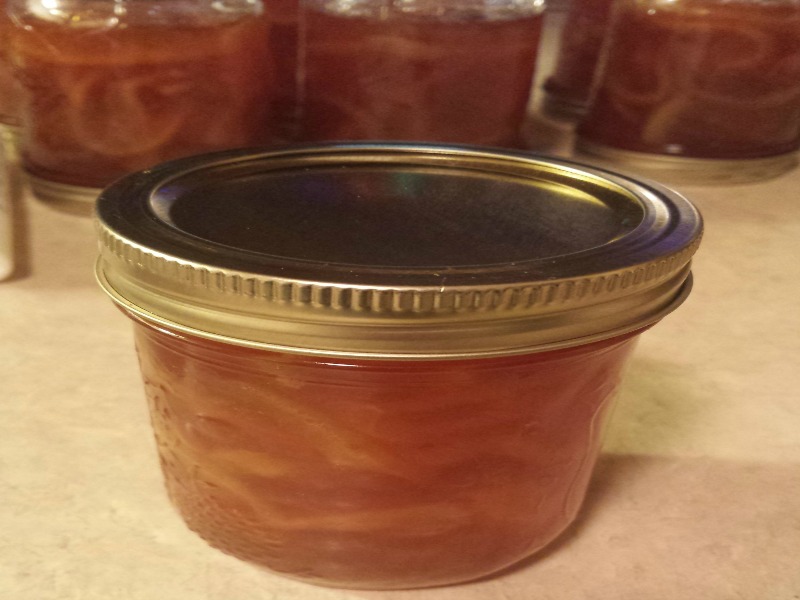
Step 7: With your tongs grab a seal from the pot of hot water and put it on the jar.
Step 8: To quote Beyonce: Put a ring on it and tighten it good.
Step 9: Flip it. Flip it upside down:
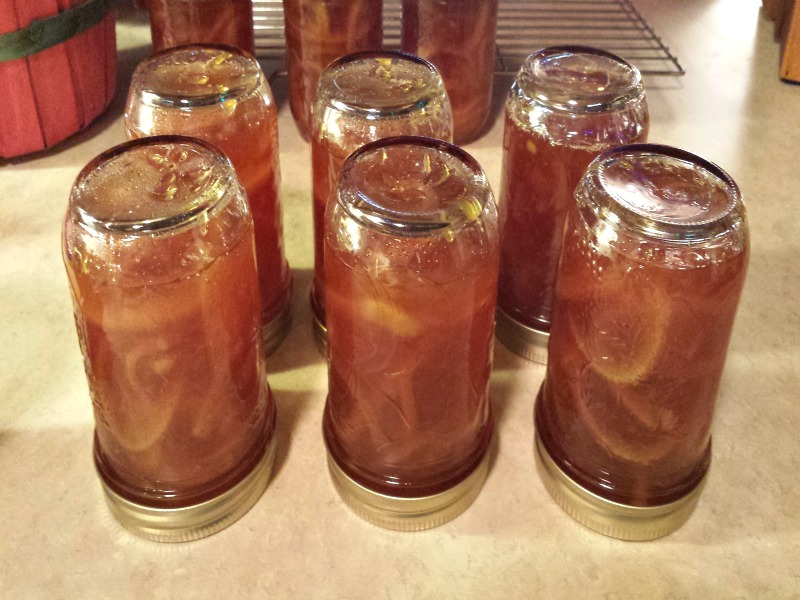 I leave them like this for about 10 minutes. Then I flip them upright and sometimes the seals will pop (and there is a popping sound) sometimes it takes a little longer.
There is no better sound on earth than to hear your jars pop one by one. That sound tells you all your hard word and attention to detail has paid off.
No hot water bath, canner or pressure cooker is required. Why you ask? Because the liquid in the jar is hot, the seals are hot, the rings are hot.
As long as your jars are clean and free of liquid on the top of the jar all this heat will cause the seals to, well, seal.
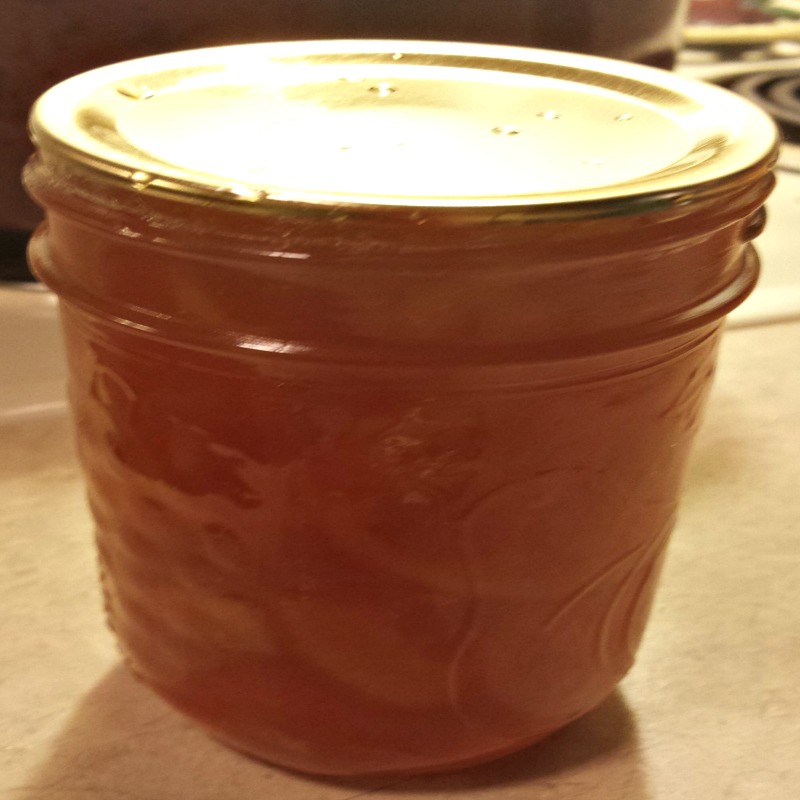
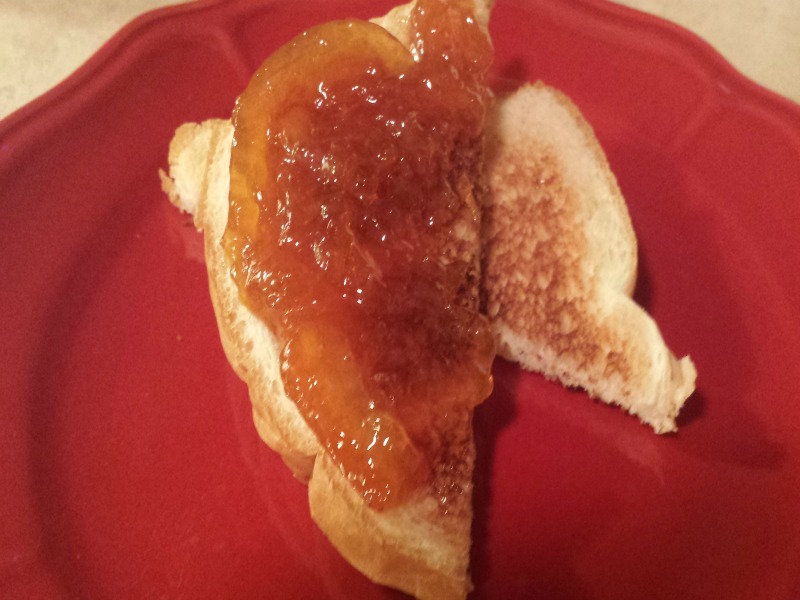
Step 10: The Finish Line.
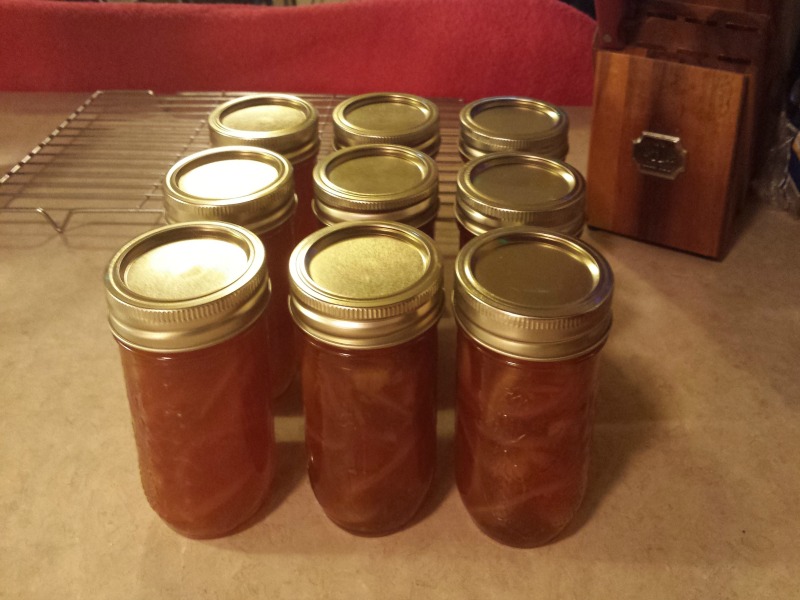 And here is your finished product.
Let them sit until cool. Then put them into a cupboard or any cool and dry place.
Your jars of Orange and Lemon Marmalade will last for a year. But, as long as the seals are pushed down (center of seal) then there is no reason to think that after a year there is anything wrong with the tasty fruit spread inside.
Enjoy !!
About the Author
Melissa lives in Ohio and has been canning and freezing fresh fruits and vegetables for a number of years. Some of the recipes Melissa shares, are family recipes. Some are her own twist on popular recipes. Melissa, will show you tips and tricks that will make your canning and freezing experience easier and fun.
Hi there!
Why do you leave them soaking in the sugary liquid and only cook on day 3?
Is this related to any bitterness from the pith? I’ve seen some people soaking lemons in water and salt on day 1 or at least for a few hours and then change water and move on with the process, but it takes 2 days only generally.
Thanks!
Arbivita, Please warn about bag worms,, love the trees, azalea, gardenia. can appear and destroy a shrub or shrub overnight. Lost one of these emerald greens (about 8 ft tall) before I even knew what a bag worm was. Now, spray, spray, spray. Tried picking off, after counting to 300, stopped and just spray,spray, spray. Love the info you share. Thanks
Thank you. You make it look easy. Will be trying this!