DIY Bird House
Step 1: Gather the required materials and tools.
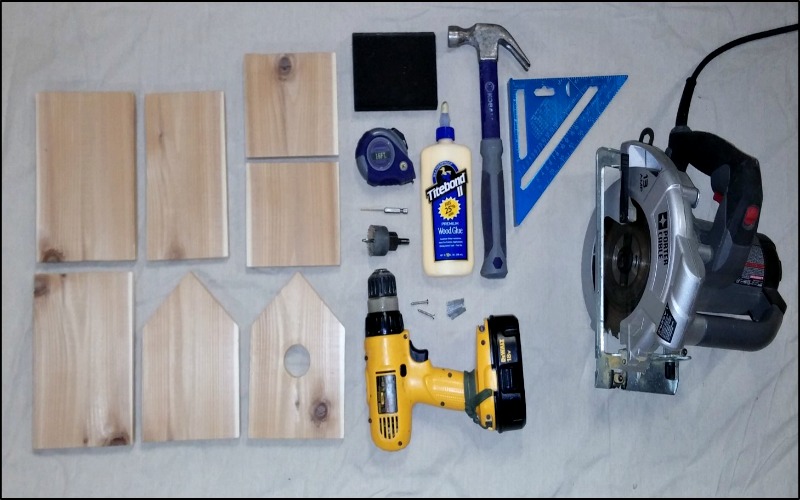 Materials:
– Seven lengths cut from a 1” x 6” cedar board (actual dimensions 5/8” by 5 1/2” – see note below) to create the following panels (see illustration below):
— Two 8” panels (8” x 5 1/2”)
— One 8” panel (8” x 5 1/2”) with a 90 degree cut out at one end
— One 8” panel (8” x 5 1/2”) with a 90 degree cut out and 1 1/4” hole drilled 3” from bottom
— One 8” panel with 5/8” cut off the long side (resulting in an 8” x 4 7/8” panel)
— Two 5” panels (5” x 5 1/2”)
– About two dozen small nails (I used 1” galvanized 16 gauge brad nails.)
– Medium grit sanding blocks
– Wood glue
– Four small wood screws (I used #6 x 1” zinc screws.)
Tools:
– Power drill
– Drill bits (including Phillips driver bit and 1 1/4” hole saw drill attachment)
– Circular saw
– Hammer
– Tape measure
– Carpenter’s speed square
A few of quick notes:
Home centers and lumber yards typically sell lumber identified by “nominal” dimensions. These are the dimensions before the lumber mill surfaced and planed the boards. As a result, the actual dimensions are smaller than the nominal dimensions. The board used for this project was a 1” x 6” (nominal) cedar board, which had actual dimensions of 5/8” thick x 5 1/2” wide.
For this project, I used cedar because it is naturally rot/insect resistant and does not require painting or sealing to protect it from the weather. I prefer not to use chemically pressure treated wood for an application such as this and untreated pine (or similar types of wood) are subject to water damage, rot, etc.
I chose to add a small amount of wood stain to the outside of each of my bird house panels in order to make them easier to photograph for the remaining steps. The stain is not necessary for the functioning of the bird house.
Step 2: Attach Roof Panel #1 to Roof Panel #2.
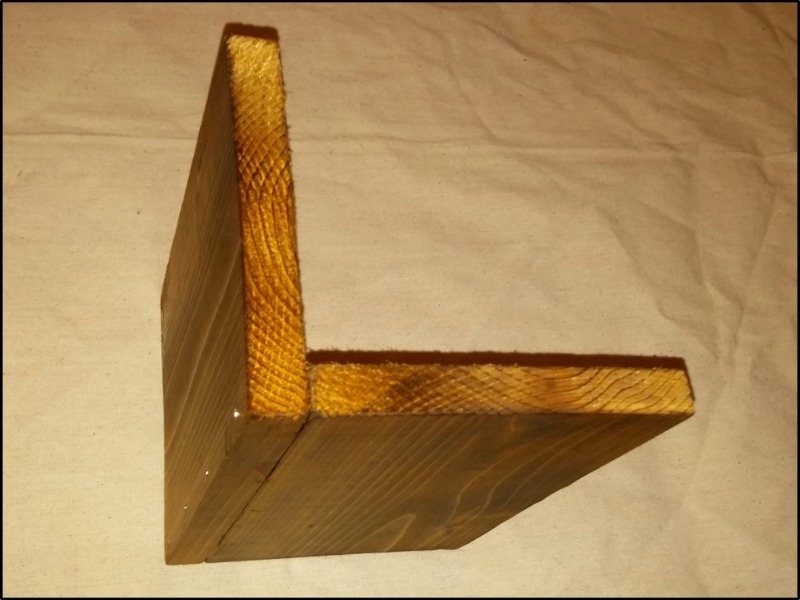 The roof of the bird house is made up of Roof Panel #1 (one of the 8” x 5 1/2” panels) joined together with Roof Panel #2 (the 8” x 4 7/8” panel). Align one of the long edges (8” edges) of Roof Panel #1 with one of the long edges (8” edges) of Roof Panel #2 so that the two panels connect at a right angle (90 degree angle) and overlap to form a roof with even length sides as shown in the picture.
Place a bead of glue along the long edge of Roof Panel #2 where the panels meet and press the panels together as shown in the picture. Carefully nail three or four evenly spaced small nails through Roof Panel #1 into the edge of Roof Panel #2 (through the glued connection) in order to keep the panels together while the glue dries and to add additional strength to the joint.
Step 3: Attach the Side Panels to the Rear Panel.
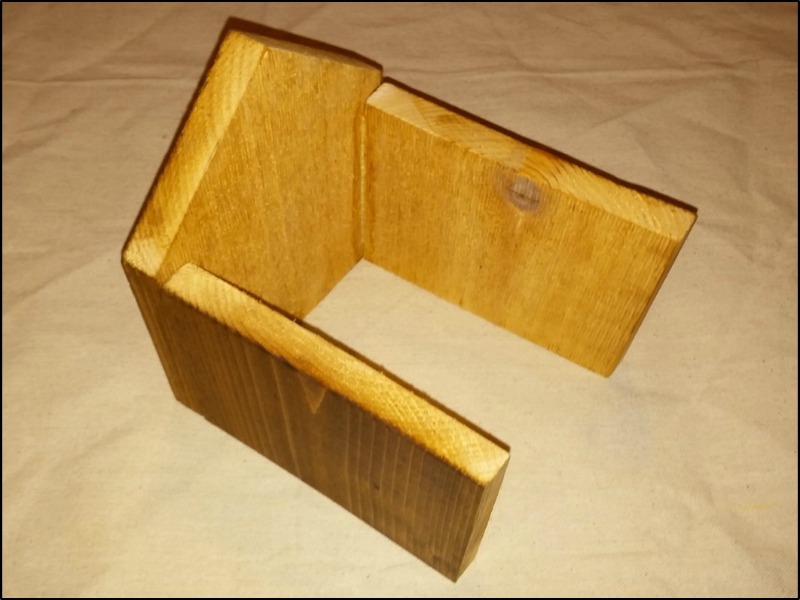 Next, attach each of the two Side Panels to the Rear Panel by aligning one 5” edge of each Side Panel with one of the 5 3/8” edges of the Rear Panel so that each of the Side Panels connect at a right angle (90 degree angle) as shown in the picture.
The extra 3/8” of space between the tops of the Side Panels and the side of the Rear Panel (before the 90 degree cut out) will allow for air circulation inside the bird house. Place a bead of glue along the 5” edge of each of the Side Panels where the panels meet the Rear Panel and press the panels together as shown in the picture.
Carefully nail two or three evenly spaced small nails through the Rear Panel and into the edge of each of the Side Panels (through the glued connection) as done in step 2.
Step 4: Attach the Front Panel to the Side Panels.
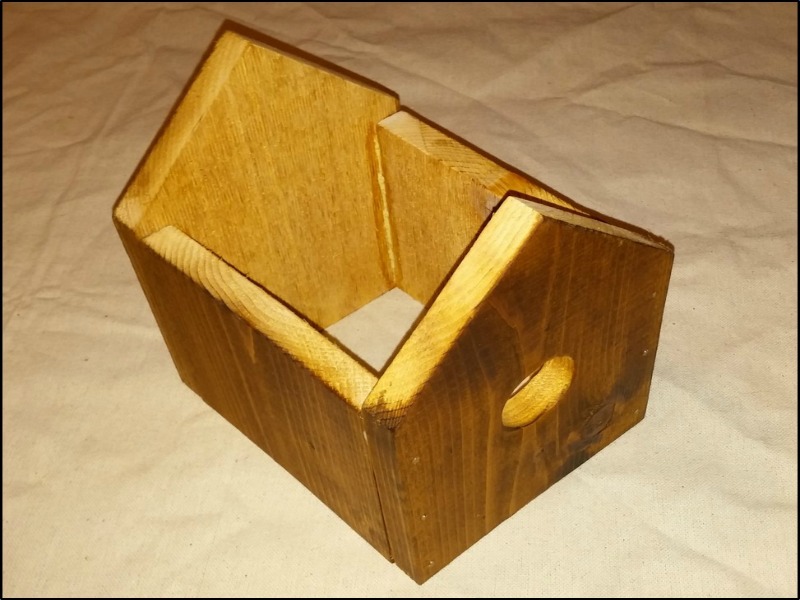 Next, attach the Front Panel to the two Side Panels by aligning the remaining 5” edge of each Side Panel with each of the 5 3/8” edges of the Front Panel as shown in the picture. Place a bead of glue along the 5” edge of each of the Side Panels where the panels meet the Front Panel and press the panels together as shown in the picture.
Carefully nail two or three evenly spaced small nails through the Front Panel and into the edge of each of the Side Panels (through the glued connection) as done in step 3.
Step 5: Attach the roof to the house.
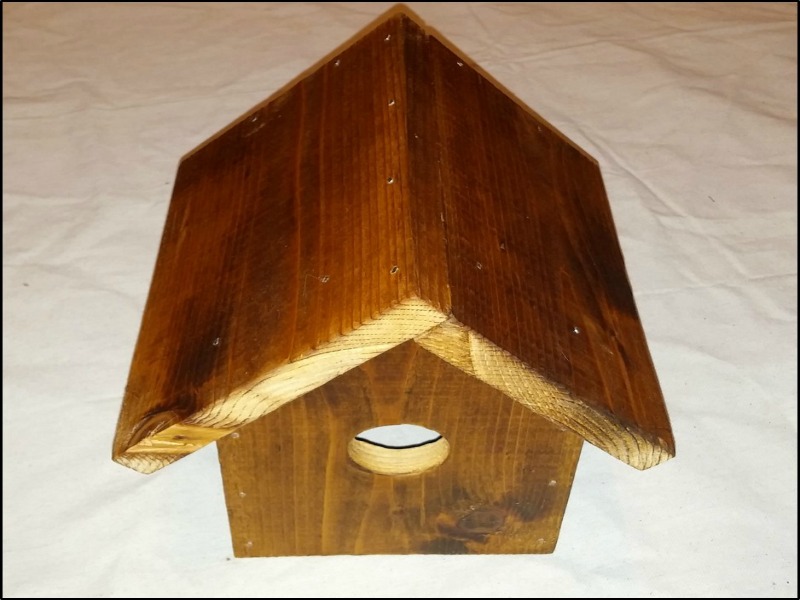 Next, attach the roof (assembled in Step 2) to the frame of the house assembled in Steps 3 and 4, aligning the rear edge of the roof to the outside of the Rear Panel as shown in the picture. Place a bead of glue along each of the upper edges of the Front Panel and Rear Panel where the panels meet the roof and press the panels together as shown in the picture.
Carefully nail three or four evenly spaced small nails through the roof and into the upper edges of the Front Panel and Rear Panel (through the glued connections) as done in previous steps.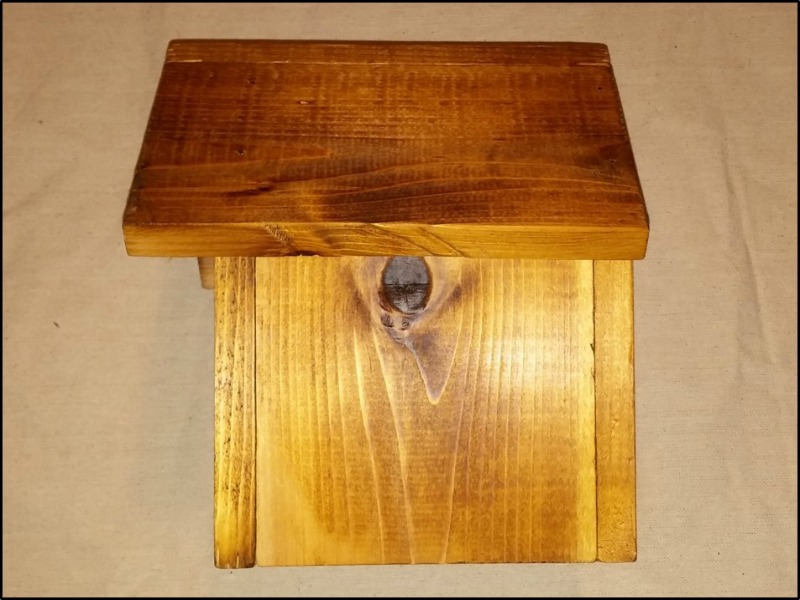
Step 6: Add hanging/mounting hardware of your choice.
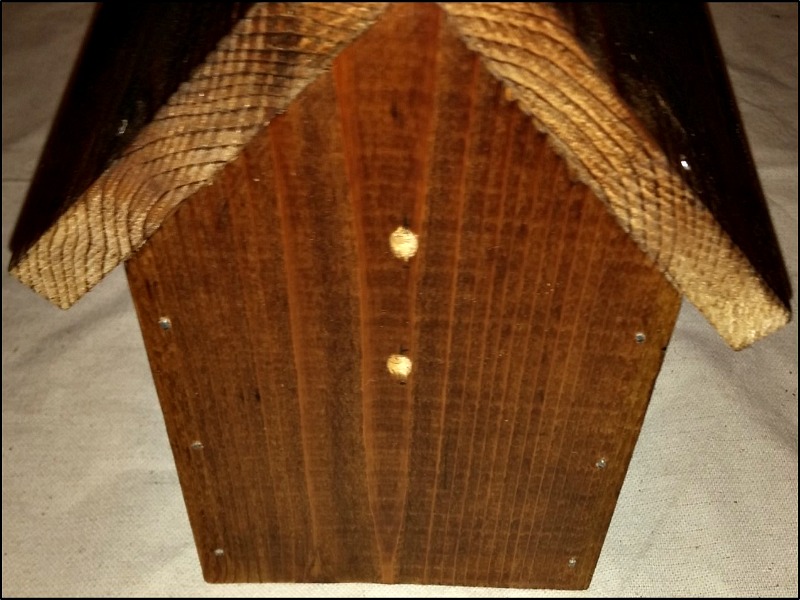 While the bird house still has an open bottom, you may want to add whatever hardware you wish to help you hang or mount the bird house. The specific hardware used will depend on how and where you wish to place your bird house.
In my case, I will be attaching the bird house to a tall wooden fence. Therefore, I just drilled a couple of holes in the Rear Panel through which I will slip small bolts in order to secure the bird house to the fence.
Step 7: Attach the Bottom Panel to the house.
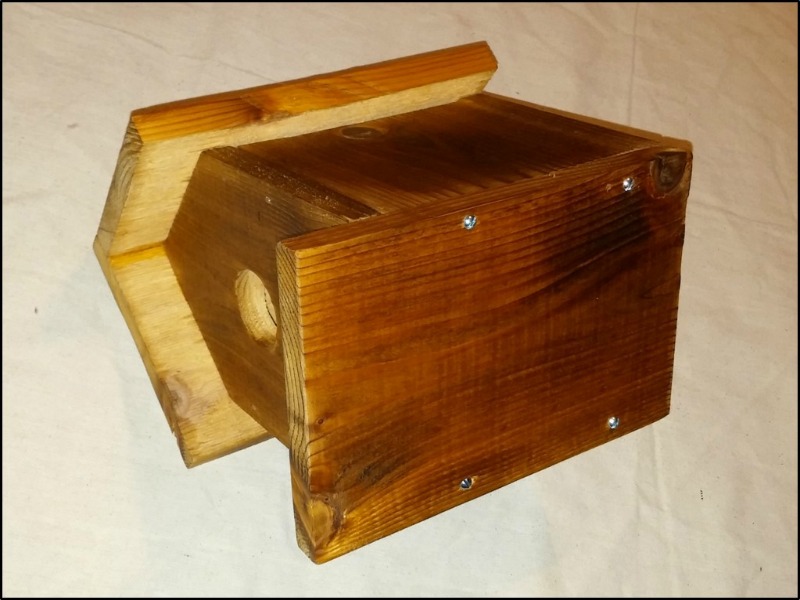 Finally, attach the Bottom Panel to the bird house using four small wood screws aligning the rear edge of the Bottom Panel to the outside of the Rear Panel as shown in the picture.
The Bottom Panel will extend a little over an inch past the front of the bird house, thus providing a small perch outside the entrance to the bird house.
Step 8: Mount the bird house.
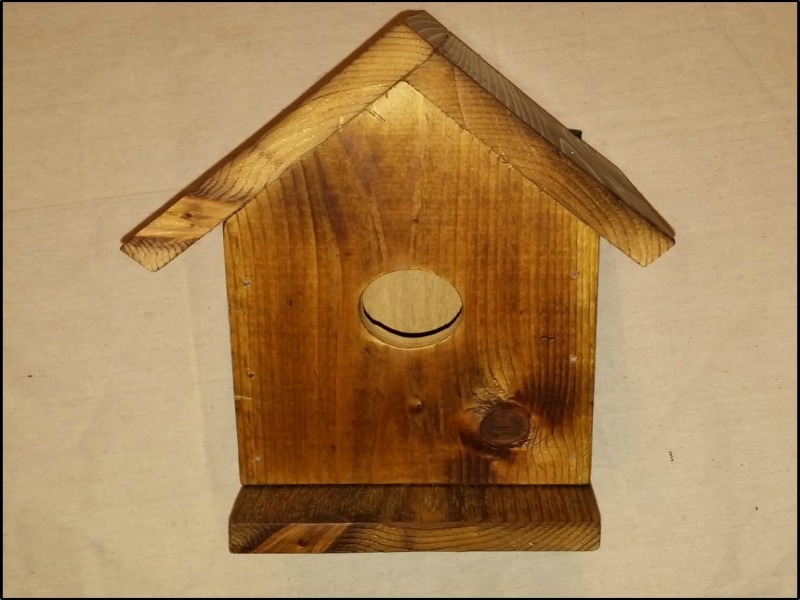 Once your bird house is complete, your only remaining step is to mount the bird house in the manner you choose and in your selected location. Of course, you will need to give the birds time to find their new house and to set up housekeeping. The bird house should serve well to provide your bird family with safety and security.
NOTE: You may wish to change the dimensions and make your bird house bigger or smaller than the one described here. Depending on the type of bird you wish to attract, there are resources on the web that will tell you the optimal size, dimensions, the best size for the entry hole, etc. The materials required to build the bird house shown above cost about $20.
About the author:
James Hammond is a disabled veteran and has done landscaping and home renovation projects for over 25 years.
No information about different size holes attracting/repelling different bird breeds??
Bill,
I didn’t write this article so I really can’t be of any help here.
I like the idea of making birdhouses. Men or Women can make them and I feel they look homier than the ones you buy. Besides we can use a thicker wood and thus have it be more insulated from the heat. We can ventilate them better than store bought ones too. Many advantages.