MAKING MAPLE SYRUP
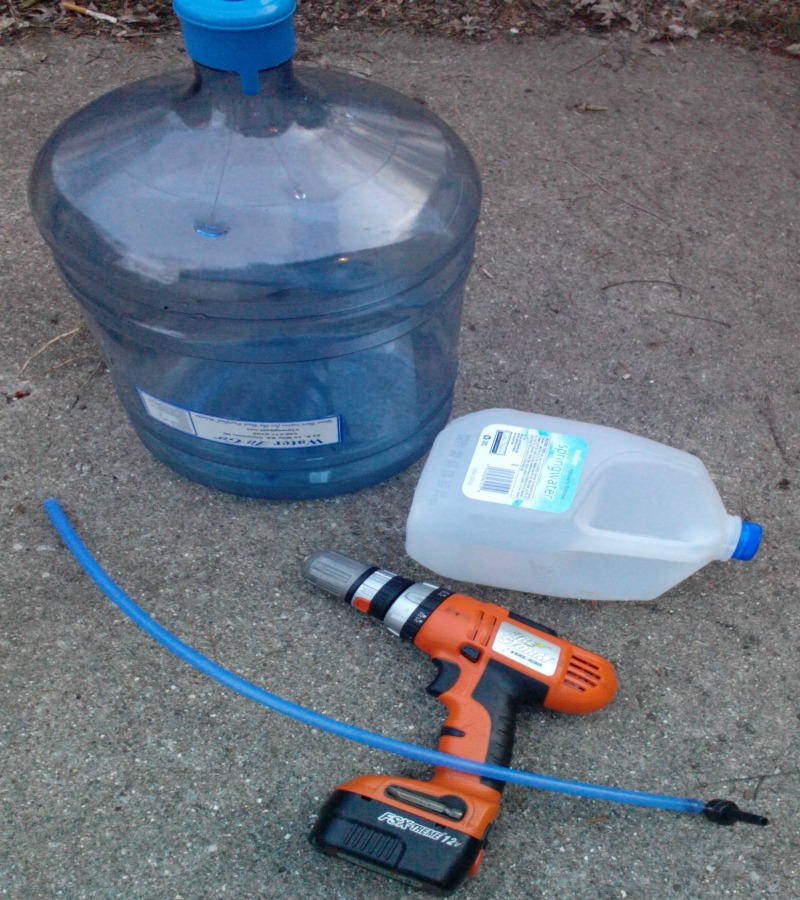
Making maple syrup is not difficult and only requires a few supplies: A drill, a tap, a bucket or something else to collect the sap in, a pot to boil it in, a Maple tree and a lot of patience.
 Nobody knows who discovered how to make maple syrup, but it is first mentioned in a letter in 1663, by an English chemist who had witnessed the Indians near the Massachusetts colonies making it.
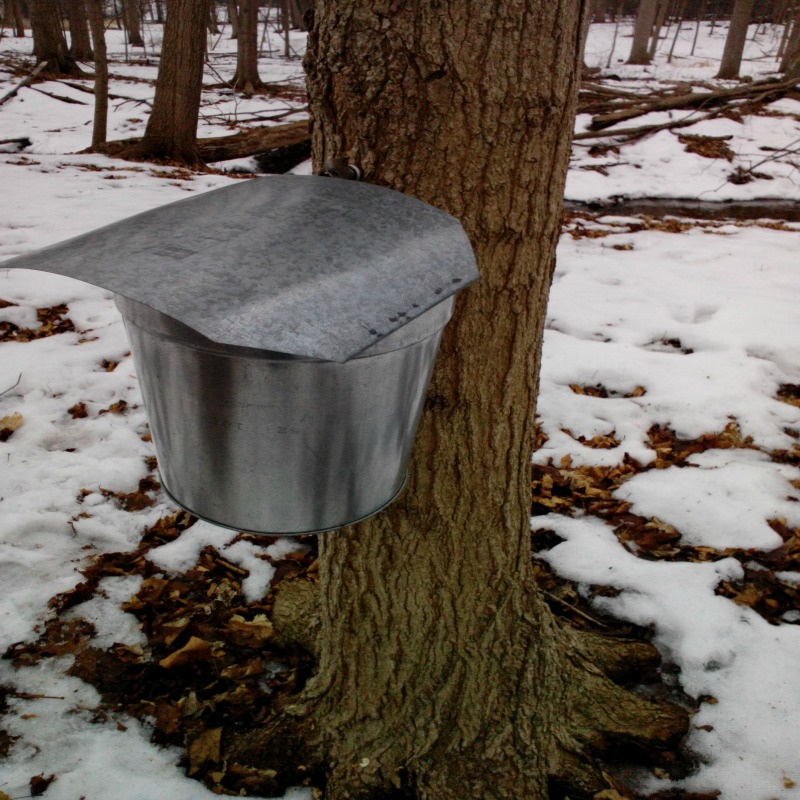
If you want to collect sap as your grandparents may have done in 1900, you’d use one of these old fashion drills, a metal tap with a hook for your bucket and a cover to keep the sap clean. This is how they do it at my local nature center, where families can rent a tap and other supplies.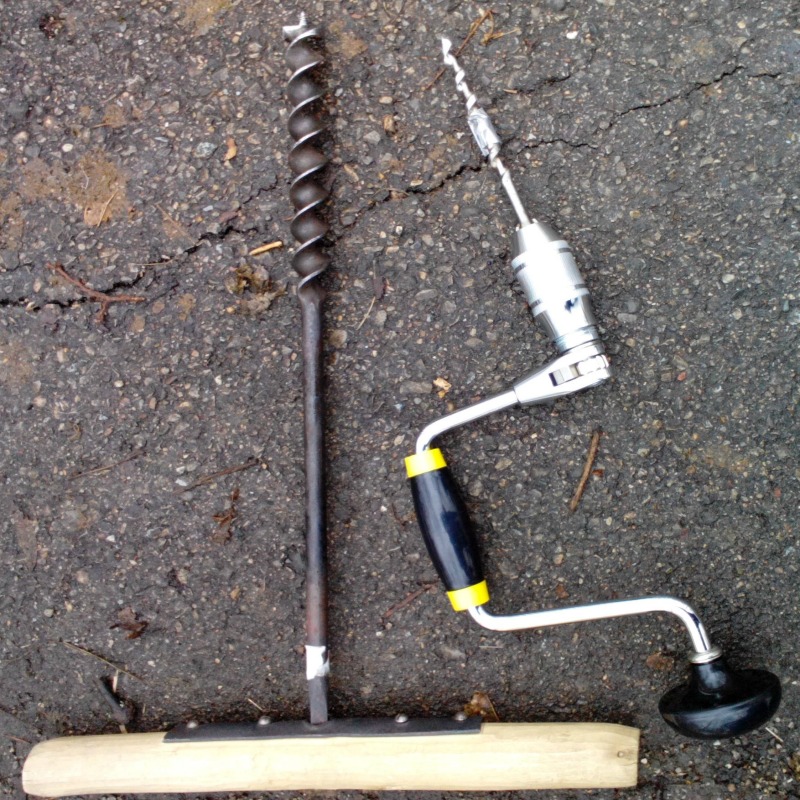
You can order a tap, officially called a SPILE, on line. I ordered a very inexpensive tap kit from from Old Cobblers Farm. It came with five taps and five pieces of tubing about 30” long, they were plastic, not metal like I’d seen used at the nature center, but they did the job. If you are lucky enough to have a local nature center that runs a maple syrup educational program, be sure to attend you’ll gain lots of valuable knowledge.
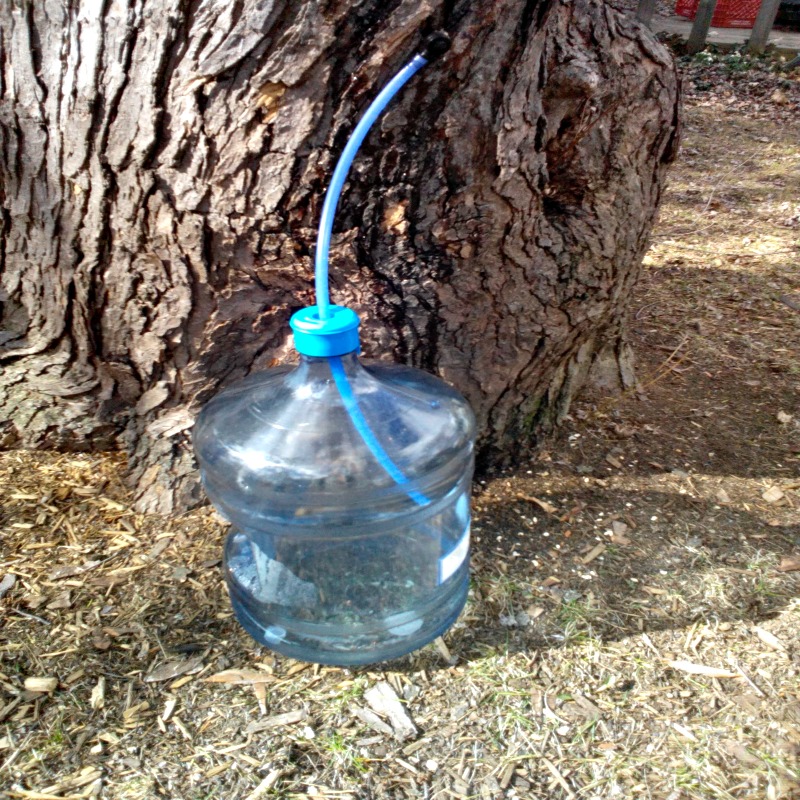 Before you drill, measure…be sure the end of the tube will reach what ever you’re collecting the sap in, and it is food grade. I originally chose a gallon jug that you buy distilled water in at the grocery. But the sap was flowing so fast, I finally decided to use a large jug from the water cooler at work. The gallon jugs fit in my refrigerator better. You need to keep the sap chilled until you can cook it.
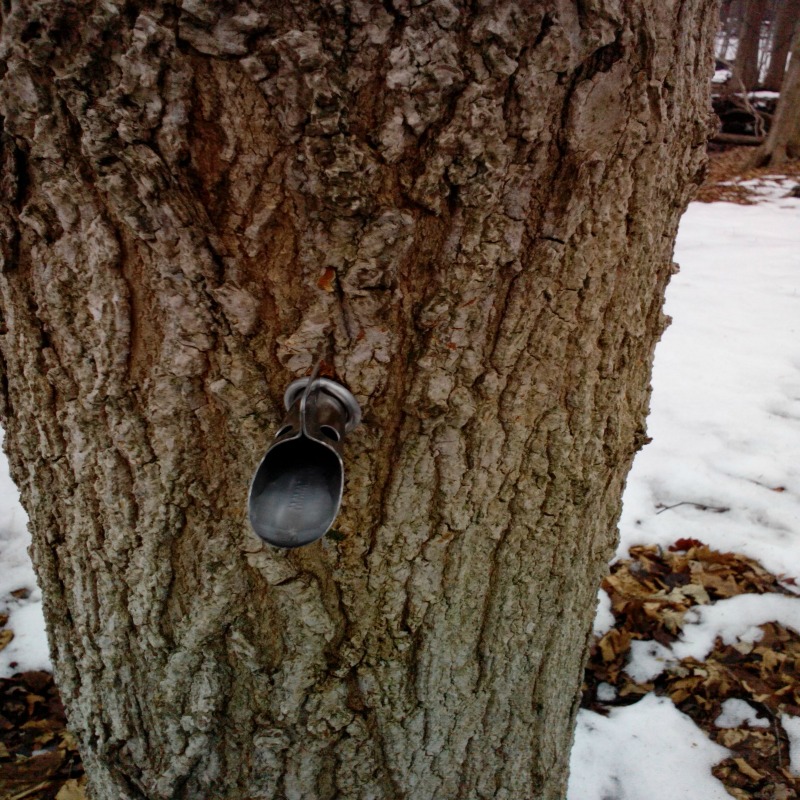
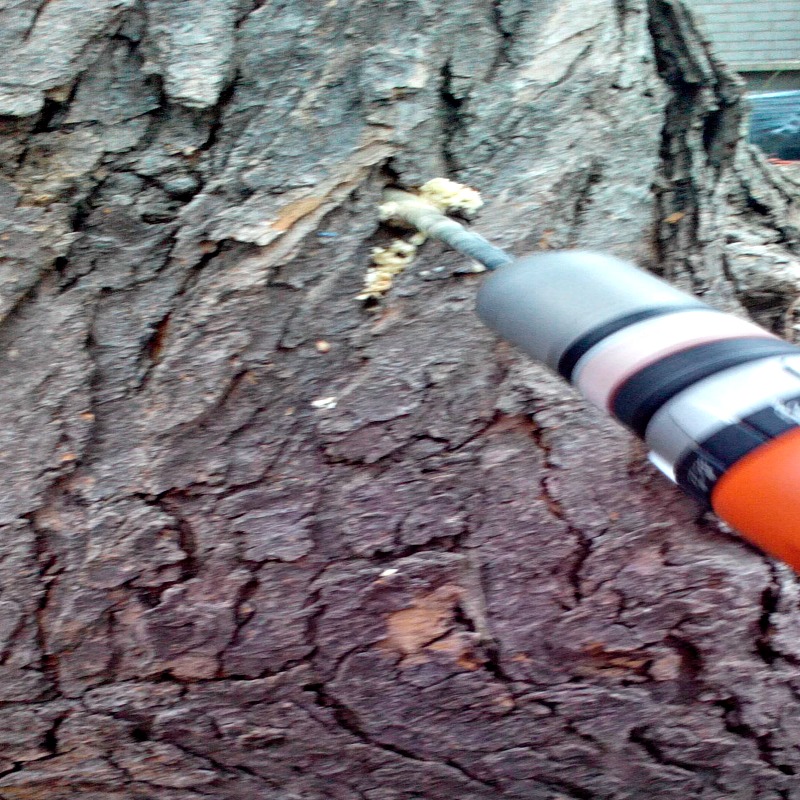 I drilled a 5/16” hole two inches deep at a bit of a downward angle. The size of the hole is determined by the size of the tap/spile. The sap immediately started to run, so be ready with your collection jug. As recommended, I drilled on the south side of the tree because it gets the most sun.
You will want to start collecting sap when the daytime temperatures are above freezing but the nights are still below 32 degrees. It is the temperature fluctuations that cause the sap to flow. Once the nights are also above 32, the sap stops flowing. The season when you can collect only lasts 4-6 weeks.
Experts recommend no more than two taps in a tree that is at least twelve inches in diameter. It takes maybe 40 years to get a tree that big. Also be sure your tree is healthy and a MAPLE. The taps should be at least six inches apart and six inches from any place that was tapped before. You can expect each tap to yield about 10 gallons of sap, which will yield one quart of syrup after boiling.
Once you’ve collected all your sap, you’ll need to boil it, as it is 95% water. At my nature center they use a wood fire under their steel evaporator which is 2 feet by 6 feet and about 10” deep. The evaporator is in the Sugar Shack which has a cupola (hole in the roof) to let the steam escape.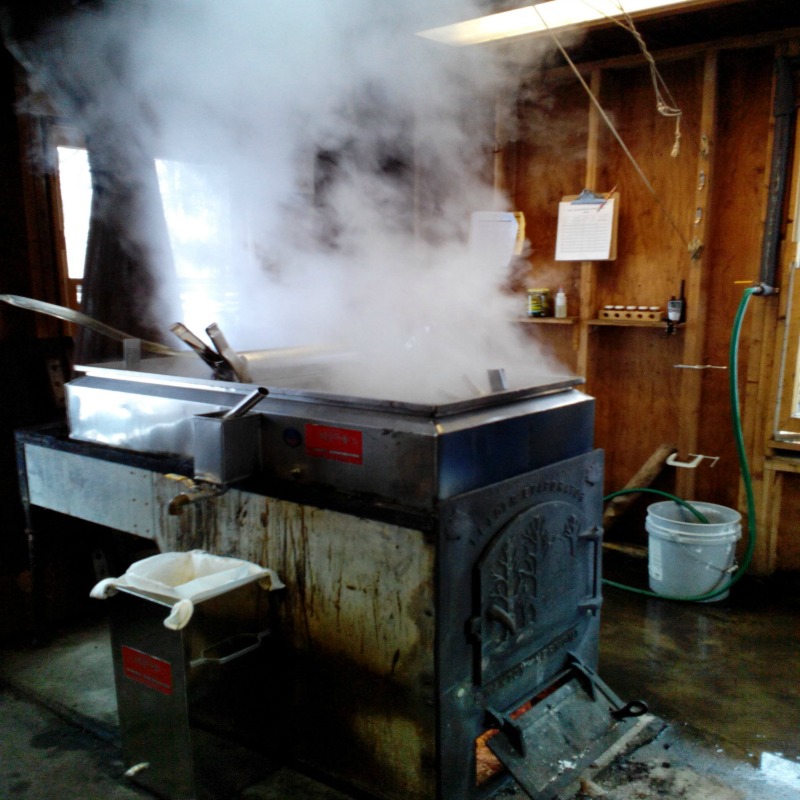
The larger your surface space and the more shallow your liquid the faster the water will boil away. So don’t turn your back on your pan or you’ll have a huge mess! Because this process takes so long DO NOT do it in your kitchen, the sticky steam will peal the wall paper off your walls.
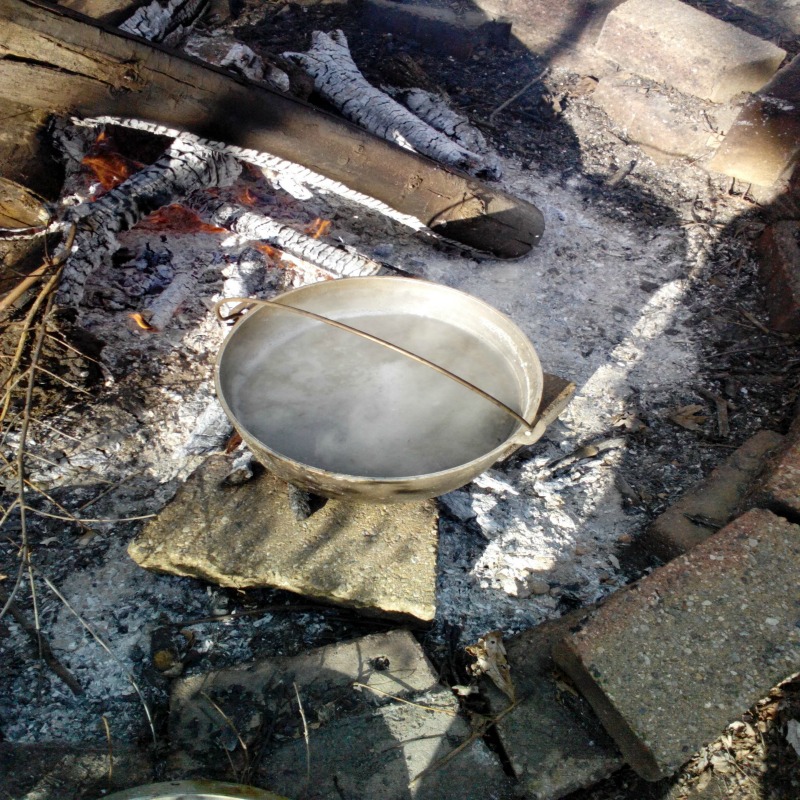 I used my dutch oven in my fire pit, moving hot coals and logs close enough to the pan to keep the sap at a slow boil. Since you don’t want to stop the boil, try not to add cold sap to your pan. I found it helpful to keep a metal coffee can near the fire and pour cold sap into that, then when I needed to add more liquid to the dutch oven, the stuff in the coffee can was hot and ready to pour.
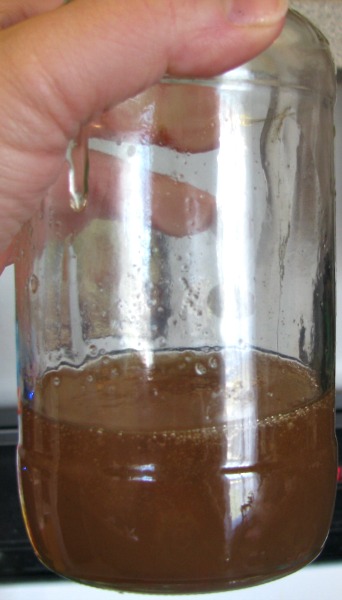
When you see a little color in your pan and your sap is getting thicker, it is approaching syrup, using a candy thermometer check the temperature, it should be about 220 degrees.
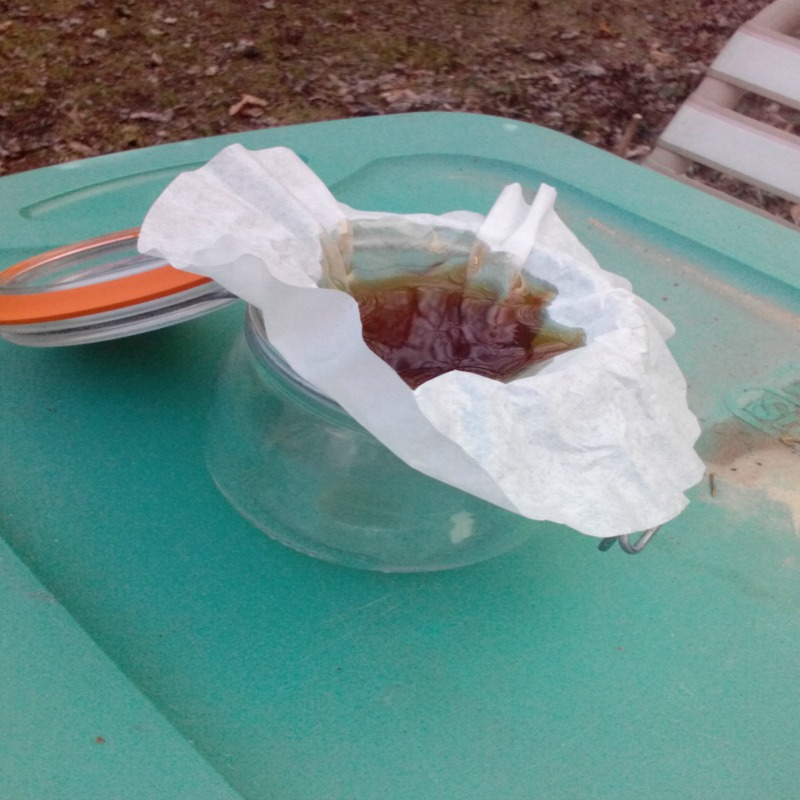 Because there will be a small amount of sediment or ash from your fire in the syrup you should filter it through some cheese cloth or a coffee filter into your jars.
 For larger batches you can order a special filter for this job. You’ll want to store your syrup in sterile canning jars and keep it in the refrigerator. Your syrup may darken in storage, but you will never taste anything better.
Everybody should try making maple syrup at least once in their life, it’s a lot of work but the end product is delicious and it is very satisfying to make it yourself. ENJOY!!!
How long does it take to cook down the sap, depending on how much you work with? I’ve heard 36 to 48 hours, stirring often. Who has time to do that, by themselves?
https://www.youtube.com/watch?v=OAmuFLz8Tek
Will any maple of the size you stated produce syrup or does it have to be a “sugar” maple??
it must be a sugar maple
Actually, any kind of Maple will do, but Sugar Maples have a slightly higher sugar content, so it takes a little less to make syrup.
Sugar maple is the most common, since it has the highest percent sugar by volume in the sap. So, if you’ve got a stand or row of sugar maples – definitely use those. If you have black maples, those work as well.
In a pinch red maple can also be used. Syrup made from red maple is not as sweet, and sap must be collected from these trees before buds show. After buds show, the sap will taste “off” and the syrup made from it will not be good.
It takes about 40 gallons of sugar or black maple sap to make 1 gallon of syrup. Since each tap will produce about 10-20 gallons of sap per year, you’d need 2-4 taps to make a gallon of syrup.
You can find a lot of good information at university sites- the agriculture extensions of universities are a wealth of useful details from researchers and their students who spend their time learning all the things we want to know 🙂 http://maple.dnr.cornell.edu/FAQ.htm
Good article we do this with pine trees in the garden.It is stored like you say but for a year with a little sugar ferments into a fizzy wine type drink loved by Latvian farmers since time began. I wonder if we should try the syrup on our dutch oven as you say?
I agree, there is nothing better than maple syrup that you have made yourself. One correction, the temperature should be about 220 F, not 120.
Mike, Take it one step further and have a sugar on snow party, after boiling longer – pour over snow which makes it carmelize. Oh soooooo good!!!! Some folks add the homemade donuts and sour pickles to cut the sweetness, but whatever your choice it is the best.
In Michigan we use a 3/3″ x 6″ piece of Sumac limb hollowed out with a clothes hanger wire. This was incerted into a hole bored into the tree. When the temperature exceeded 60 degrees F, the flow of sap would stop as if someone had turn off a faucet
I enjoy your presentations. Keep up the good work..
Everyone should make their own maple syrup at least once in their lifetime … Is that so?
You will live longer if you simply drive to Vermont during sugarin’ season. Bring at least a pound of the sharpest cheddar cheese you can find and a large box of good crackers. Bring a couple of six-packs of beer. This will get you in the door and allow an occasional question.
When you have seen enough, buy some syrup. Leave the cheese, crackers and beer behind. You will be allowed a return visit, perhaps next year.
Spiles can also be made of small branches with a soft center such as Sumac. Just heat a stiff wire with a small propane torch and run it through the center. This will burn out the channel. Whittle the end to go into the tree into a somewhat cone shape, and hook your hose to the other end. Again, whittle a little of the open end if you need to make it smaller for the hose.
Correction – The temperature for the syrup should be about 220 Degrees.
We usually make several gallons a season, and have been developing recipes using Maple Syrup.
One other step. You can also can the syrup in a Hot Water Bath canner. 10 minutes for pints, 15 minutes for quarts. This method doesn’t require refrigeration.
If you live on the West Coast, the first thing to do is go to the nursery and get a Sugar Maple to plant! They will grow here, but are not native. There are hundreds of maples in the Santa Cruz mountains, but they do not turn gorgeous colors in Fall. Just turn a dull gold. We have planted Liquidamber and Scarlet Oak in our gardens just so we can have Fall colors
I think you meant to say 220 degrees F in your article
That’s 220 degrees bub. Also recommend finishing it off on the stove top.