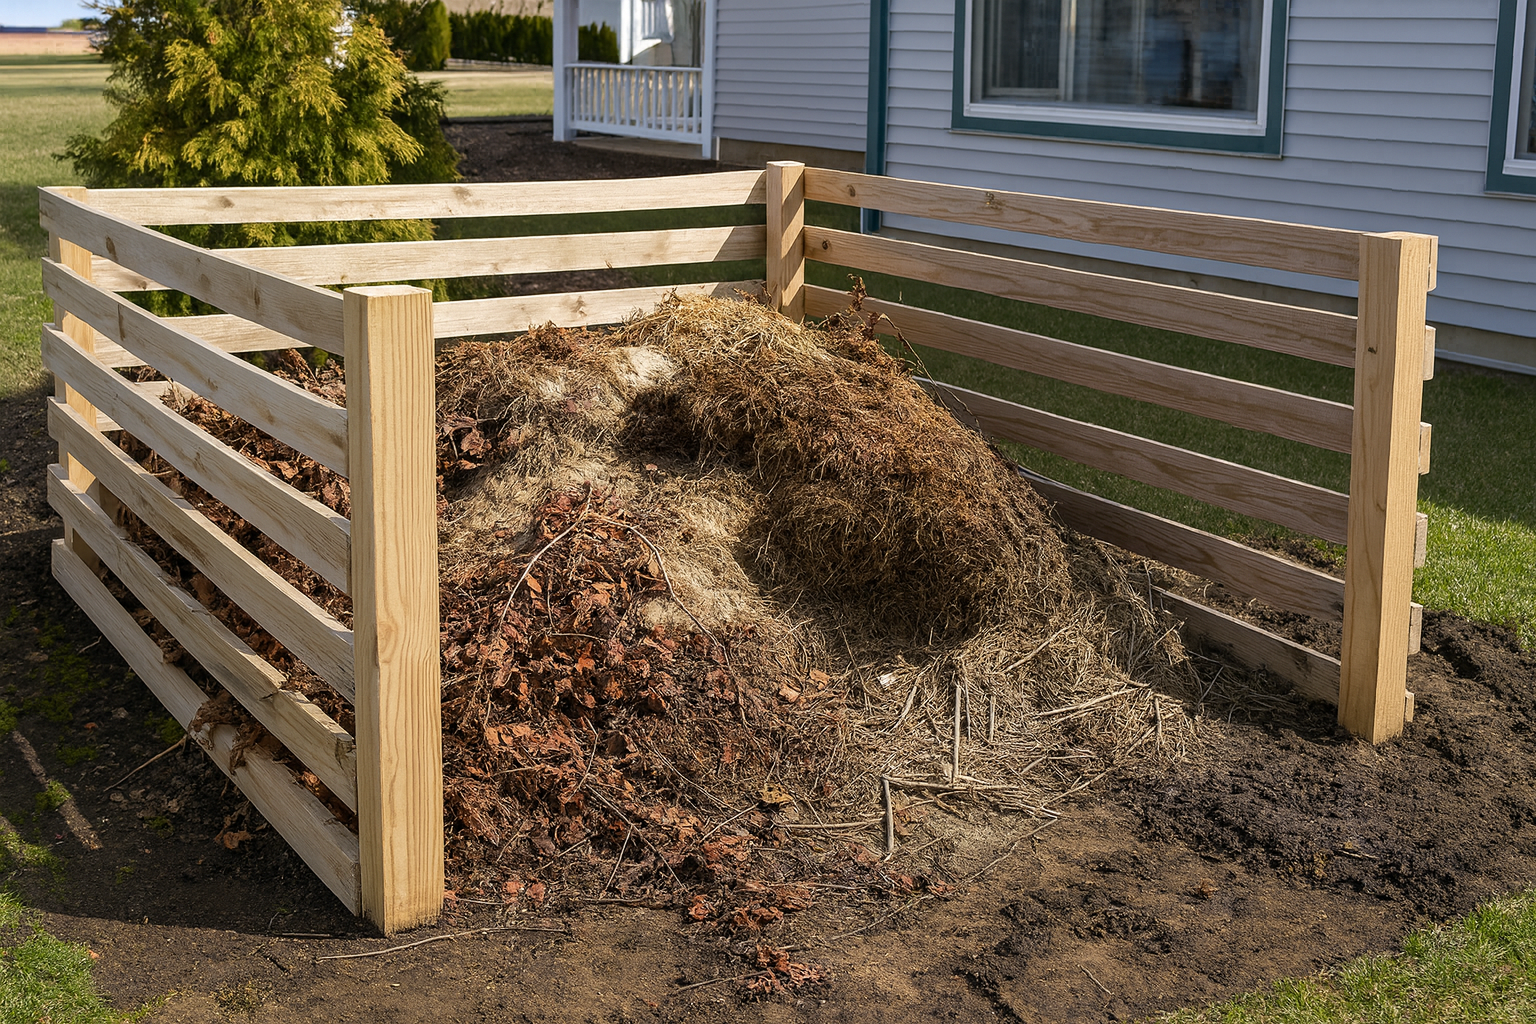
Adding good rich compost to your gardens is one of the smartest things you can do as a gardener. Compost is pure organic matter, and added to the soil it helps to reactivate the micro-organisms in the soil. These micro-organisms help to maintain a healthy balance in the soil.
Composting is not complicated, but there are certain things you can do to make your composting pile or bin more effective, thus creating good rich, usable compost in less time.
What should you add to your compost pile? Leaves, twigs, grass clippings, straw, rotted live stock manure, fruits and vegetables.
The size of your compost pile will determine how well it works. A compost pile should be larger than one cubic yard, and smaller than 5 cubic yards. A cubic yard is 3′ wide by 3′ wide, by 3′ high. A small pile will not heat up enough to make the process work effectively, while a pile that is too large will not allow for enough air circulation or water penetration.
The amount of surface area of your pile is also important to it working effectively. The more surface area, the more water penetration from rain, and the better the air circulation. Of course making a pile with a large surface area that is not adequately deep will result in a compost pile that does not adequately generate heat. Moisture, heat, and air circulation are the keys that make the machine work.
The finer the material you put into your compost pile, the sooner it will break down into good rich compost. If you don’t have a shredder, at least cut the materials up with a spade before adding it to the pile.
Your compost pile should be made up of different layers. The bottom layer should be coarse material such as twigs to allow for air circulation around the base of the pile. The second layer should be a mixture of leaves, grass, or other leaf matter. Mixing dry leaves with fresh green material also helps to keep this layer in good balance. The third layer should be 1″ of soil to add micro-organisms to the pile. A fourth layer can be rotted cow or horse manure if available. If not just start over with a layer of more coarse material and repeat the steps above.
Keep building your pile until it is 36 to 40 inches high. Once you have the pile you want, don’t add anymore to it. You don’t want to keep mixing fresh materials with the batch you have cooking. After 5 or 6 weeks you can turn the pile with a fork and let it cook a little longer and turn it again in 5 or 6 weeks. Keep repeating this process until you have good rich, dark brown compost that crumbles through your fingers.
That’s the recommended way to create compost. However, I have a weak back and find that turning compost with a fork aggravates my back. Not only that it’s a lot of work! So this is what I do…..
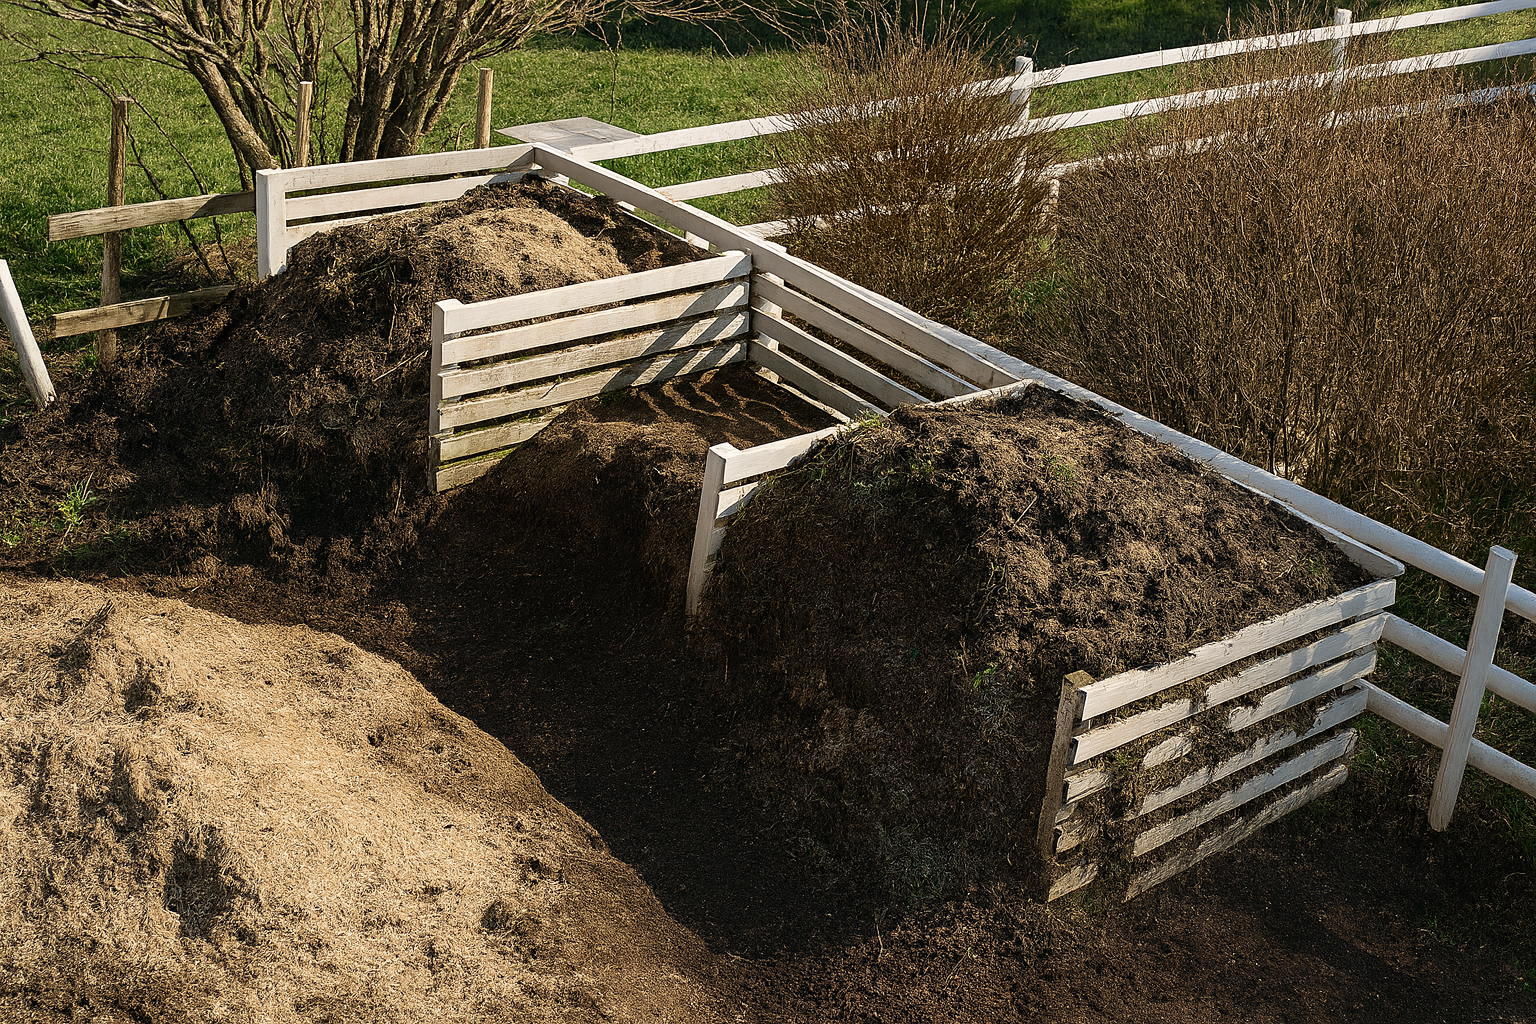
I build two compost bins side by side. Actually, I build one large bin 10′ long with just two sides 5′ long and put a 5′ divider in the middle. This gives me two, three sided bins 5′ by 5′. Filled to the height of 42″ each bin holds almost 3 cubic yards of raw compost material. I construct these bins by digging postholes, setting 3″ by 5″ garden timbers in the holes vertically, and make the sides by nailing pressure treated 2 by 4’s to the timbers, leaving a 2″ gap between each board for air circulation.
I fill one of the bins as described above, until it reaches the desired level. Once the first bin is full I start filling the second bin as I get more organic material. Instead of turning the pile with a fork, I use my front tine rototiller to dig into the front of the pile, chewing up the materials and turning it into mulch. I then shovel this mulch like material up onto the top of the pile and rototill some more.
I just continue this process until I can’t put any more on top. This procedure makes my pile higher and narrower, and admittedly the material in the back of the pile does not get turned until I remove some of the material from the pile. By turning the material with a roto-tiller and then putting it back on the pile, it breaks down quicker. When I have some good rich material in the front of the pile I remove it for use in my gardening efforts. This allows me to roto-till deeper into the pile and turn more compost material. Why this is all taking place my second pile is already on it’s way to becoming compost.
When I have completely emptied the first bin I start filling it again, and start the roto-tilling process on the second bin. Right, wrong, or otherwise, that’s the way I compost.
Now I’ve become a Chronically Lazy Composter
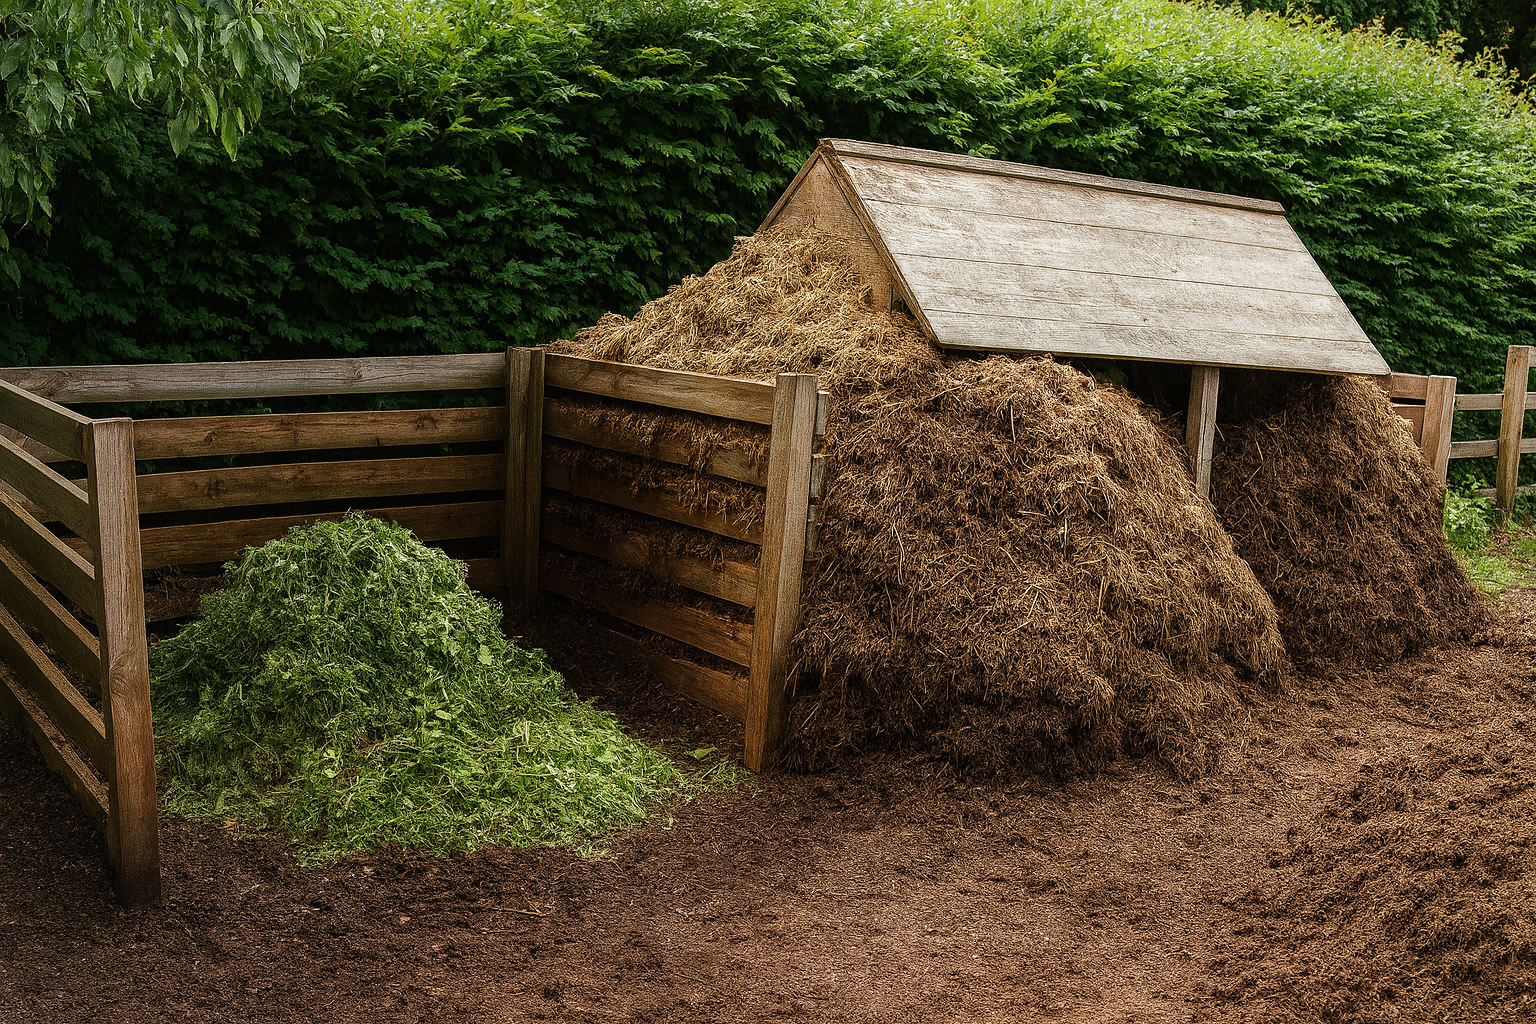
This is the compost bin at our new house (that story is here). It’s a single bin system and all three sides are about seven feet. I just fill it up and never turn the material in the pile. When the bin gets full I take my little Mantis Tiller and mix the fresher stuff on top with some of the old stuff as I completely empty the bin into one of my flower gardens.
Works for me!
Very little work and eventually I get a nice big bin full of useable compost.
Hi Mike.
I have a question for you regarding ornamental grass plugs. I am planning on creating small plugs from divisions of field grown ornamental grasses this coming Spring. Should I wash the small divisions in water and then soak them into an all season dormant oil prior to putting them into propogation trays? I’m concerned about insects/disease pressure. I’d appreciate your input and time, thank you.
Not something that I would do as long as the plants in the field have been inspected by your nursery inspector.
hi if we join do you ship plant plugs to canada
Diane,
Getting plants from the U.S. to Canada is not easy with small orders. Large orders can be done with special inspections. But shipping a small box of plants it a lot of effort so most won’t do it. I’ve tried to get our Canadian members to sell to one another, but that simply has not gained any traction.
can anyone identify the lighter colored grass. how do i post pict
Hi Mike I read on your site that plants that are patented or have registered trademarks cannot be propagated by anyone. Certainly a patented plant is untouchable
But if a plant has a registered trademark (but no patent protection) anyone can propagate it as long as the trademark is not used. Cheers Jeff
Jeff,
You are correct and I explain this in detail here. https://mikesbackyardnursery.com/2014/05/patented-plants-and-plants-with-registered-trademarks-and-the-tale-of-white-fountain-weeping-cherry-trees/