Propagating Roses from Cuttings
www.freeplants.com
Copyright © 2011 McGroarty Enterprises Inc.
 The propagation of Roses. Boy this must be hard to do. Roses are a mystery to many gardeners. Something so beautiful must be really difficult to grow from cuttings, at least so think some gardeners. This is not the case at all. Roses are actually quite easy to propagate if you give them a fair chance.
A fair chance is nothing more than creating an environment that will sustain them while they establish roots. It is a natural process for a piece of a plant that has been separated from the rest of the plant to immediately begin every effort to establish new roots to stay alive. Of course without any help from you this is not going to happen, but with your help it can, and will happen quite quickly.
Roses, like all plants, have certain basic needs that must be met during the rooting process. Since the cutting you are trying to propagate has no roots, it has no way of picking up water, something that is very important to the cutting’s survival. So you must create conditions around the cutting of very high humidity. As close to 100% humidity as possible.
One easy way to do this is to make a mini propagation hut by sticking the cutting in a flat, or right in the soil and cover it with a mason jar. Of course you must be careful of exactly where you choose to root this cutting. The cutting needs some sunlight, but too much sun shining through the mason jar will cause the cutting to become over heated. An area that is at least partial shade works best.
The soil in which you stick this cutting should be moist but not wet. Coarse sand or potting soil mixed 50/50 with perlite should work fine. A sterile soil mix is best because you are creating humid conditions that are great for growing all kinds of fungus etc. Starting with sterile soil gives your cuttings a fair chance.
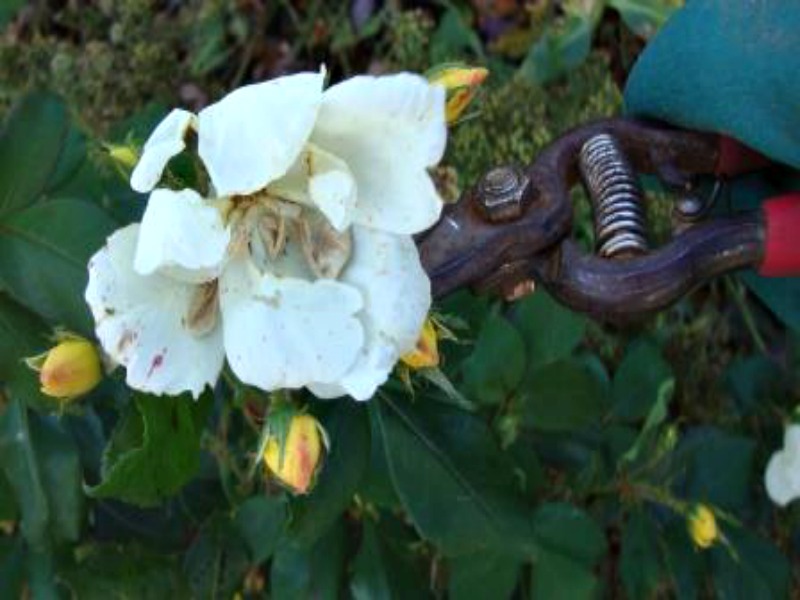
Dipping the cutting in a rooting compound after it has been lightly scored down one side will also help to induce rooting much quicker. You score the cutting to expose the cambium layer which is the layer of tissue just below the bark. From this cambium layer is where the rooting will take place. Scoring the cutting can be done by lightly scraping the bark on one side of the cutting. This would should be about ½-1″ in length from the bottom of the cutting up. The cutting should be 4-5″ long if possible. Remove the leaves from the bottom of the cutting, but leave as many leaves as possible near the top. The leaves are necessary for food and hormone production while the rooting takes place.
Follow these propagation tips and your rose cuttings should root quite well. The length of time it takes them to root is determined by a lot of factors, such as the variety of the rose, and the temperature of the soil and the air. To learn more about creating the ideal environment for rooting rose cuttings as well as many other cuttings click on the link “Propagating Via the Upside Down Fish Tank Method”, or “Using Intermittent Mist to Root Your Cuttings”.
by Michael J. McGroarty
© Copyright 2011
Hi Mike,
This has baffled me to no end and I am not sure how to get my mini roses looking like plants again. When I first purchase them, I grow them inside in a hydroponic system and they do great for a while but after 2 or 3 months and I repot them and sit them outside in containers, the leaves, buds, and flowers fall off and it looks like a bush of sticks. The stalks (sticks) are still healthy but they do not start to produce leaves, buds, or flowers again. How in the world can I get this straight?
Robert,
Try something as simple as sticking the cuttings in the soil, in the shade, then over with a masons jar.
I would like to know if I can root roses this time of year?
Garnet,
The Six Week Rule
Here’s the thing with softwood cuttings. Forget about what they say online (as if I’m not online pumping out info online!) about bloom date etc. If you follow the six week rule you can’t go wrong as far as timing is concerned.
From the day plants get their leaves in the spring, count ahead six weeks. During that six week period the plant actually produces, for you, about 5 or 6 inches of new, soft growth that can be used for softwood cuttings. That new growth needs six weeks to harden off enough to be used as a softwood cutting.
If you take the cuttings too soon, they will wilt down and fail, but most importantly you will have wasted those cuttings. You can take a few, stick under mist, and see how they hold up. If they stand up, you’re good to go. Some wilting is normal, but not laying flat on the rooting medium.
So anytime after the six week date is good until the wood starts to harden off near the end of summer.
More here; http://mikesbackyardnursery.com/2015/01/easy-summertime-plant-propagation-techniques-can-home/
Than you so much, I live in Vermont so I can’t start my six week count down yet, not even a bud yet!
Mike
I live in the Pacific NW Where the temperatures are not as severe. My problem with cuttings is the fungus called Brotrytis. Brotrytis fungus thrives when there is a lot of moisture and the temperature is between 40 and 60 degrees. Do you have any suggestion as how to treat for botrytis fungus?
If crops have been stricken with blight remove infected flowers, leaves or entire plants as necessary. Avoid removal when crops are wet as it can spread the spores.
Use of a fungicide spray is highly recommended for both prevention and treatment. Apply it in spring when the weather is cool and wet, or if blight was a problem in the previous year.
Crop rotation and regular weeding are also important in the prevention and treatment of Botrytis.