How To Build A Folding Sawbuck Bench
A sawbuck bench makes it easier to cut long pieces of wood by getting the wood at an ideal height off the ground. This article shows you how to build a sawbuck bench that folds for easier storage.
TOOLS
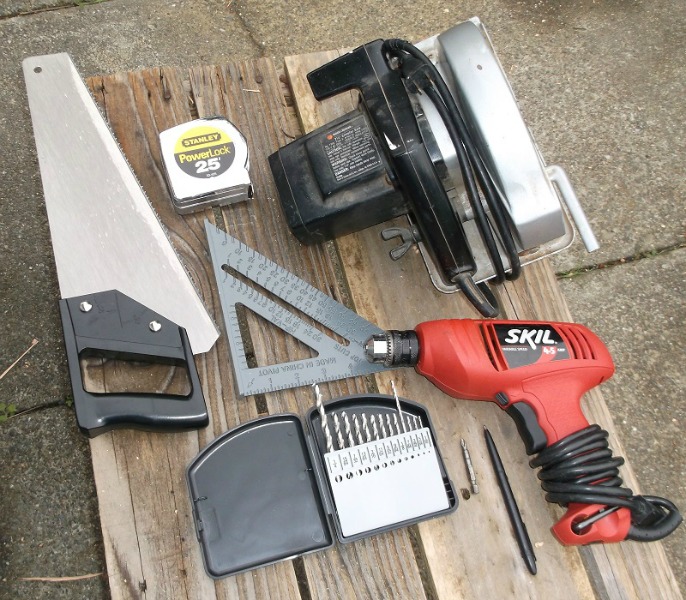 What tools you will need:
Saw (power or hand)
power drill
7/64” drill bit (for drilling 12 pilot holes)
1/4” drill bit (for drilling 3 bolt holes)
Phillips Screw Bit
Measuring Tape
Angle Square
Pen (for marking measurements)
MATERIALS
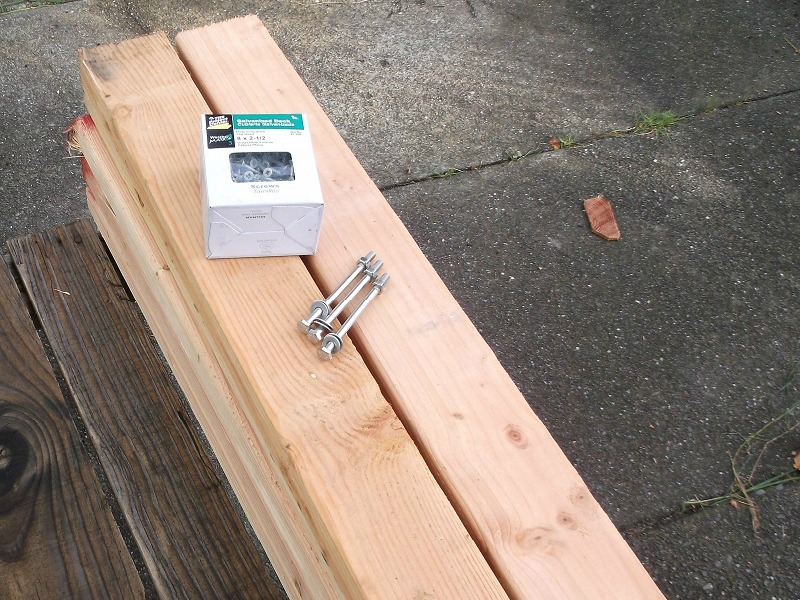 What materials you will need:
(8) 4′ long 2×4’s
(12) 8 x 2-1/2 Galvanized Deck Screws
(3) 4” x 1/4” stainless bolts
(6) 1/4” washers
(3) 1/4” nuts
CONSTRUCTION
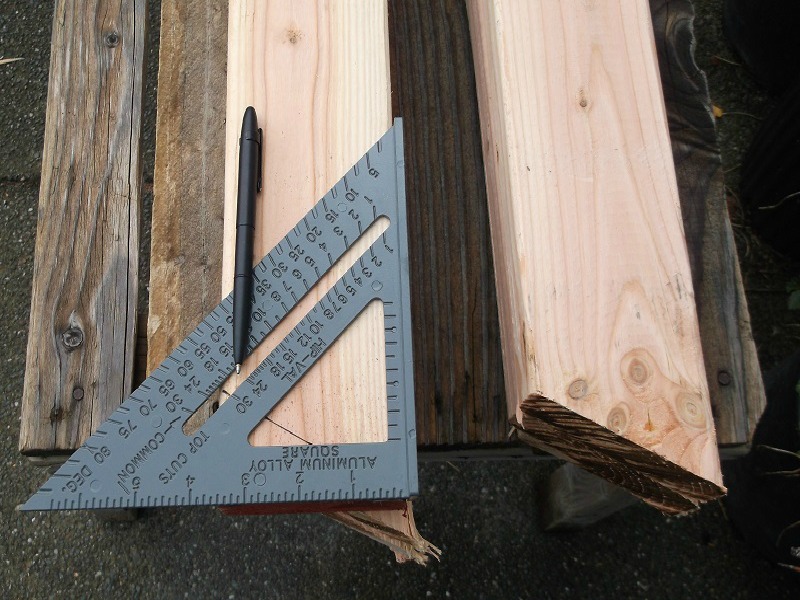 With your angle measure, make a 30 degree angle line at the end of (6) 2×4’s, and then cut.
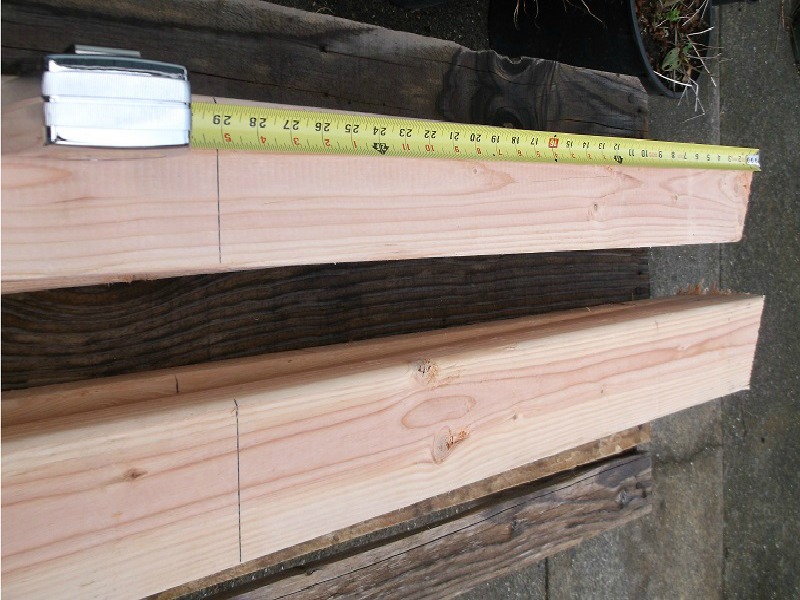 From the long end of the diagonal edge of the 30 degree cut, measure 29”, and draw a line across (6) 2×4’s.
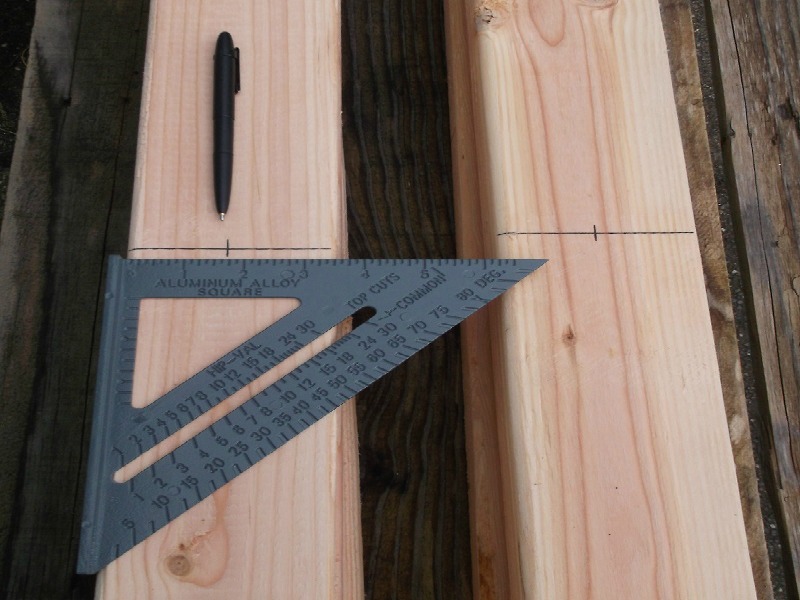 Mark the center of the line you just made at 29”.
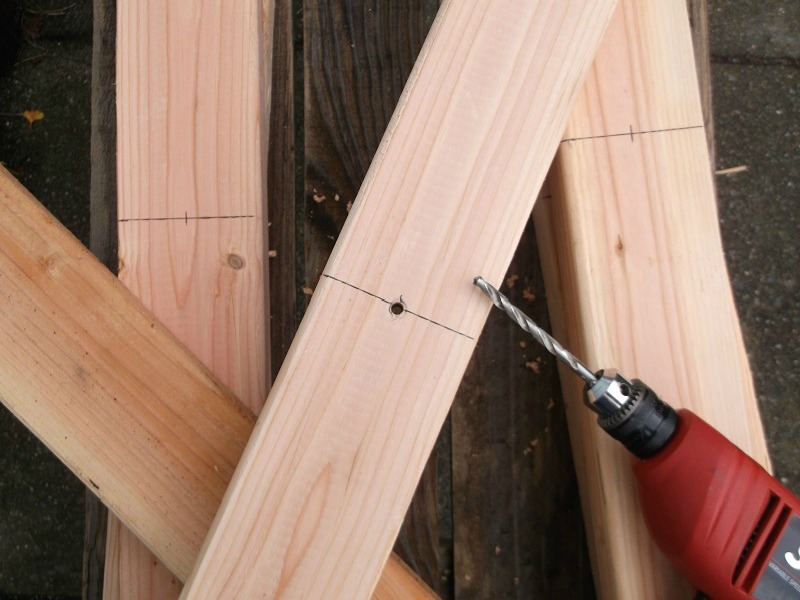 Drill a 1/4” hole at this center mark on each of these (6) 2×4’s.
 Bolt the 3 pairs of angle cut 2×4’s together, using one washer on each side of each 2×4, with the short ends of the 30 degree cuts facing each other.
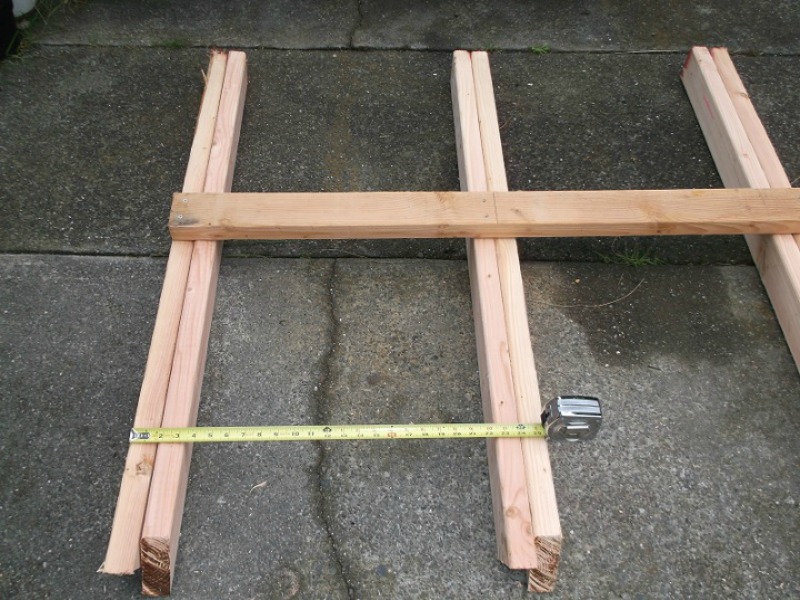
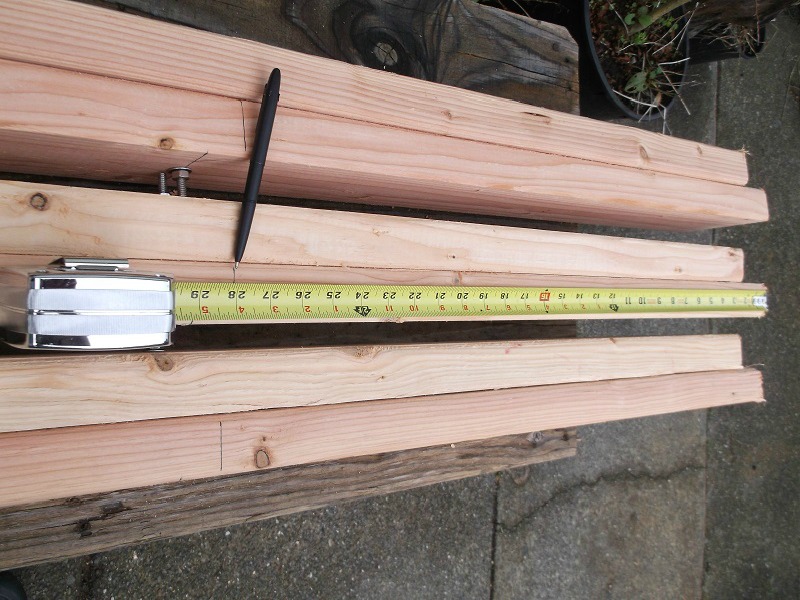 Place the bolted legs on their sides and measure 28” from the long end of the 30 degree diagonal edge, make a line across the width.
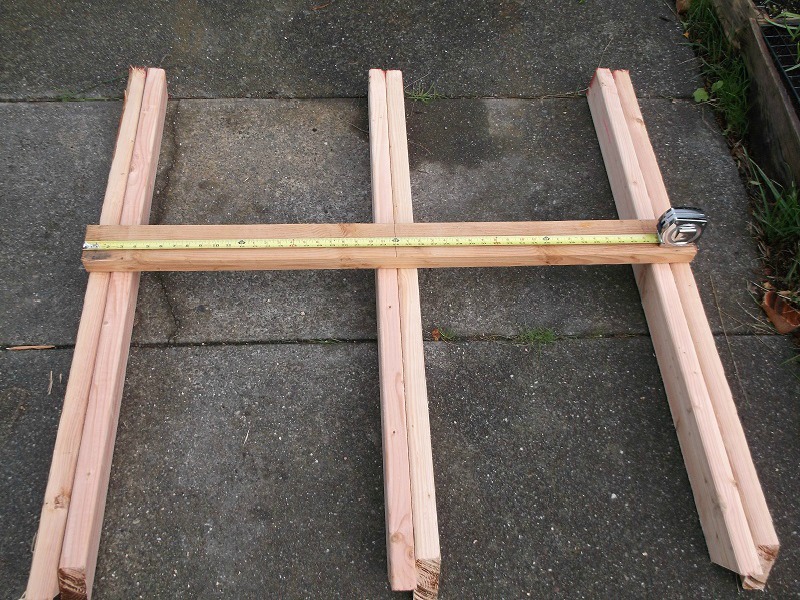 Lay the legs on the ground across 4′, making sure the middle legs are centered at 2′, and place a 4′ 2×4 so it butts up to just under the line at the 28” mark that you just drew from the long edge of the 30 degree diagonal edge. The 4′ long cross 2×4 must span all three legs completely.
 Drill a 7/64” pilot hole through both 2×4’s at a corner. I drill in only this one screw at first, making it easier to make sure everything is squared up right.
 Make sure everything is square and centered, and drill in the remainder of the (6) 8 x 2/12” screws, 2 at each interval.
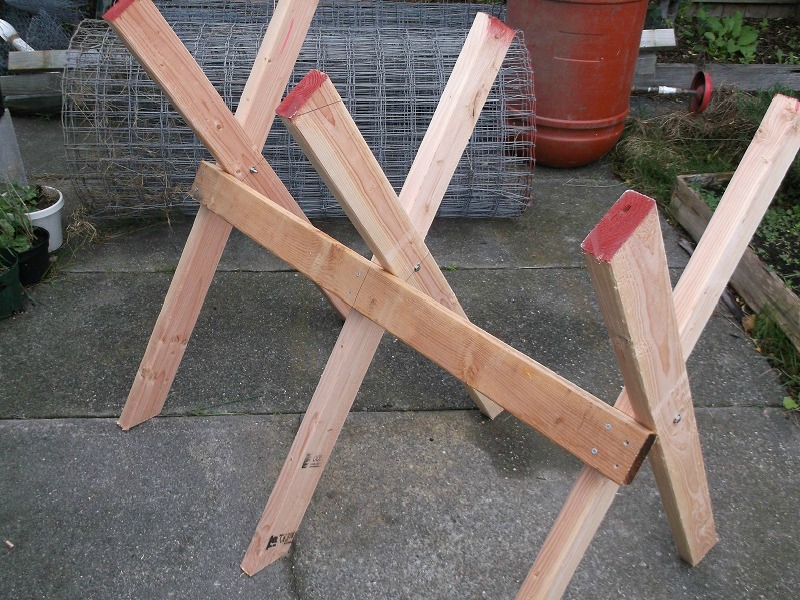 Pick it up and fold it open to see it almost complete and to check you have all the screws in the right places.
Lay it back down on the other side and repeat steps 6 through 9. Now you have a completed folding sawbuck bench.
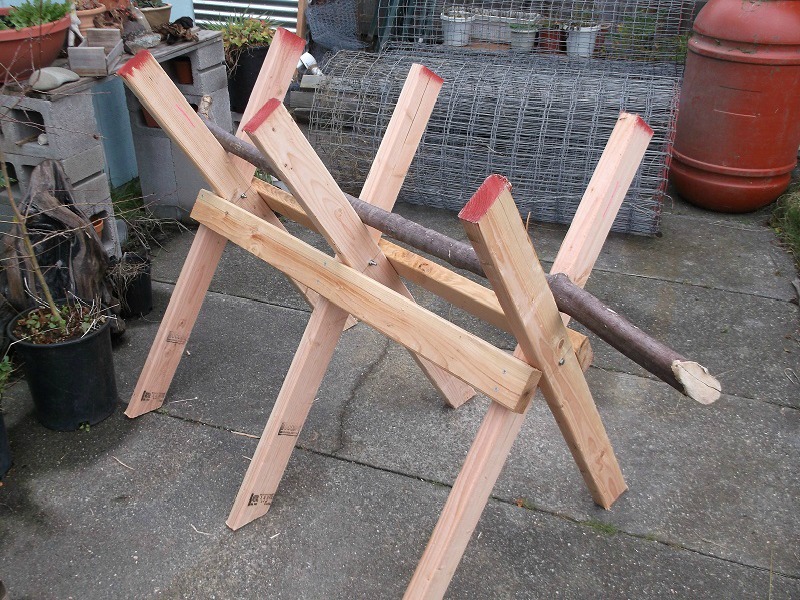 Here is the completed folding sawbuck bench with a piece of wood ready to be cut.
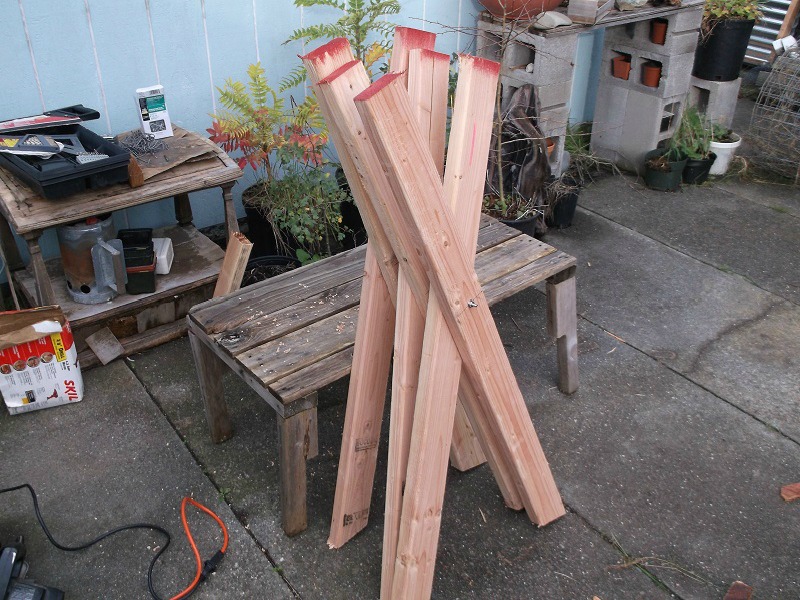
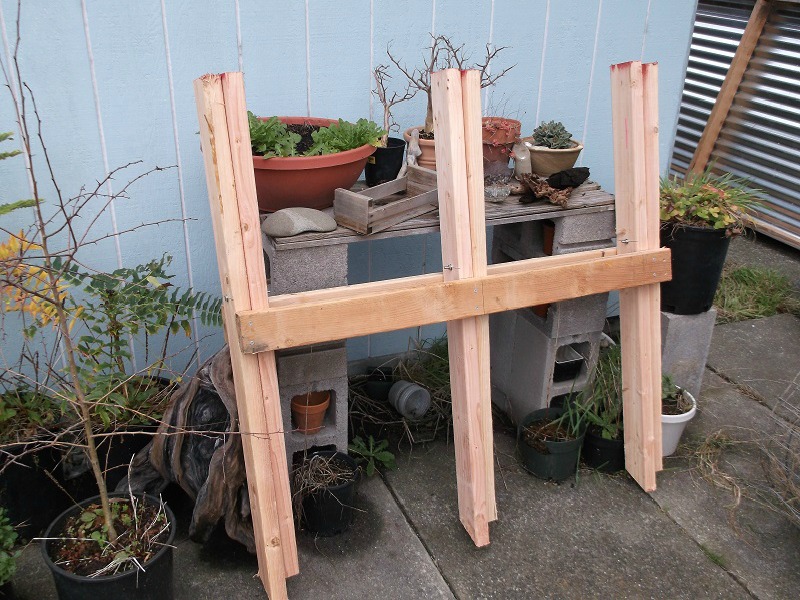 Here is the complete folding sawbuck bench folded and out of the way.
About Troy Boylan
 Ecoculture Village Founder & President; Anthropology BA, Interdisciplinary Studies: Ethnobotany BS. Two things I think are worth anything at all… all things wilderness and ecoculture.
I made this project and found it easy to follow and I am very pleased with the result. I decided to use some extra 8′ 2x4s that I had so I marked the center and bisected it with a 30-degree line, made the cut and made two matching pieces with one cut. The rest I did as described, though I accidentally bought 1/2″ bolts which worked fine and make it seem more heavy-duty. Thanks for a great project!
Brilliant instructions, easy to follow and a good sturdy product to use.
Struggled slightly with my metric only tape measure but figured it out without too much trouble.
Thank you .
Thank you so much for these instructions! Quick and easy even for someone with limited experience making things.
Mike, in response to the other Mike’s comment. My husband and I believe he has free speech and all but, we also believe that we get so much free information and insight from you from Facebook, YouTube, Emails and the Websites that weather it is 2.95 for postage or a popup or two we could never find all this info for the great value we are getting. I almost forgot the live feeds you and your son sometimes do. We hope you keep going and we will for sure keep following. Hope the other Mike takes a deep breath and just relaxes. Hope you both have a great day and happy gardening.
THANK YOU SO MUCH. I’VE BEEN WAITING FOR THIS FOR A LONG TIME!
Hi Mike,
When making folding benches and other folding helpers I use wing nuts.
It makes it easier to stop the legs from opening up when you move them around or store them.
What type of crackers do Finnegan and Fergus like?
Bill
Bill,
The wing nuts are a great suggestion and you use poly wing nuts they’ll never rust. Finnegan and Fergus like Weat Thins and Carrots. They usually get those two items daily as a treat.
Your pop-up that comes up as you try to leave the page is damn irritating. I keep thinking that you will quit with it, but it never happens. I may just have to unsubscribe.
You know what Mike? Those pop ups make me a little crazy too but what you have to realize is that they only way in the world that we can provide excellent free information is to monetize the website by gaining subscribers. In our members area there are no pop ups, no ads, no pitches to buy anything. Just rock solid information all day long.